In a series of posts I will show you how to make a maze in a wide variety of design constructions. For the fifth example we will look at the arrow maze construction. It is one of the most enjoyable maze constructions to make. Let’s define what I mean by Arrow maze, then get into the example. Every example will use the sample basic outline (the state of Ohio) to better illustrate the differences between each maze type. If you want to watch of a video of the making of an arrow maze that is included at the end of the post.
Arrow Maze - A maze that involves following arrows in the direction shown with a few decisions along the way to create the maze solving aspect. Standard movement is one grid at a time (vs an Slide Arrow Maze that allows multiple grids per move). A well designed arrow maze has no dead ends, but rather loops that return you to an earlier part of the maze.
HOW TO MAKE AN ARROW MAZE
Step 1 - Draw the Outline
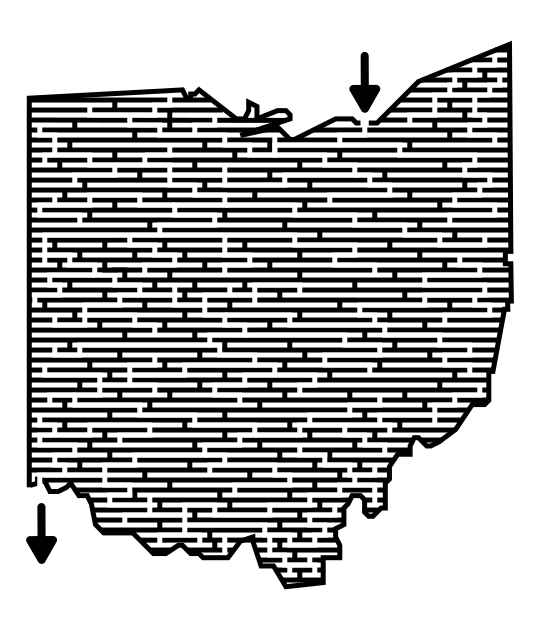
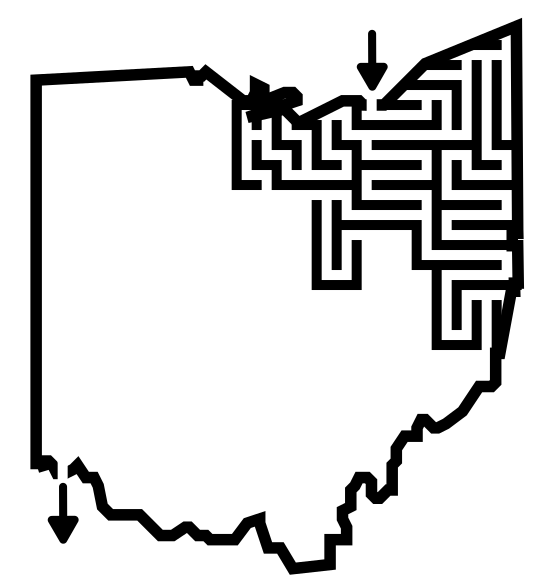
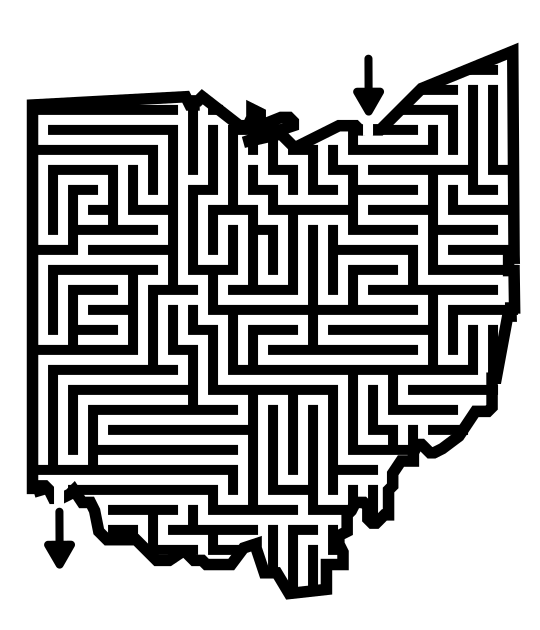
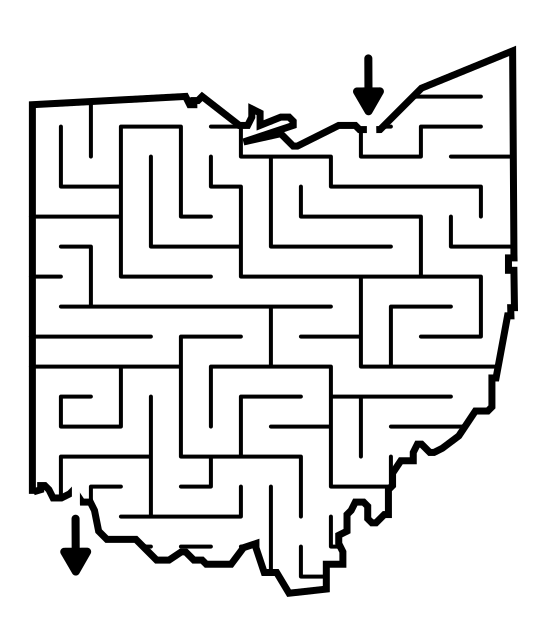
The outline of the maze makes the outer wall of the maze. It can be anything from a simple shape like a square, to a complex picture. The outline should be thicker than the internal lines to give the maze definition. In the example below I chose the state of Ohio. But arrow mazes are generally made of grids, so any configuration or shape you can make from grids would be suitable for an arrow maze.
Step 1.5 - Choose the Start and Goal
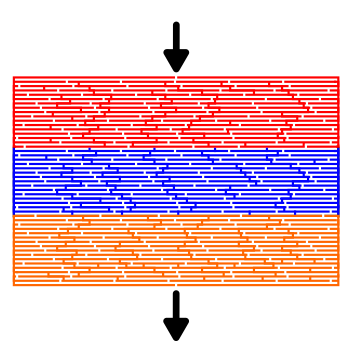
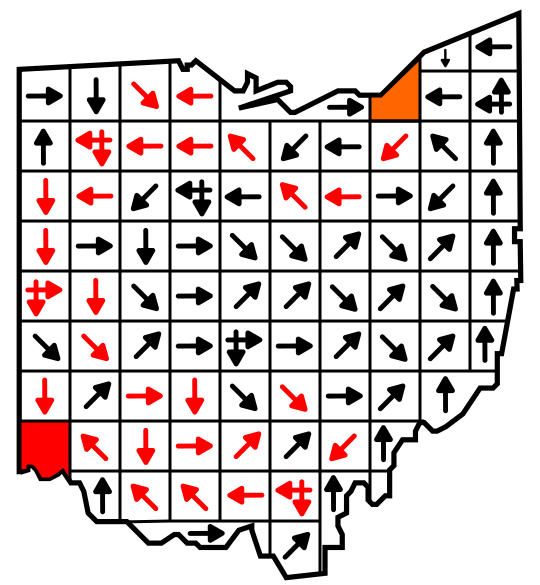
For the below example I chose the start of Cleveland and the goal of Cincinnati. Unlike most mazes the Arrow maze does NOT use arrows to indicate the start and goal, but rather colored boxes (or boxes indicated with the words START and GOAL). In the example below you start in the orange box and end in the red, this format of course will require directions to be added later. As with most mazes, you do have the option to choose your Goal at a later time as you progress thru the maze.

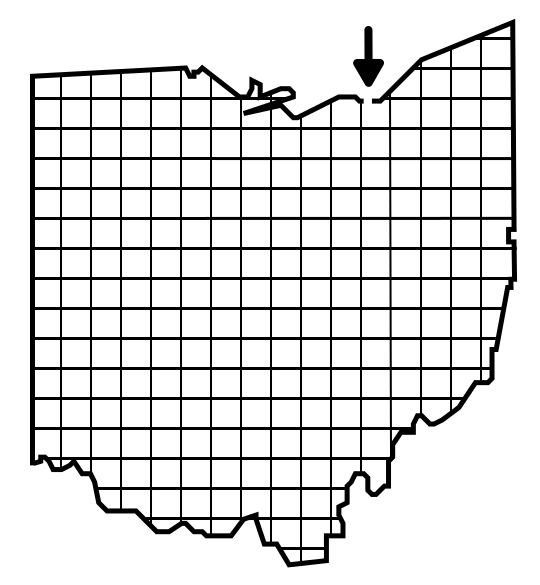
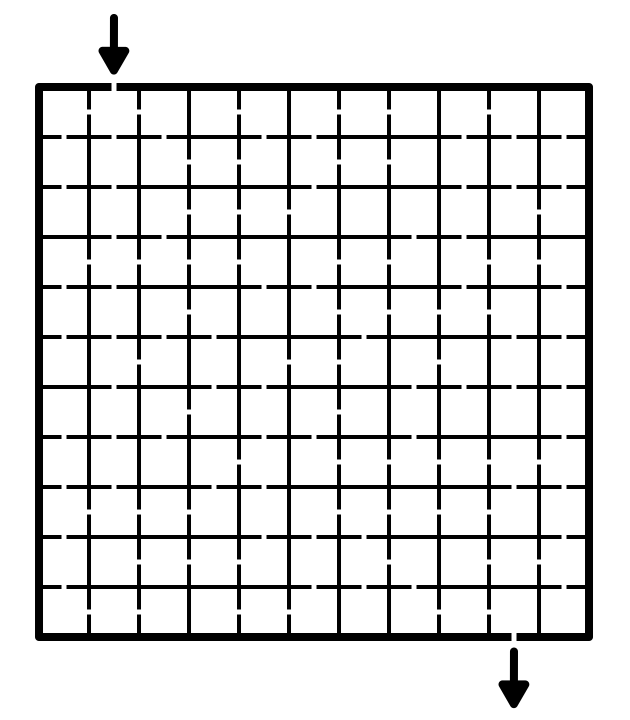
Step 2 - Draw the Grid Design
Draw a grid design to fill the outline with blocks that will contain the arrows. The use of Ohio does not make the best example since some outer blocks are oddly shaped, but it still works !

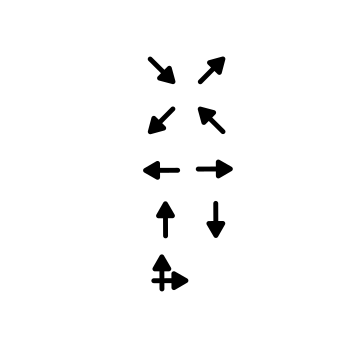
Step 3 - Draw the Arrows off to the side
Unique for this maze is that prep-work will help with the mazes construction. An arrow maze can be moved thru in 8 main directions (N, NE, E, SE, S, SW, W, NW). I like to create an arrow and then rotate the arrow to the needed directions to make the construction of the maze more efficient. I also make one “choice” arrow with multiple directions that I can rotate as needed. For advanced Arrow mazes there are a few other options I will show in my other examples section, but these basic arrows are a good start.
Step 4 - Start Filling in Arrows
Beginning from the starting block, add arrows to create pathways away from the block. Any block touching the starting block can be a first move. Arrows that face the starting block will return you back immediately. While constructing an Arrow maze you should have at least one path back to the starting block for false paths. Unlike most mazes, an Arrow path has no dead ends (ideally), only loops to earlier parts of the maze.

Notice how I created false paths that bring you back to the start. I find that return loops are much more enjoyable than dead ends when solving a maze.

Step 5 - Complete the Arrow Maze
To complete an Arrow maze you fill in each block with an arrow. Make sure to never create a dead end or an infinite loop. In this way an Arrow maze can be solved in multiple ways (some loops return to their initial mistake), but there is always a best solution. There are also “short” loops that are less punishing to the solver if they make a wrong choice. Check the decision block in B2 (second column, second row). If you choose to move left rather than down it will bring you right back to where you are in in 4 moves.

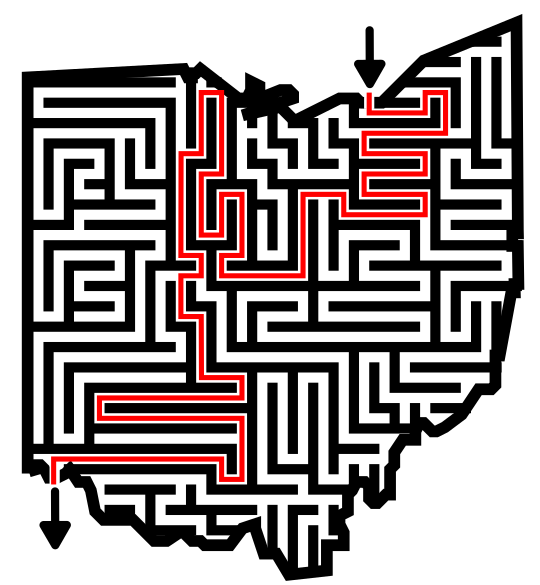
Step 6 (Optional) - Make the Solution
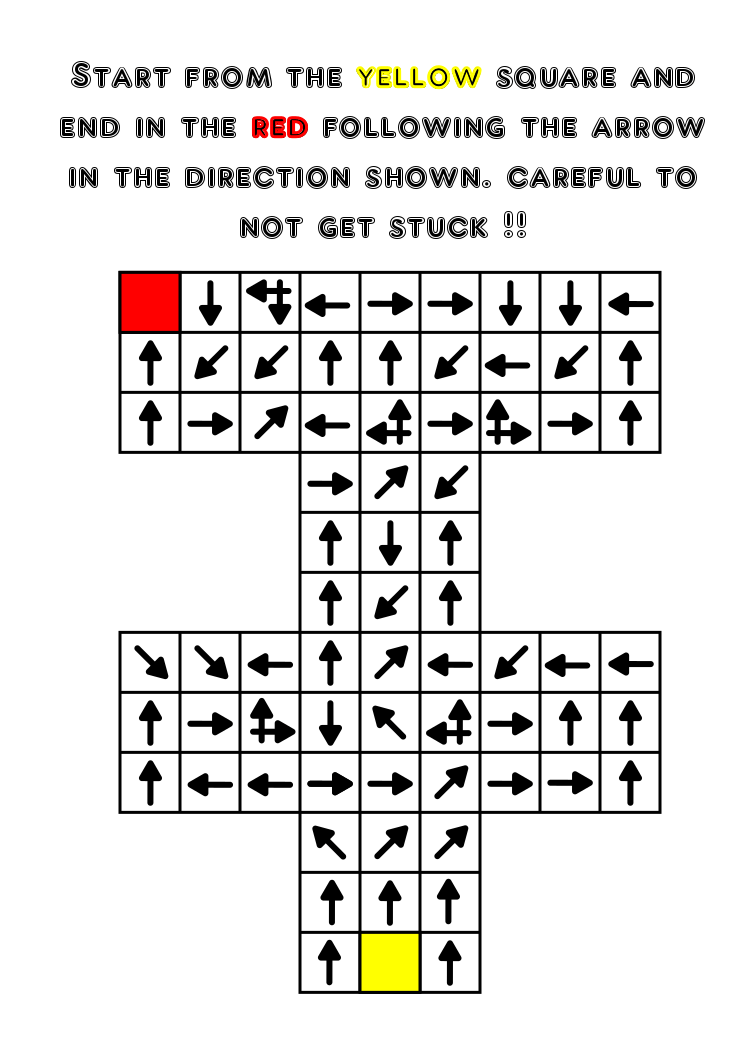
Highlight the solution for the solver that is the quickest path to the goal. For Arrow mazes I like to solve these after a few days to check how enjoyable they are. I also have changed how I show the solution since making this example. I also draw a line following the “path” and only show the correct arrow in red for the L-shaped decision arrows !
Additional Arrow Maze Examples
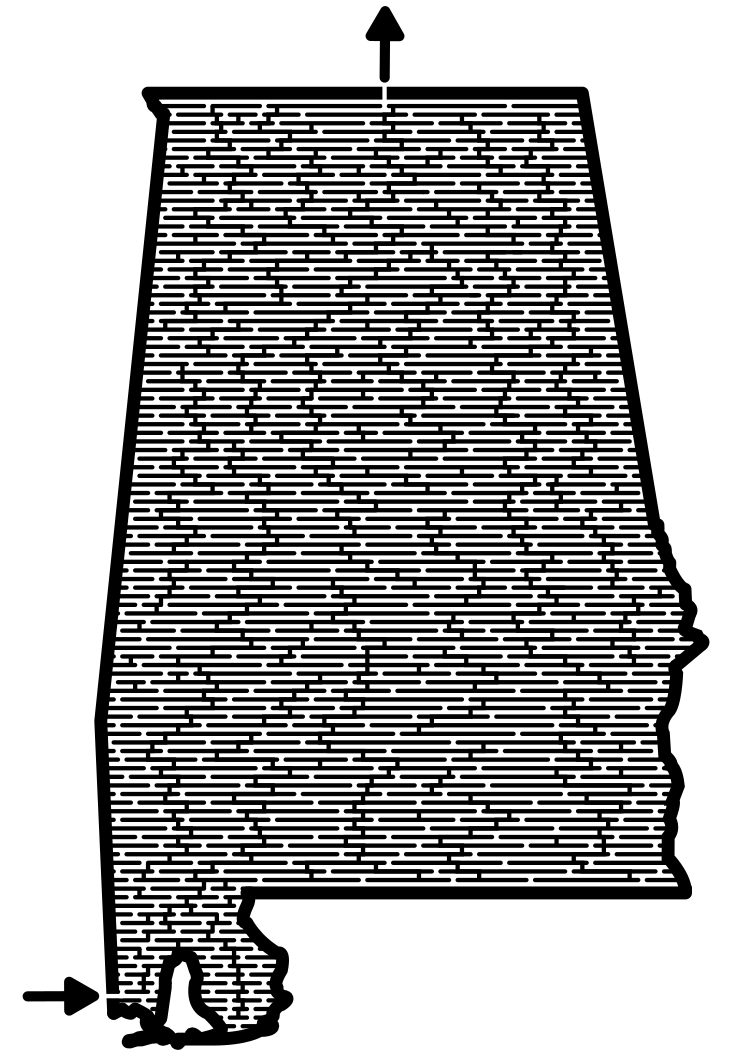
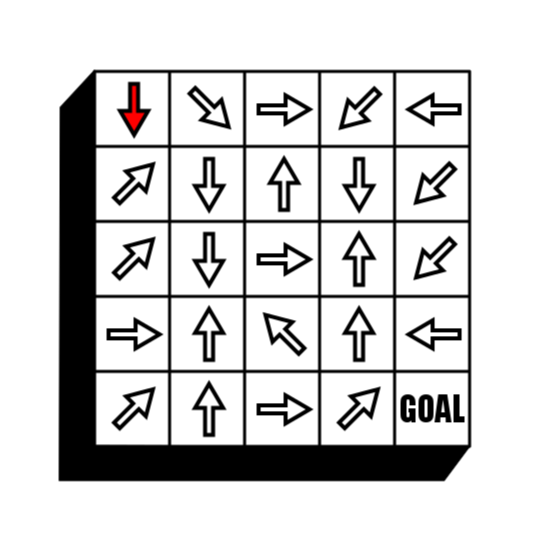
Here are a few additional examples of Arrow mazes in more traditional forms. The first is in a the most common square grid form. I included this example because it was one of my first formats which included directions and the use of colors for the Start and Goal.

And these are two examples of Arrow mazes in different shaped grids. Any grid shape could work if it has enough options for the solver to be challenged. The maze on the left also includes a decision arrow at 45 degrees.

While making an Arrow Maze can be pretty basic from a movement perspective, there are many options to make it more interesting. Let’s review some the the most common ones I use to make things more challenging.
6 ADDITIONAL ARROW MAZE MOVEMENT OPTIONS
The ALL WAYS ARROW allows anyone to land on it to leave the grid in ANY direction. It looks like a star.
The DOUBLE MOVE ARROW allows you to jump over grids or spaces in the maze. It works well to get out of tight areas and from a design perspective makes the maze more difficult to solve.
RETURN TO START is a grid that you do not want to land on.
START / GOAL is my favorite grid type. Instead of telling the solver where the START and the GOAL is you only show them where the 2 possible are. It is the solvers job to find which is which by finding a path between each START/GOAL grid.
The SLIDE ARROW allows you to move to any arrow the Slide Arrow is pointing at.
WARP GRIDS allow the solver to jump across the maze between each Warp.
Check out my rule movement page from an upcoming book, along with a few examples that showcase the new movements. They make for much harder mazes, and are much more interesting to solve. For all of these mazes I dropped the color start/goal and went with a more traditional and intuitive use of the words “Start” and “Goal”.


Example of moves 1,2,3,6

Slide Arrow Maze
There is also an option to use ONLY Slide Arrows, creating a Slide Arrow Maze. These can be made extremely difficult to solve. Since they are both Arrow Mazes, here is a comparison of the 2 types of Arrow Mazes and their rules for solving:

I did the following 14 Part series where I dive into Arrow mazes in detail. The first 12 blog posts are in order. Click the link to Part 1 and you can follow along through each part.
Arrow Maze Construction and Design:
Part 2 - Using Creative Shapes
Part 3 - Intersections
Part 4 - Using Loops
Arrow Maze Components:
Part 5 - Regular Arrows
Part 6 - Double Arrows
Part 7 - Using the START GOAL
Part 8 - Return to Start Block
Part 9 - Using Warp Zones
Part 10 - Slide Arrows
Part 11 - All Ways Arrow
Part 12 - Long Arrow Use
Extreme Arrow Maze examples:
Part 13 - Kitchen Sink Examples
Part 14 - The Largest Arrow Maze in the World (I think)
Arrow Maze Books AVAILABLE ON AMAZON
THE ARROW MAZE BOOK VOLUME 1: AVAILABLE IN 4 LANGUAGES IN BOTH PRINT AND KINDLE EDITIONS
Part puzzle, part maze, all fun ! Enjoy 100 Arrow Mazes that get more challenging as you move forward. Arrow Mazes don't have walls or dead ends but that doesn't mean you won't get lost ! Perfect for both maze lovers and puzzle solvers. Later puzzles get new solving rules to keep the challenge fresh.
Features large size of 8.5 x 11 (Print edition)
100 Arrow Mazes with solutions
Unlike most maze books, no pencil is needed - perfect for solving on a Kindle !
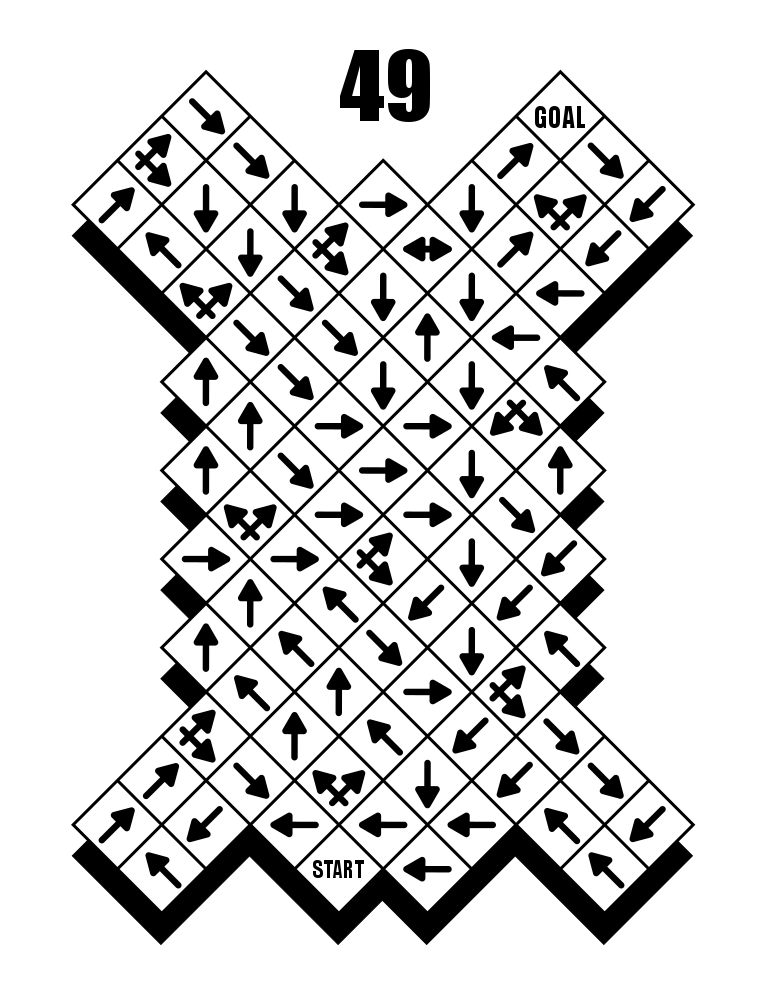
See Maze 49 below for an example.
A FREE downloadable Arrow Maze book to try
In January 2020 my daily mazes consisted of Arrow Mazes I made using my original design. This book does NOT include any of the new movements which make the mazes more fun and challenging but it is a nice introduction to Arrow Mazes. As the month went on the mazes got larger. This book collects all of the mazes from that month. (If you are wondering Volumes 1 & 2 were retired).

THE ARROW MAZE BOOK - VOLUME 3
31 pages, 32 mazes including the cover
File Size: 715 KB
Features each daily maze from January 2020. Arrow mazes have no dead ends which means they should be easy…right ? Each Arrow maze get progressively harder.
Making of an Arrow Maze Video
Take 2 minutes to watch an Arrow Maze being made. This shows the sped up process I described above.
Interested in learning how to make or draw other types of digital mazes ? I have step by step instructions on how to make over 40 different maze types.
If you prefer making labyrinths, you can find step by step labyrinth making instructions.