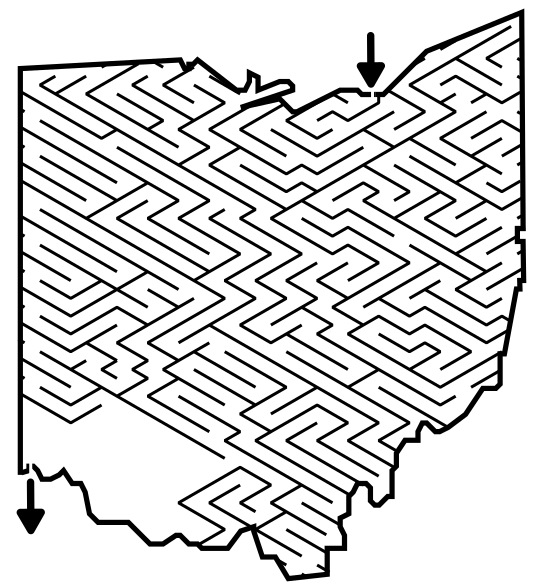
In a series of posts I will show you how to make a maze in a wide variety of design constructions. The 9th type of maze construction is the Line Leads maze. Let’s define what I mean, then get into the example. Every example will use the sample basic outline (the state of Ohio) to better illustrate the differences between each maze type. If you are more visual, check out the video of the making of a line leads maze at the end of the post.
Line Leads Maze - A maze where a set number of lines can be chosen that may or may not lead to the goal. Typically only one line will lead to the goal and finding it is a game of chance. The individual lines have no decisions and isolated are more like a labyrinth path. The goal of a Line Leads maze is to reach an object as the goal.
HOW TO MAKE A LINE LEADS MAZE
(VERY Optional) Step 1 - Draw the Outline
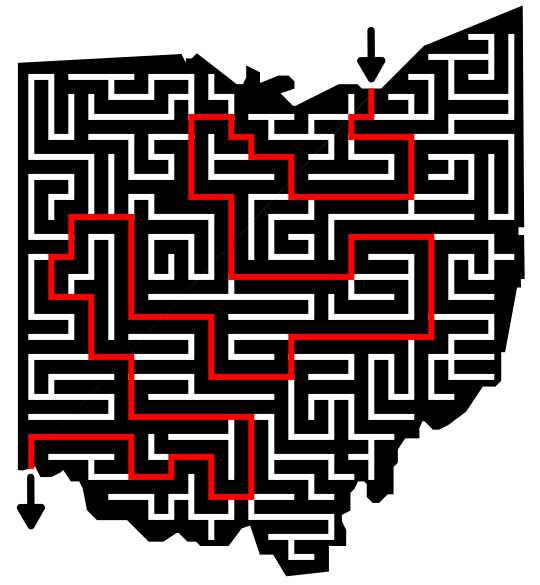
Unlike most makes the line leads maze does NOT need an outline. In fact most Line Leads mazes do not have one. The outline of the maze makes the outer wall of the maze. It can be anything from a simple shape like a square, to a complex picture. I used Ohio ONLY so it could be compared to other constructions easily.
Step 2 - Draw the Goal
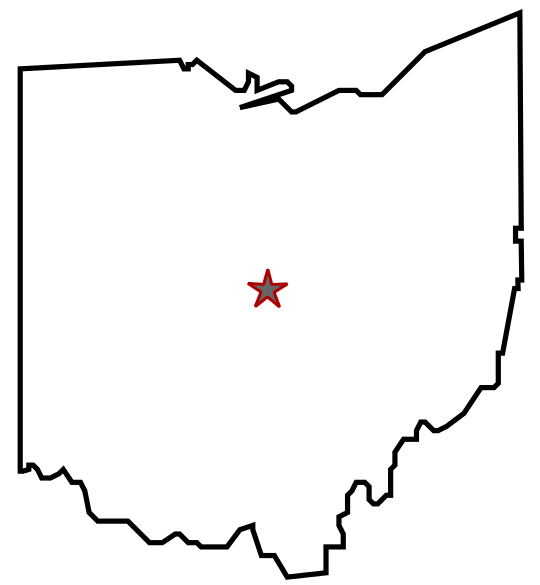
A Line Leads Maze needs a drawn goal, typically centered on the page horizontally. Vertically the goal can be centered on the page or about a third of the way down to place it far from the starting points. For my example I centered a star as the goal. This goal really becomes the personality of the maze, so get creative and make it look good !
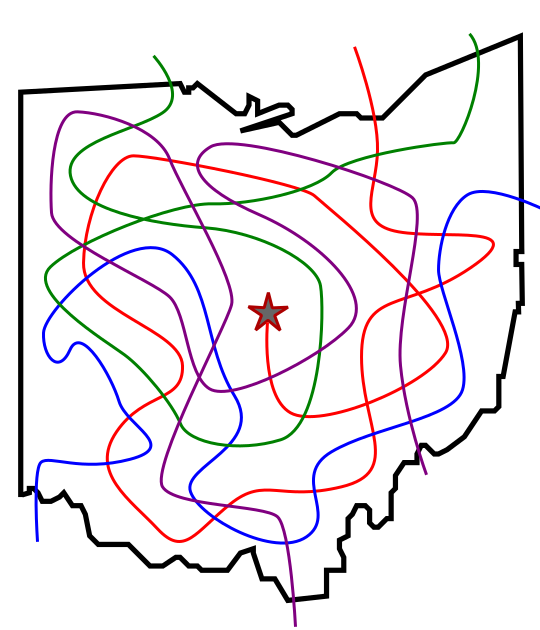
Steps 3, 4, and 5 - Draw the Solution Line, Draw the False Lines, Number (or letter) the Lines
Unique to the Line Leads Maze is that the order of steps 3 , 4, and 5 are actually interchangeable.
Draw the solution line - Draw a line to the goal, twisting and turning the line in the maze to confuse the solver.
Draw the false lines - Draw lines that do not go to the goal. Make sure the lines dead end far from the goal, or loop between 2 starting points (As in 5/6 below). Ensure that the pathways of the false lines do not overlap with the solution line. They can certainly cross the solution line, but overlapping too much can lead to confusion of which line continues in which direction (you know it when you see it).
Number (or letter) the lines - Number the lines you have made to give the solver options. The more lines the more difficult it will be to find the correct one.
Because this maze uses an outline, I placed the lines around the outline, but it is very typical to place all of them across the top of the page.


Step 6 - Complete the Maze
Complete the maze by making all of the lines one color. Make any final adjustments to maze lines if their paths are confusing for the solver.

Step 7 (Optional) - Make the Maze Solution
Highlight the correct path in the final version of the maze to create the final Maze solution. Ensure you have not made any lines that are ambiguous when they touch each other. You can also just circle the correct number (or letter) that designates the correct solution of you are designing in black and white.

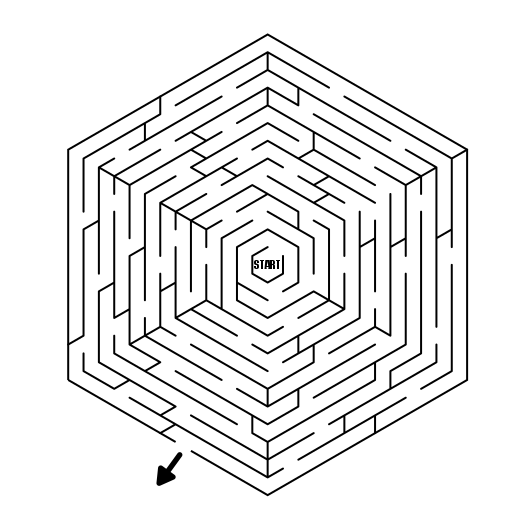
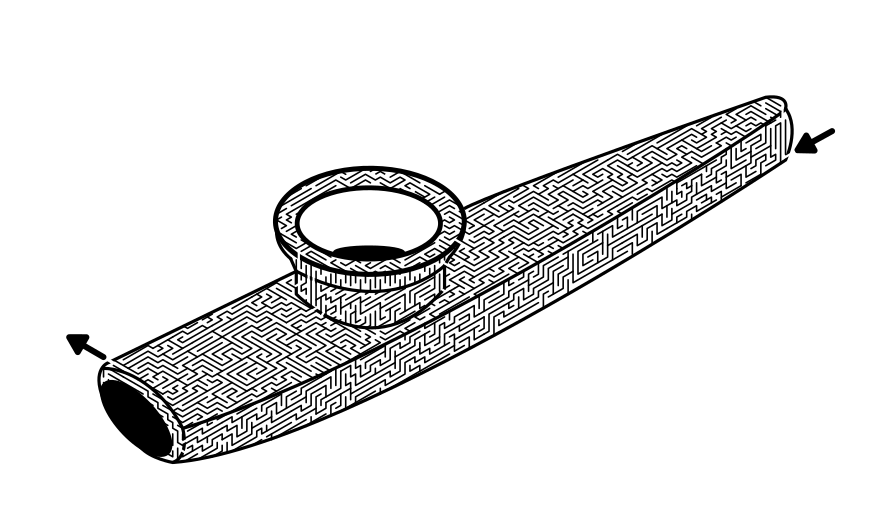
Additional Line Leads Maze examples
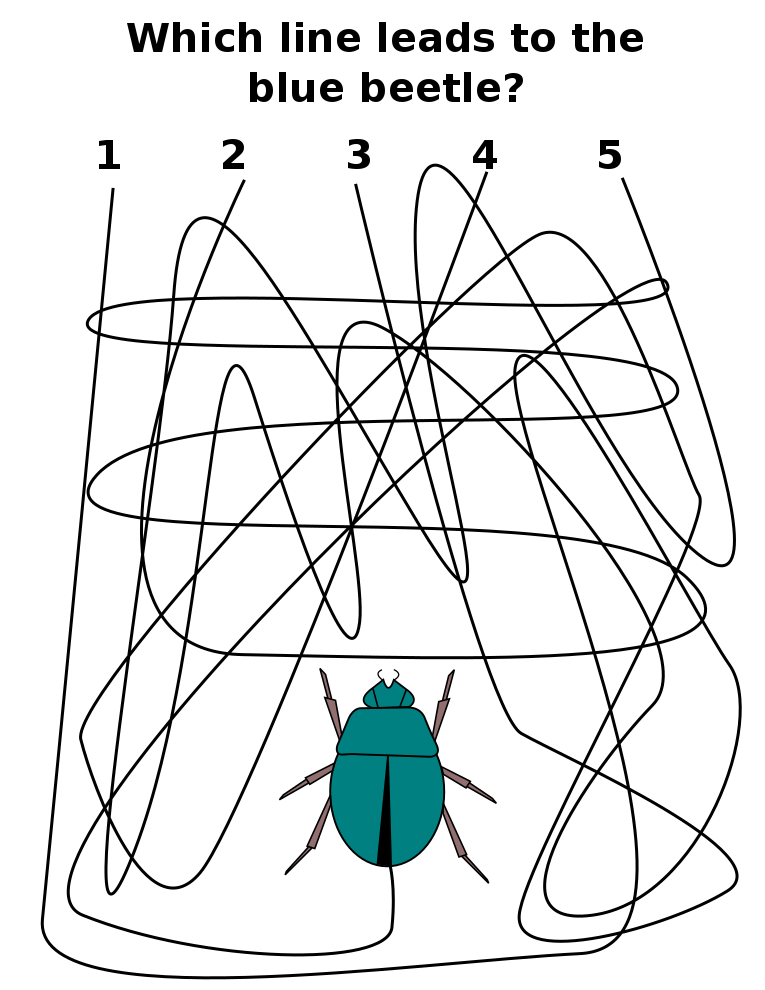
A more typical Line Leads maze, with no outline/border. This example also adds an additional step of captioning the maze with instructions.
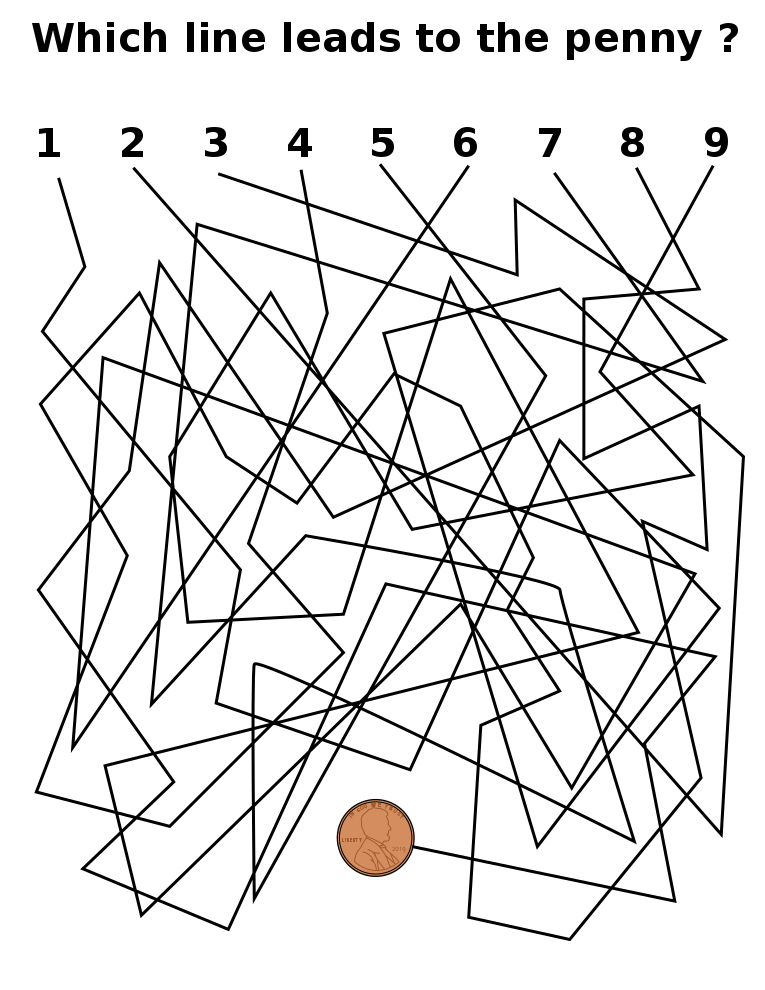
And, yes these can get complicated….Check out this Line Leads Maze with 10 possible options ! I even have some with 18 options !!

My third example is here to show an option you should NOT use, pathways made of straight lines that change direction. Why ? Well, while I think I know where the maze maker meant to change directions of the pathways there are many places where this can become very ambiguous. Better to make pathways that are curved and more easily followed.
FREE DOWNLOADABLE LINE LEADS BOOK

A LINE LEADS BOOK
32 pages, 32 line leads mazes (including the cover)
File Size: 802 KB
Features each daily maze from March 2020. Line Leads mazes are all about the initial choice. Recommended for Kids of most ages !
MAKING OF A LINE LEADS MAZE VIDEO
Watch this quick video of the making of a Line Leads Maze.
Interested in learning how to make or draw other types of digital mazes ? I have step by step instructions on how to make over 40 different maze types.
If you prefer making labyrinths, you can find step by step labyrinth making instructions.