In a series of posts I will show you how to make a maze in a wide variety of design constructions. The 25th type of maze construction is the Kids maze. Let’s define what I mean, then get into the example. Every example will use the sample basic outline (the state of Ohio) to better illustrate the differences between each maze type. At the end of the post there is a free downloadable maze book for Kids !
Kids Maze - A maze that is geared for young children is an easy maze. You don’t want the child to get frustrated and quit before reaching the goal. Kids mazes have wide pathways and obvious, short dead ends. It also should include labels for the start and goal.
How to Make a Kids Maze
Step 1 - Draw the Outline
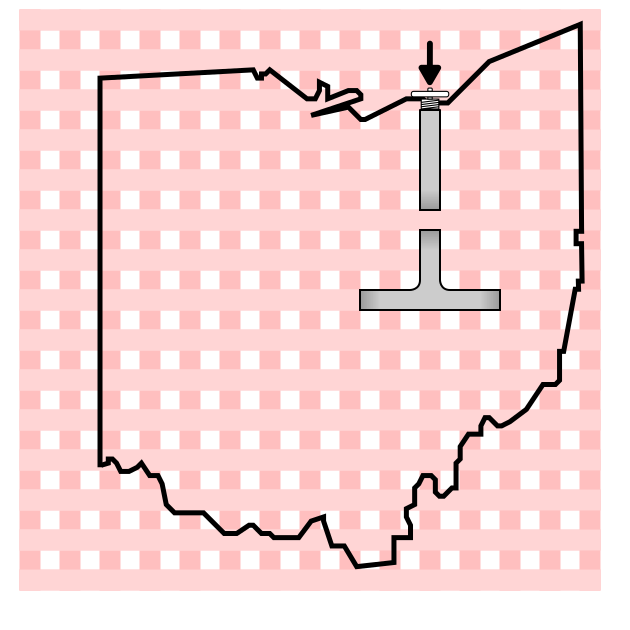
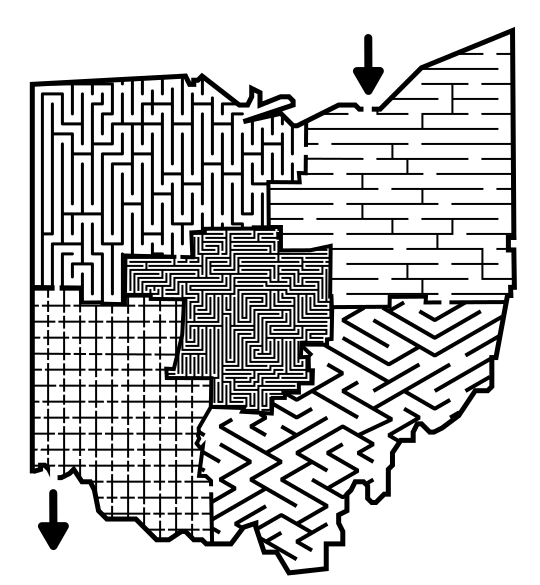
The outline of the maze makes the outer wall of the maze. It can be anything from a simple shape like a square, to a complex picture. The outline should be thicker than the internal lines to give the maze definition. In the example below I chose the state of Ohio.
Step 1.5 - Choose the Start and Goal
For the below example I chose the start of Cleveland and the goal of Cincinnati. Consider adding the words START and GOAL to the maze to replace the arrows, or in addition to them,

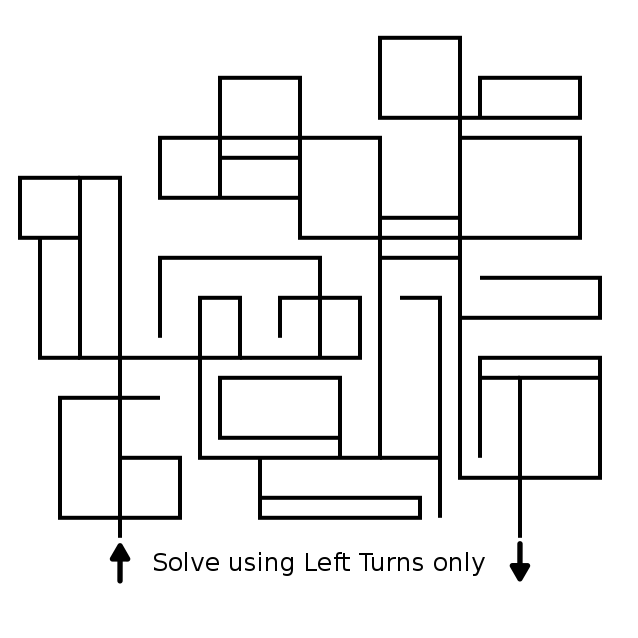
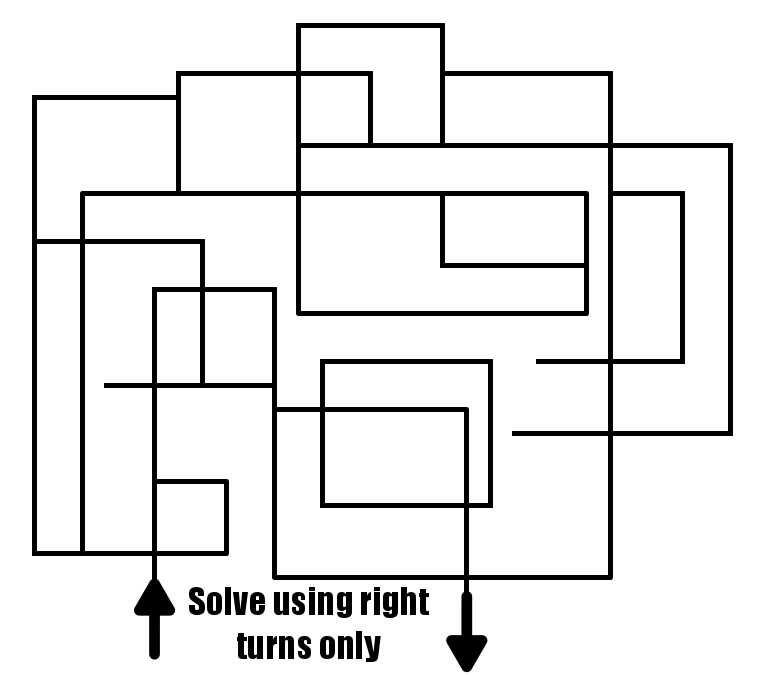
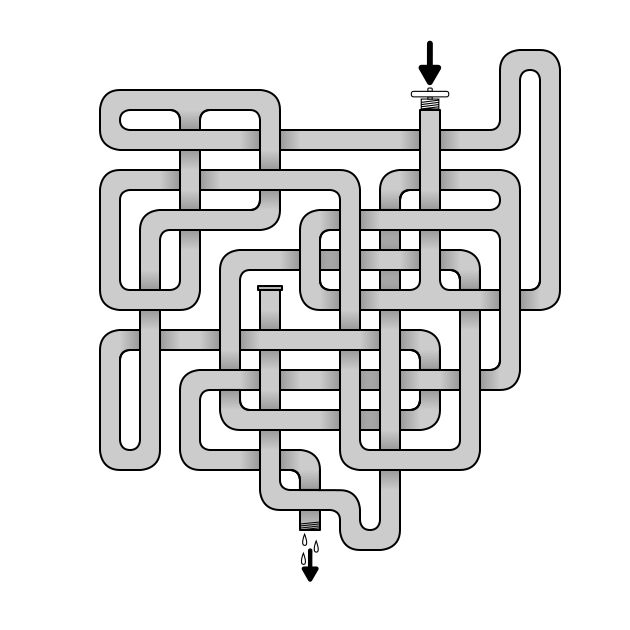
Note that a kids maze construction can be standard, grid, arrow, or really anything that is able to be adjustable in difficulty for children. Below is a Kids Standard Maze !
Step 2 - Start Drawing the Walls
Starting from entrance, begin drawing walls. Walls should be far apart to build wide pathways. Any dead ends you make should be short and obvious. I also widened the entrance and goal.

Step 3 - Complete the Walls
Draw the necessary walls to make the final pathways and complete the maze.

Step 4 - Label the Start and Goal
Give kids an extra cue by labeling the Start and Goal of the maze.

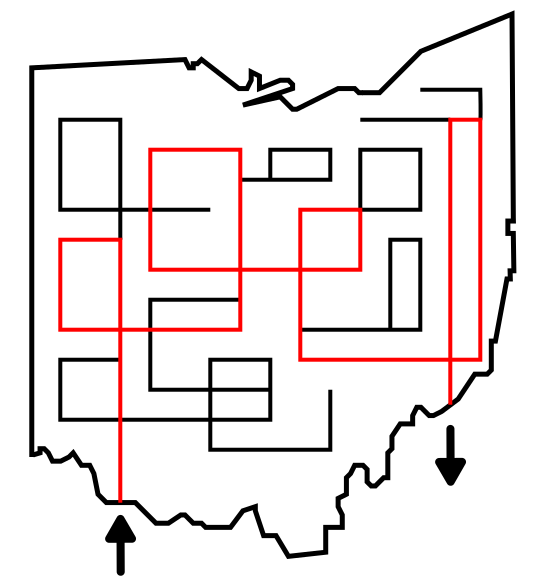
Step 5 - Make the Maze Solution
Highlight the correct path in the final version of the maze to create the final maze solution (shown here in red). Notice how the white spaces ( the dead ends) are obvious.

Additional Kids Maze Examples
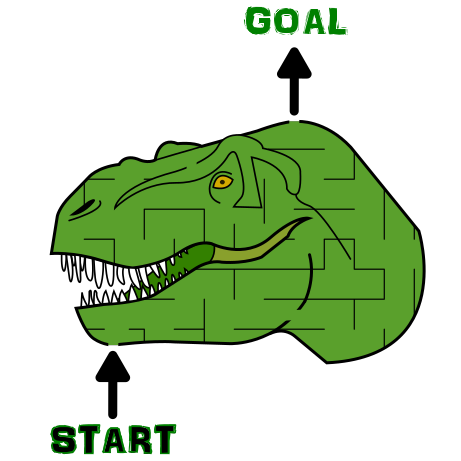
The T-Rex dinosaur maze below is a subject many children would enjoy. The maze is extremely easy with only obvious and minimal turns in addition to being in full color.
In this second example of a Kids maze we find directions on solving in the place of a labeled start and goal. This is also an example of an Object as Goal maze, in this case a flower as the goal. The subject matter is appropriate and a version of this maze can be found in many Kids activity books.

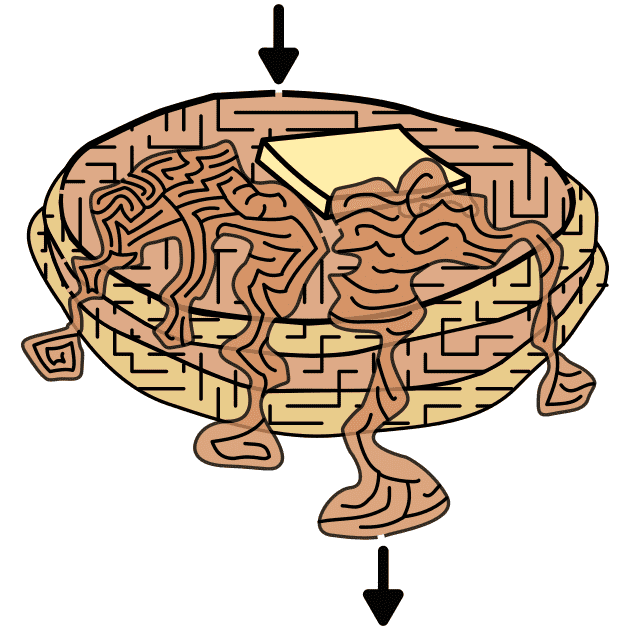
My third example is a Kids maze that is also a Find Items maze. Again the subject matter is something that should appeal to children and the maze is easy.
I wanted to show a different maze type designed for Kids. This Kids Arrow Maze is 7x8 in size. If you look at the contents of the grids there are only 4 choice arrows in the maze. If you make a wrong choice the arrows will lead you back to where you were, making quick loops for wrong turns. Loops are better than dead ends for kids because they can continue to move forward and solve the maze.

Another example for Kids is this Puzzle Maze. A puzzle maze can get very complicated. This uses just 2 colors and the need to know the difference between even and odd numbers. It is also on a small 6x6 size grid.

Free downloadable kids maze book

EASY MAZES FOR KIDS BOOK
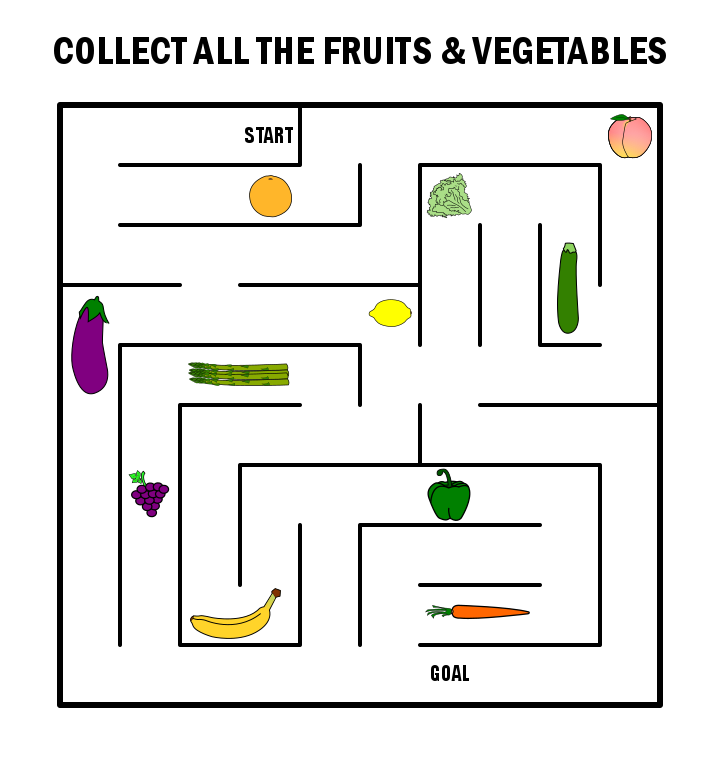
A free downloadable book featuring 30 different mazes. Includes standard mazes, mazes where you need to avoid items, and mazes where you need to collect items ! A nice beginning maze book.
File Size: 2,013 KB
Interested in learning how to make or draw other types of digital mazes ? I have step by step instructions on how to make over 40 different maze types.
If you prefer making labyrinths, you can find step by step labyrinth making instructions.