Creating a Hidden Maze - Case Study #1

Some of my most popular content involves my making of hidden mazes. I can teach you how to make a hidden maze in 6 steps. And I have created over 30 hidden maze challenges to test my maze making ability and your ability to solve them (or for the solver to know what they say without solving them which would mean I didn’t make a very good maze). But I have never done a case study to expand on some options I made when making some of the new mazes. This also is a variation of how I teach you to make a hidden maze, with more details between the steps.

Let’s use my instructions as a basis for the case study

Step 1 - Draw the Outline

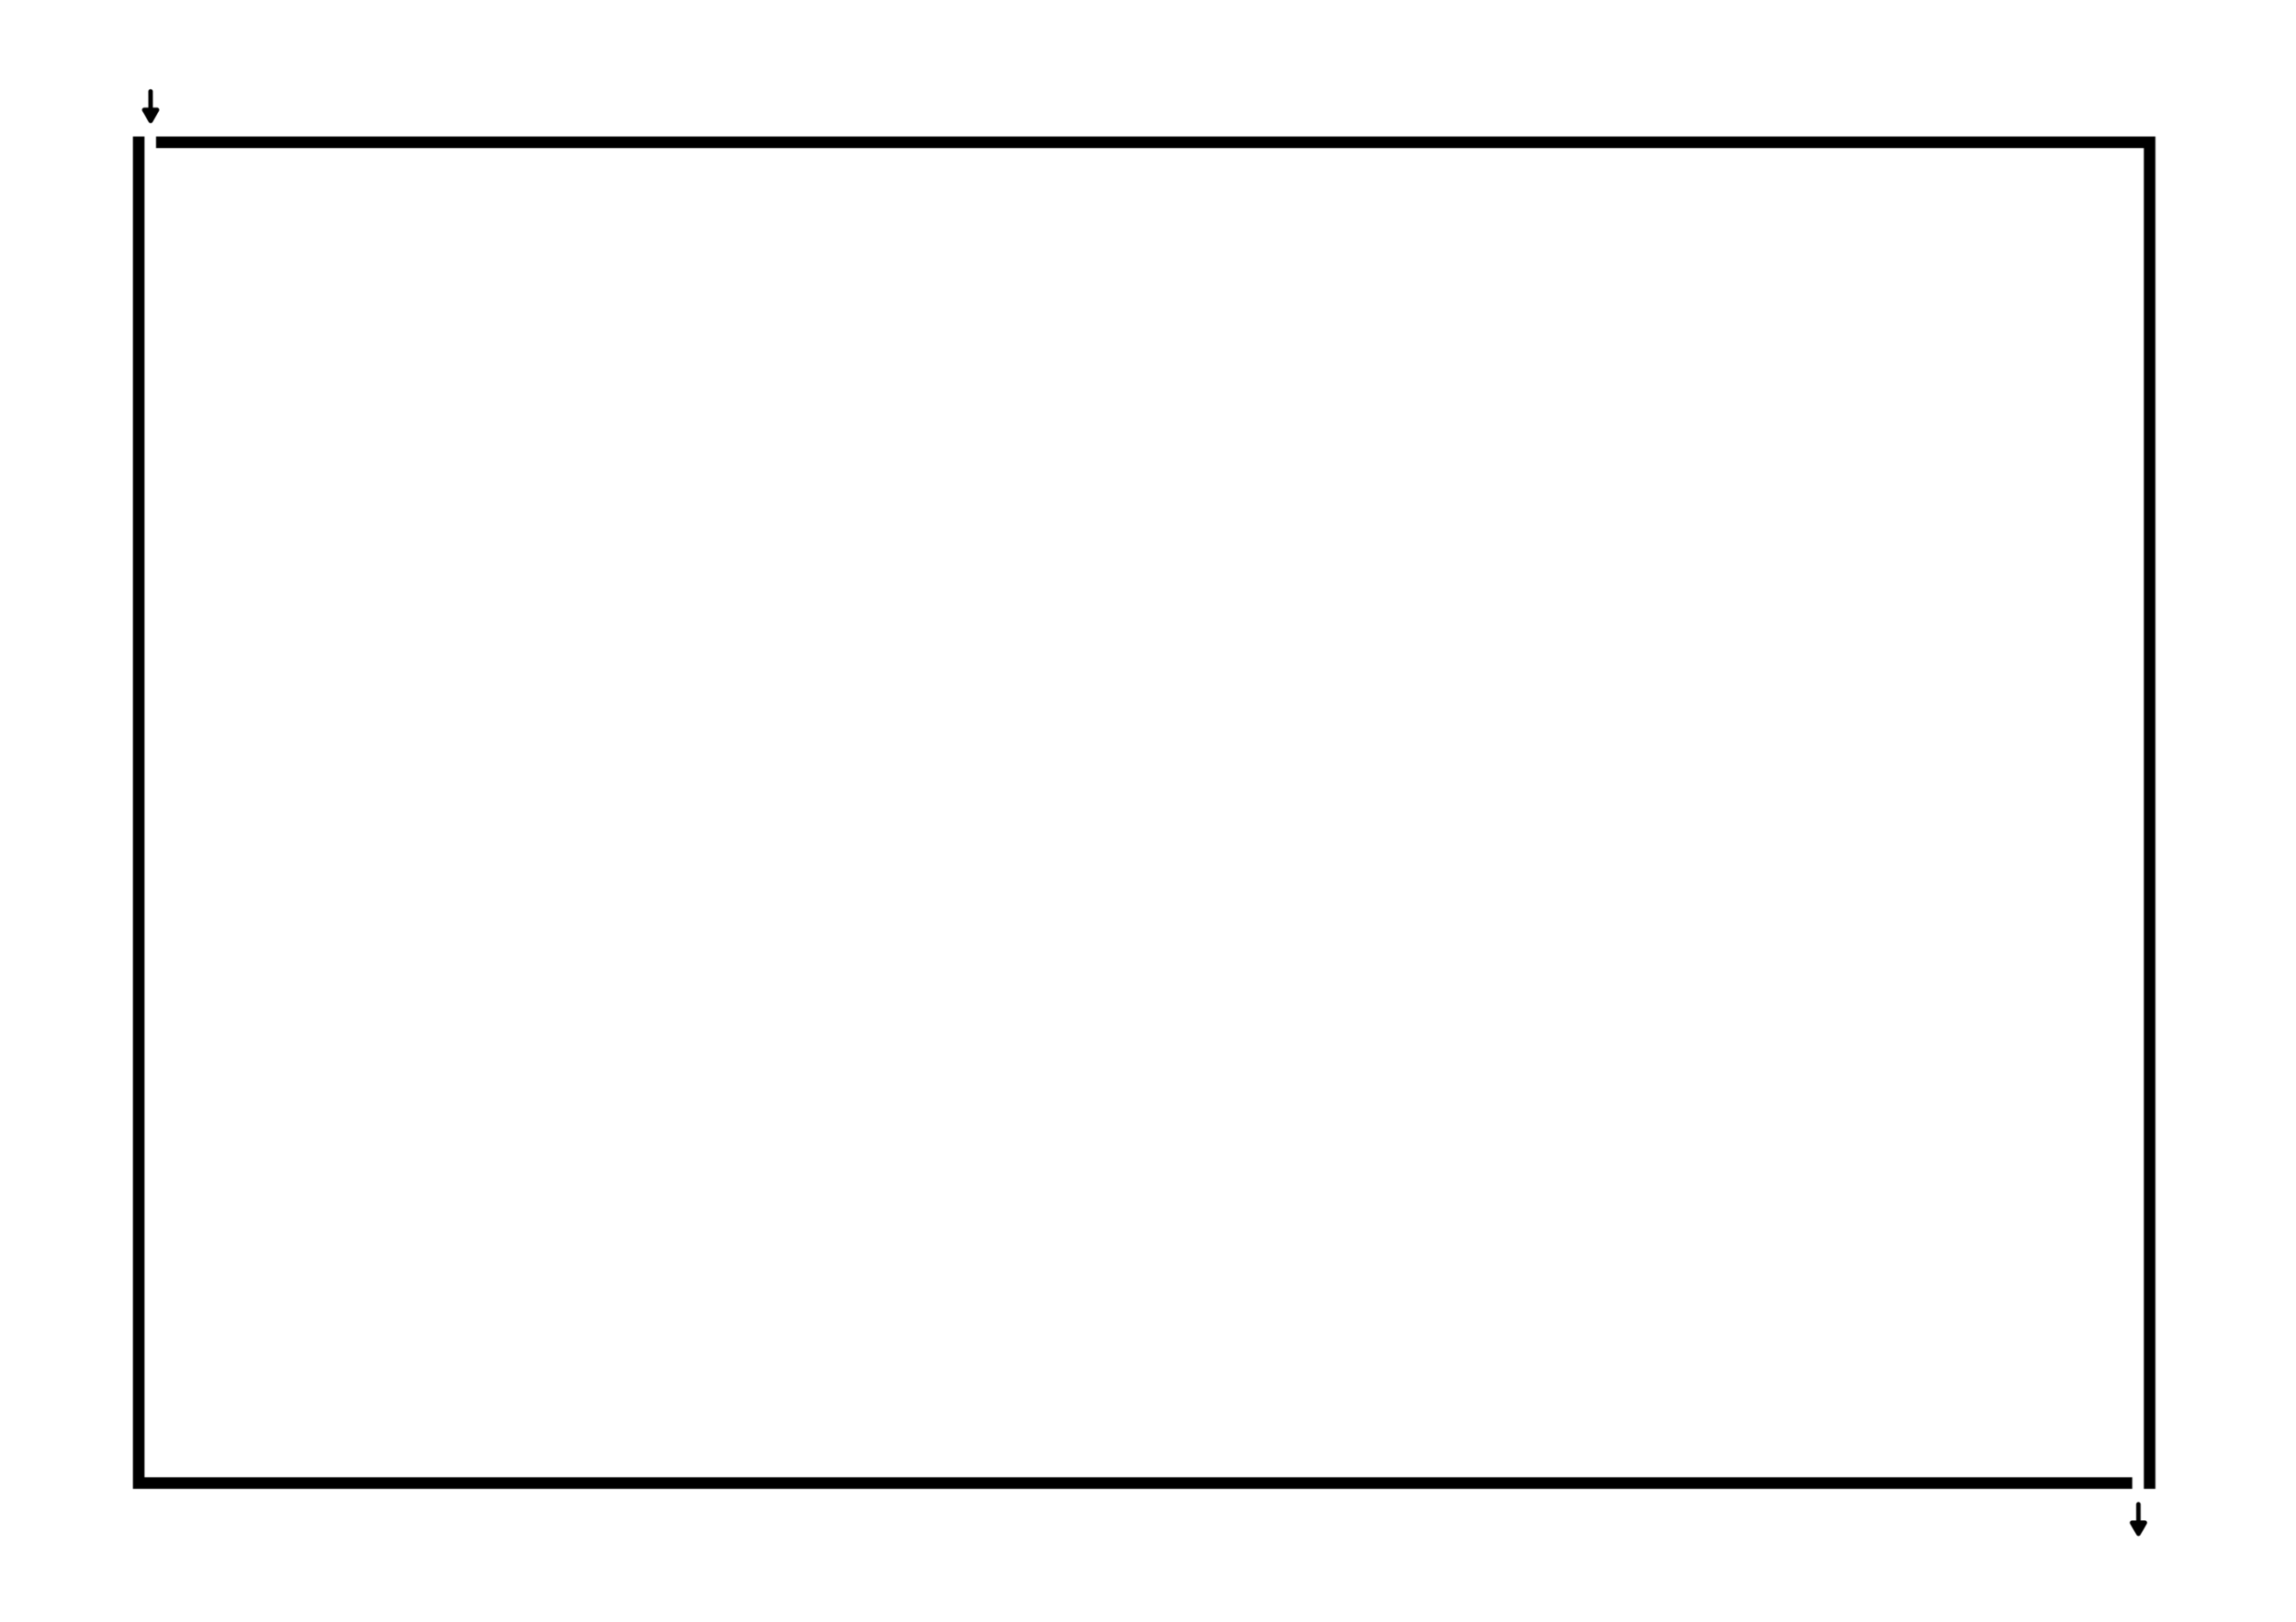
Now my hidden message mazes are boring in this regard as I make them to be used as the front of greeting cards. This means a simple rectangle.

Step 1.5 - Choose the Start and Goal

And this step is usually combined (thus step 1.5), and I present it that way here. Because English is written left to right the start will be on the left side of the page (I chose the top corner) and end on the right side (I chose the bottom right corner). I could have easily used the sides of the rectangle as start/goal.

blank rectangular maze

Step 2 - Write the Guide Message

Step 3 - Maze the Hidden Message

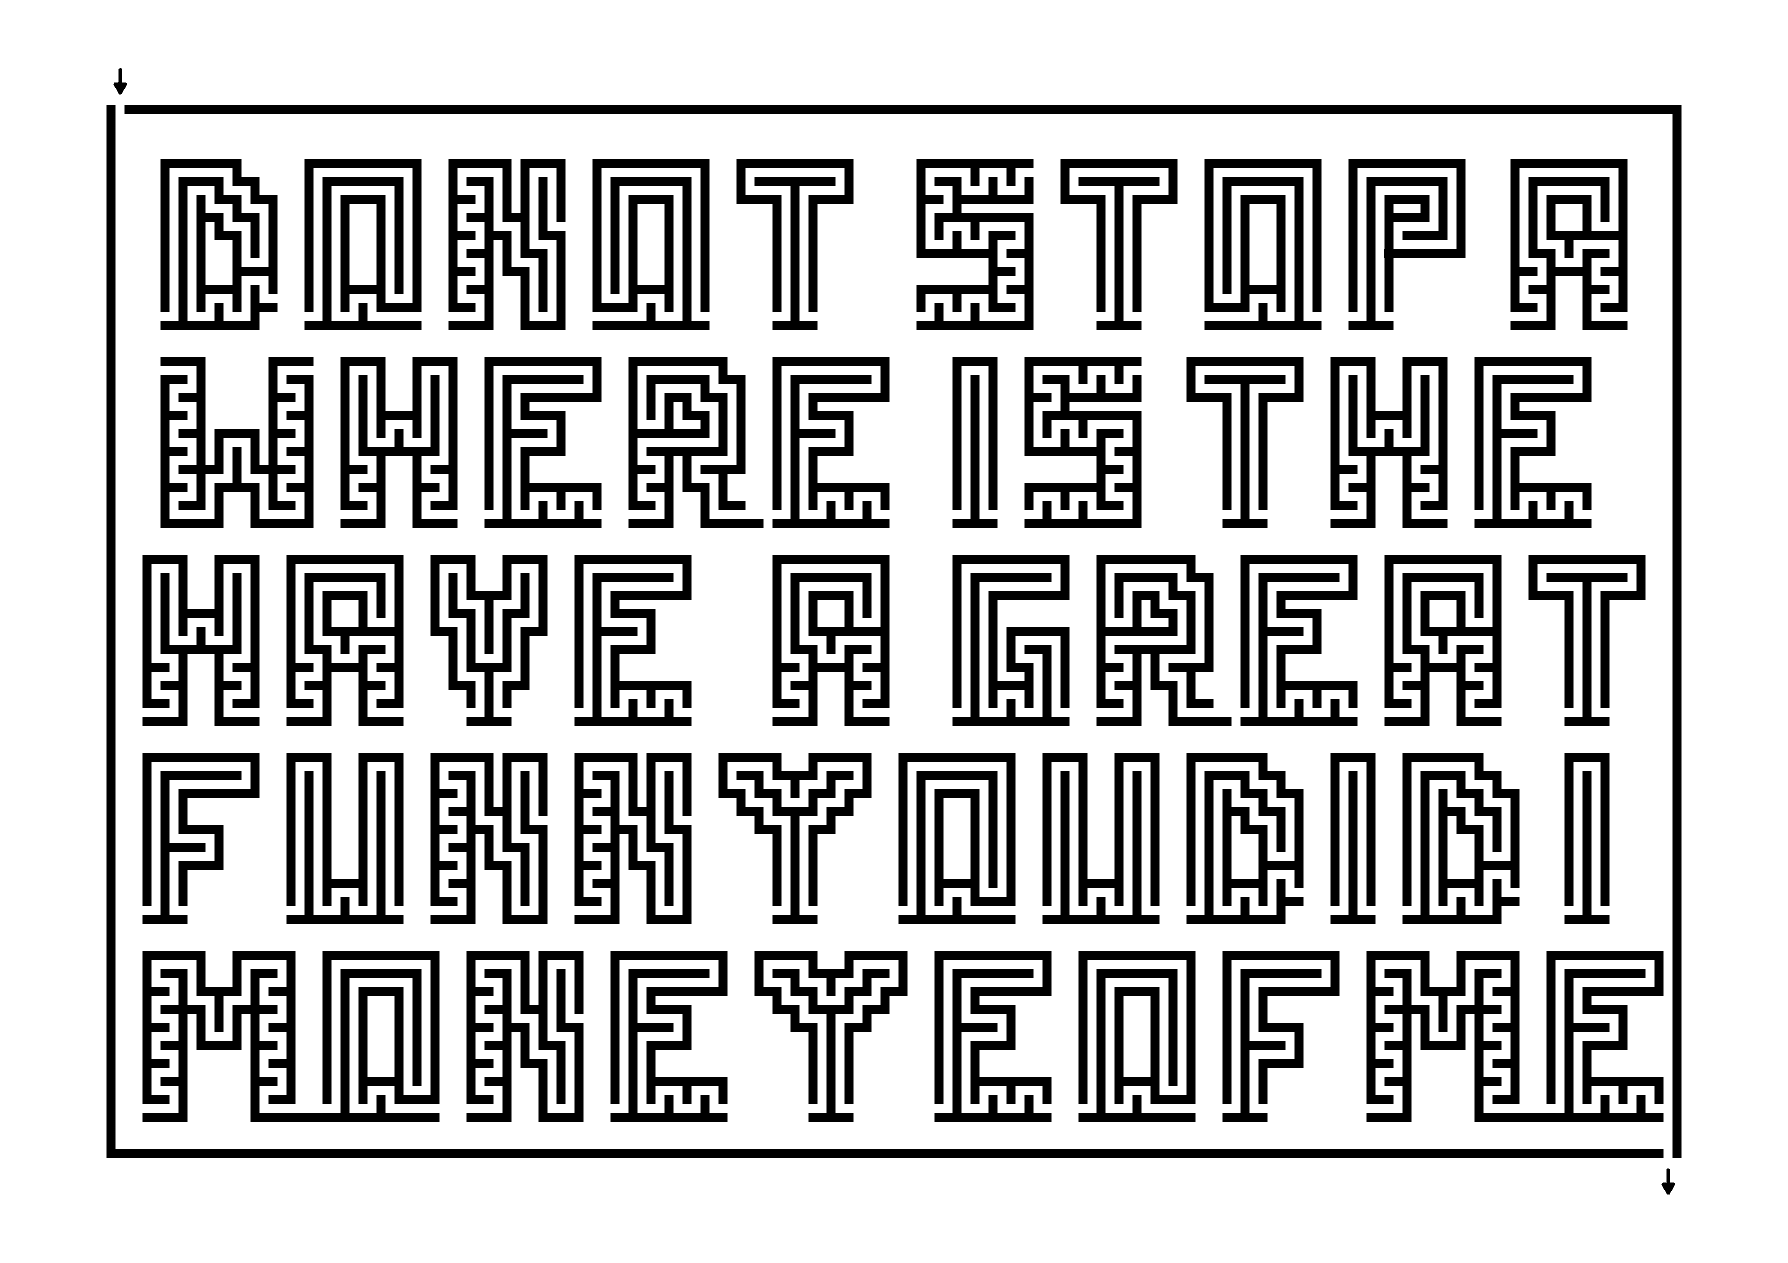
For my recent hidden message mazes I have used pre made mazed letters to speed things along. Here are my initial message possibilities. So, I do not use a guide message to make each letter from scratch each time.

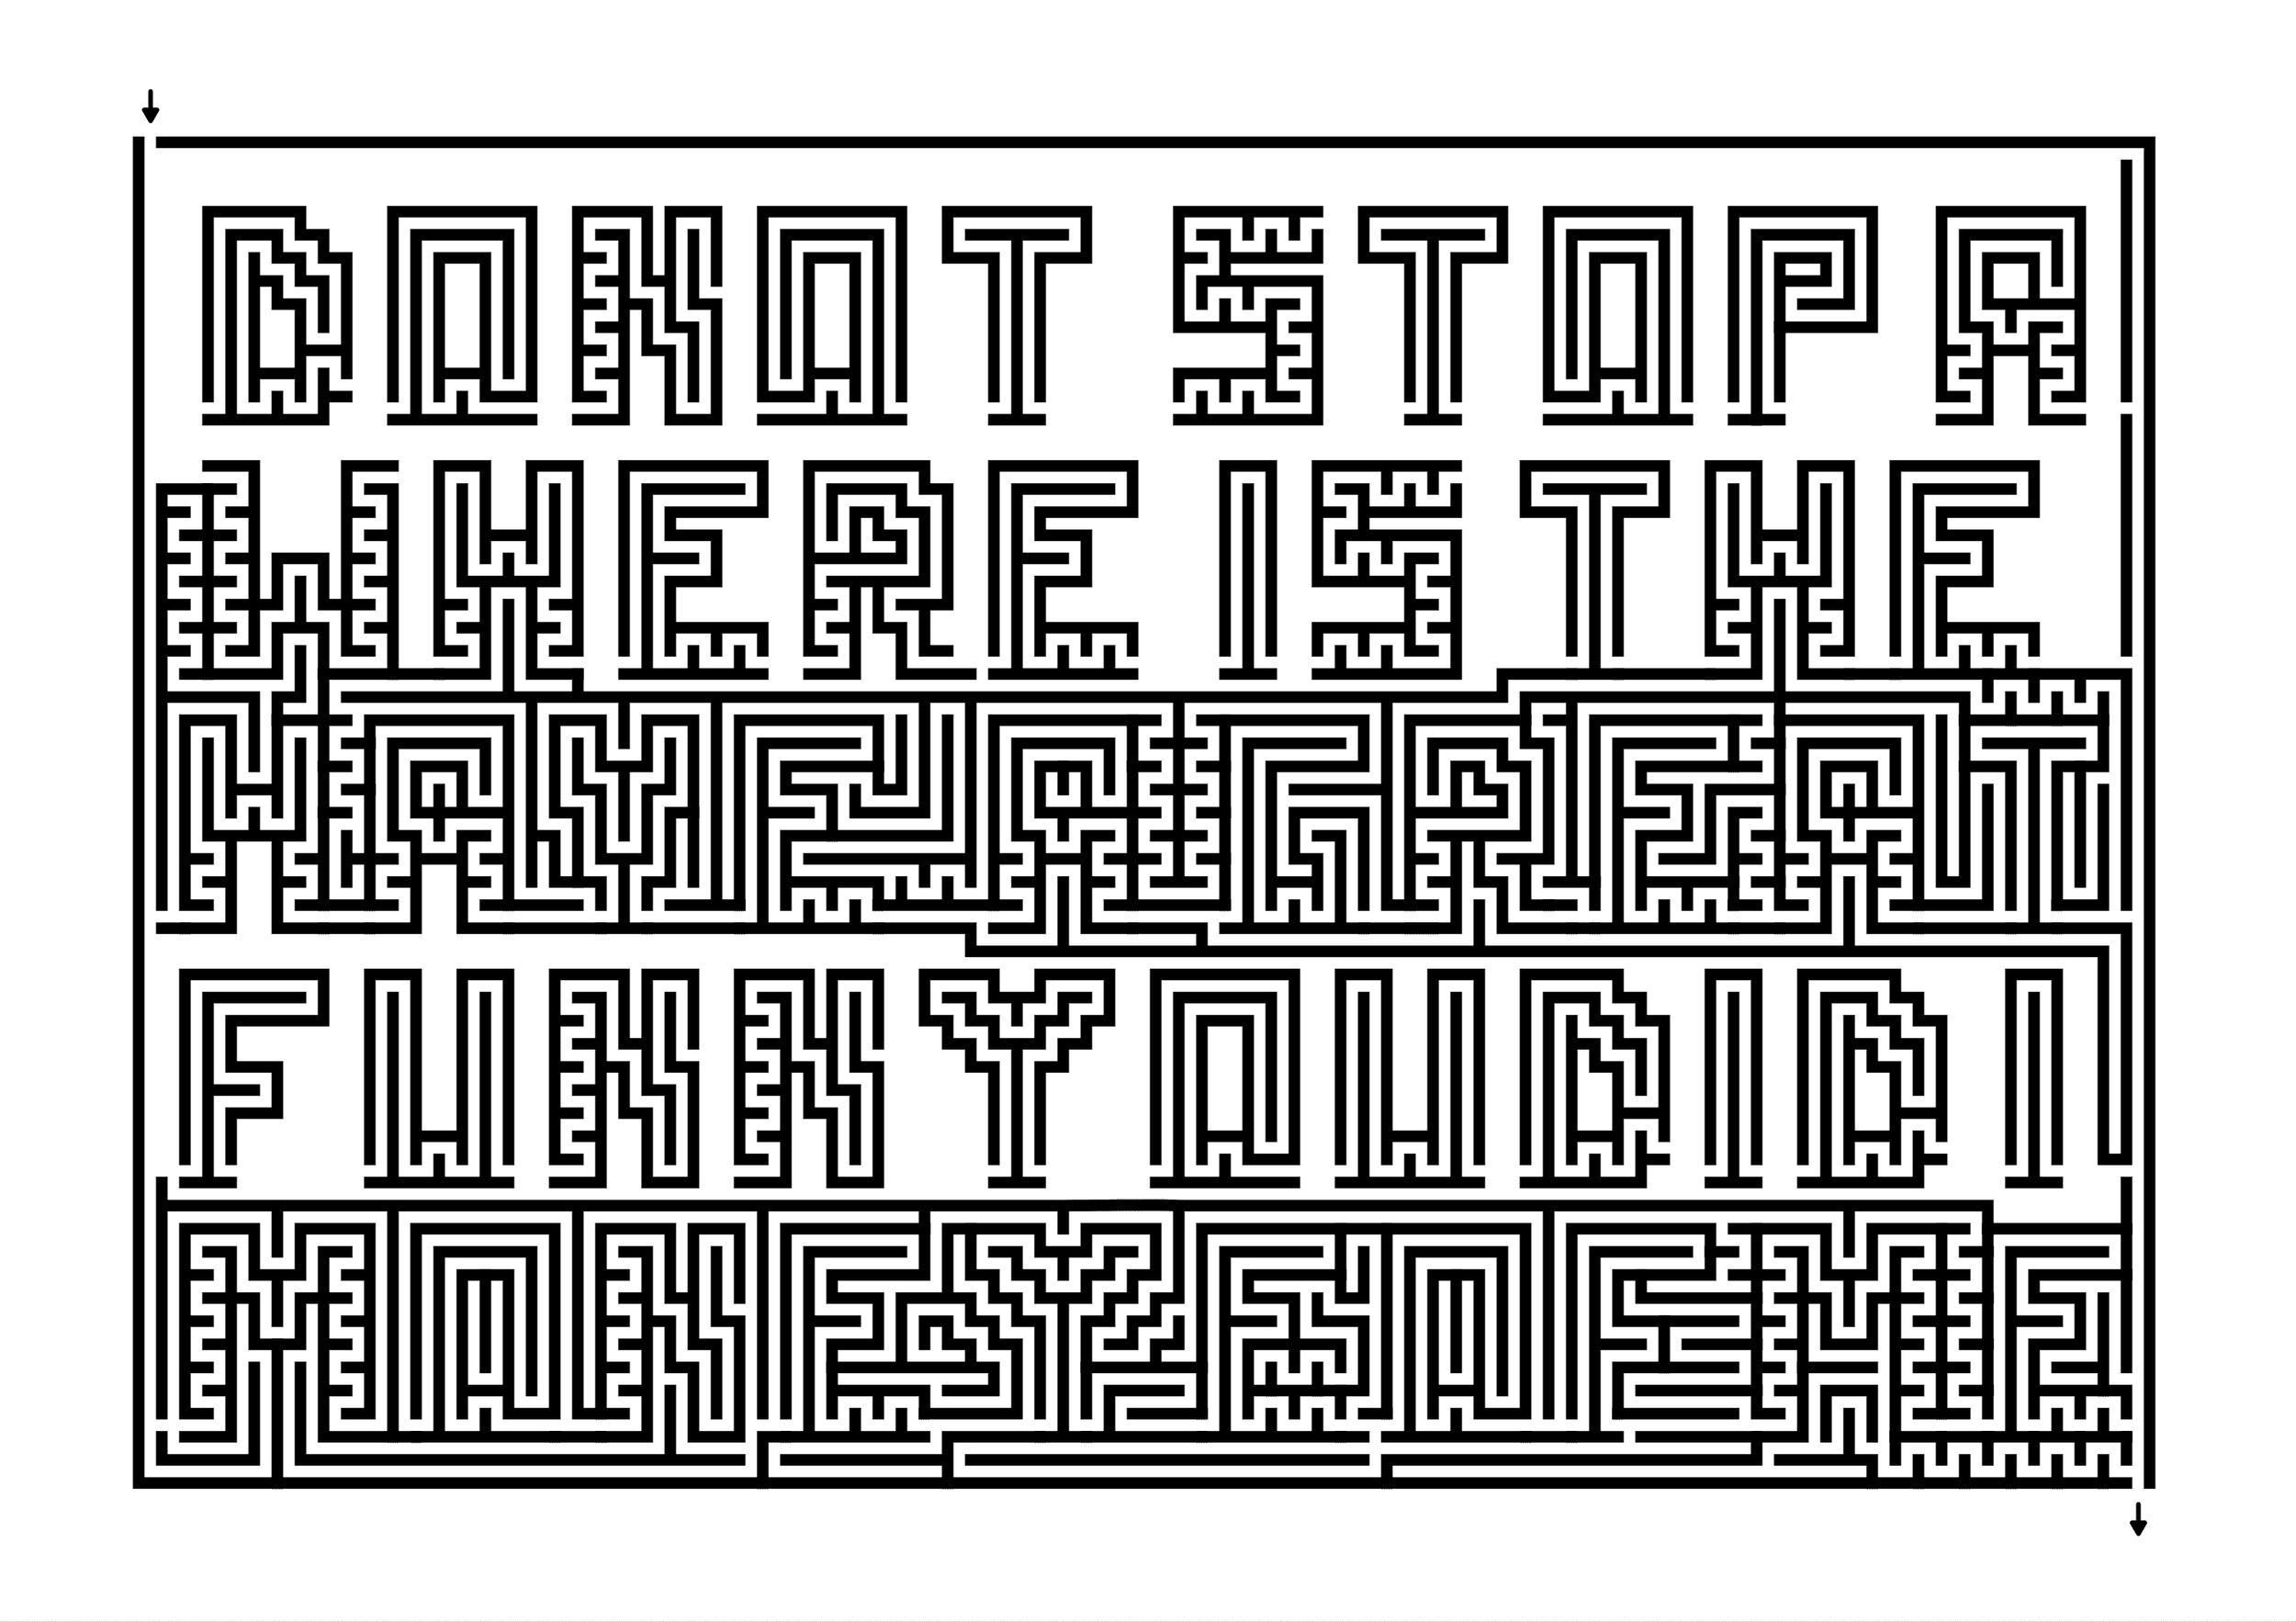
Rectangle full of mazed words

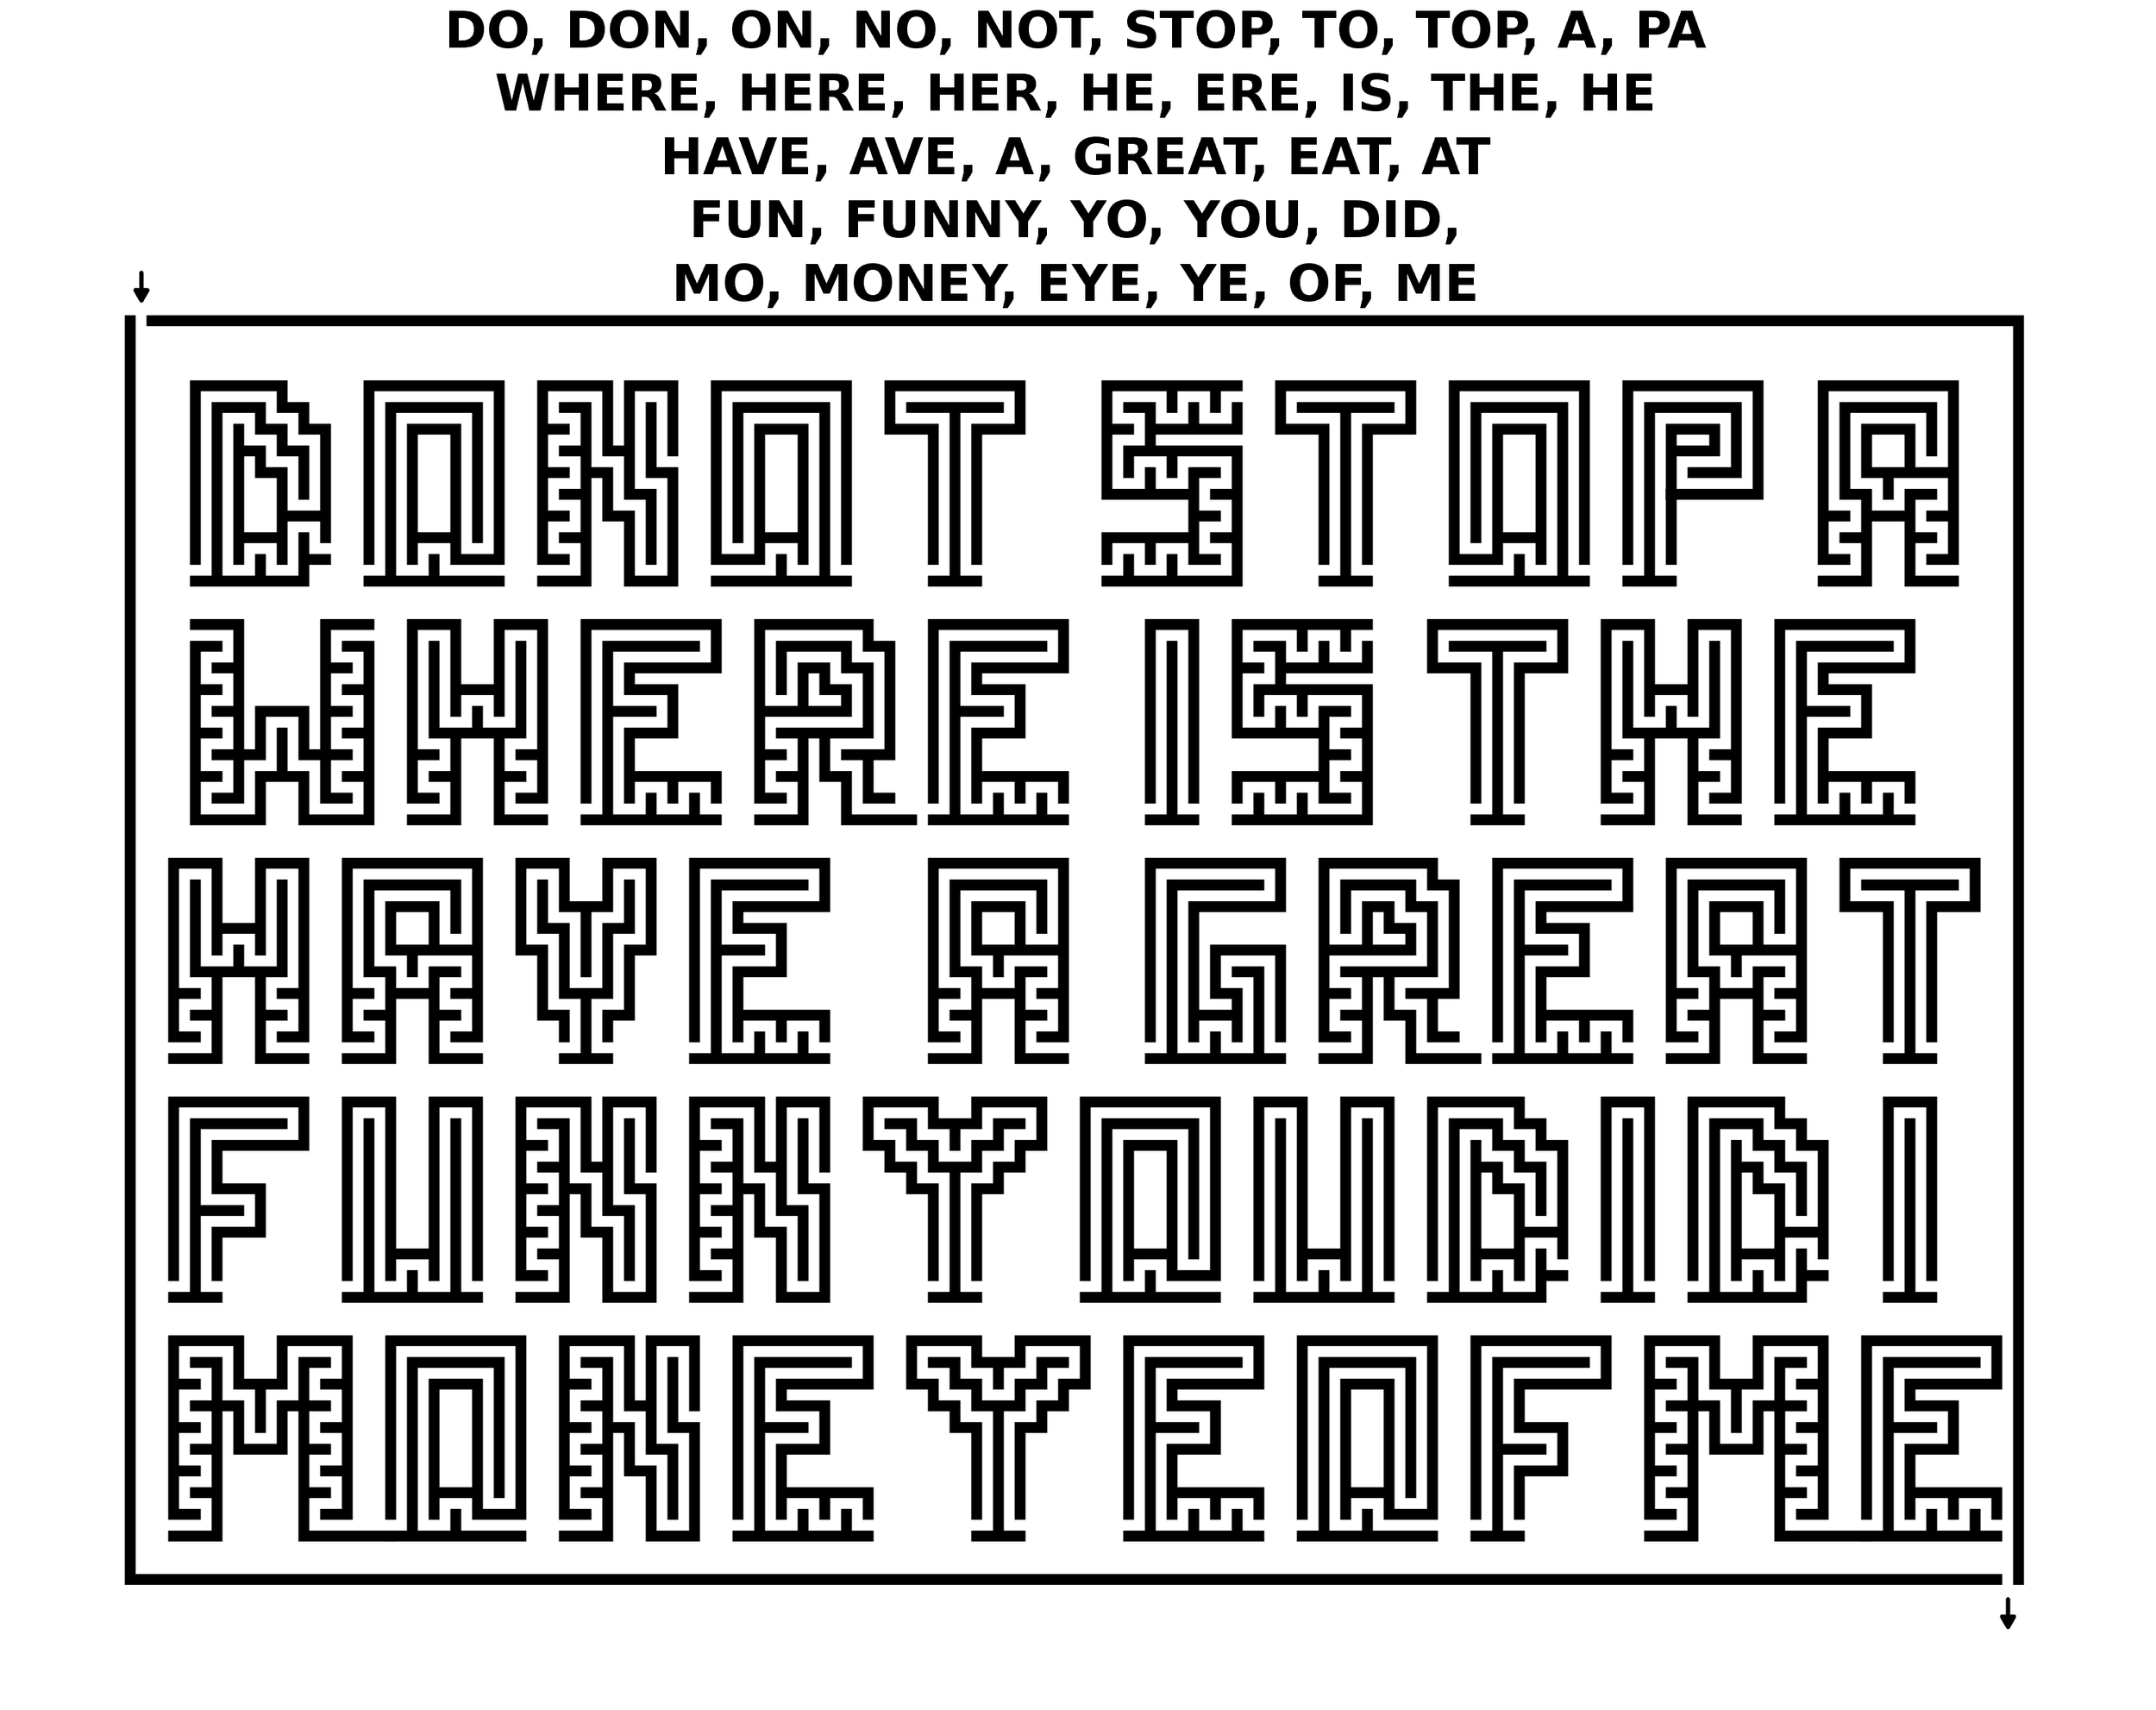
To confuse the solver I have added in a variety of false words that will not be used. While my initial hidden message mazes used one message and everything else was a false pathway, these are less about the false pathways and more about the false message. Here is a quick list of the possible words hidden in each row. I overlap some word possibilities, like the Y ending in funny also being the starting Y in you. This could also be expanded and made more difficult.

Here is where I actually fulfill Step 3 as this maze will say “Have a Great”. I make sure to close out any pathways so there are not any possible solves that don’t have a message.

Step 4 - Draw the False Pathways

I draw a message row one at a time to ensure that I do not mistakenly make an extra solve. I make my false pathways short on the left side of the maze so the solver knows they have chosen the wrong row quickly. So when I mazed the bottom row, you will not get past the M before reaching a dead end.

Or the F in the second to last row.

Again I did a dead end after the W

Step 5 - Complete the Maze

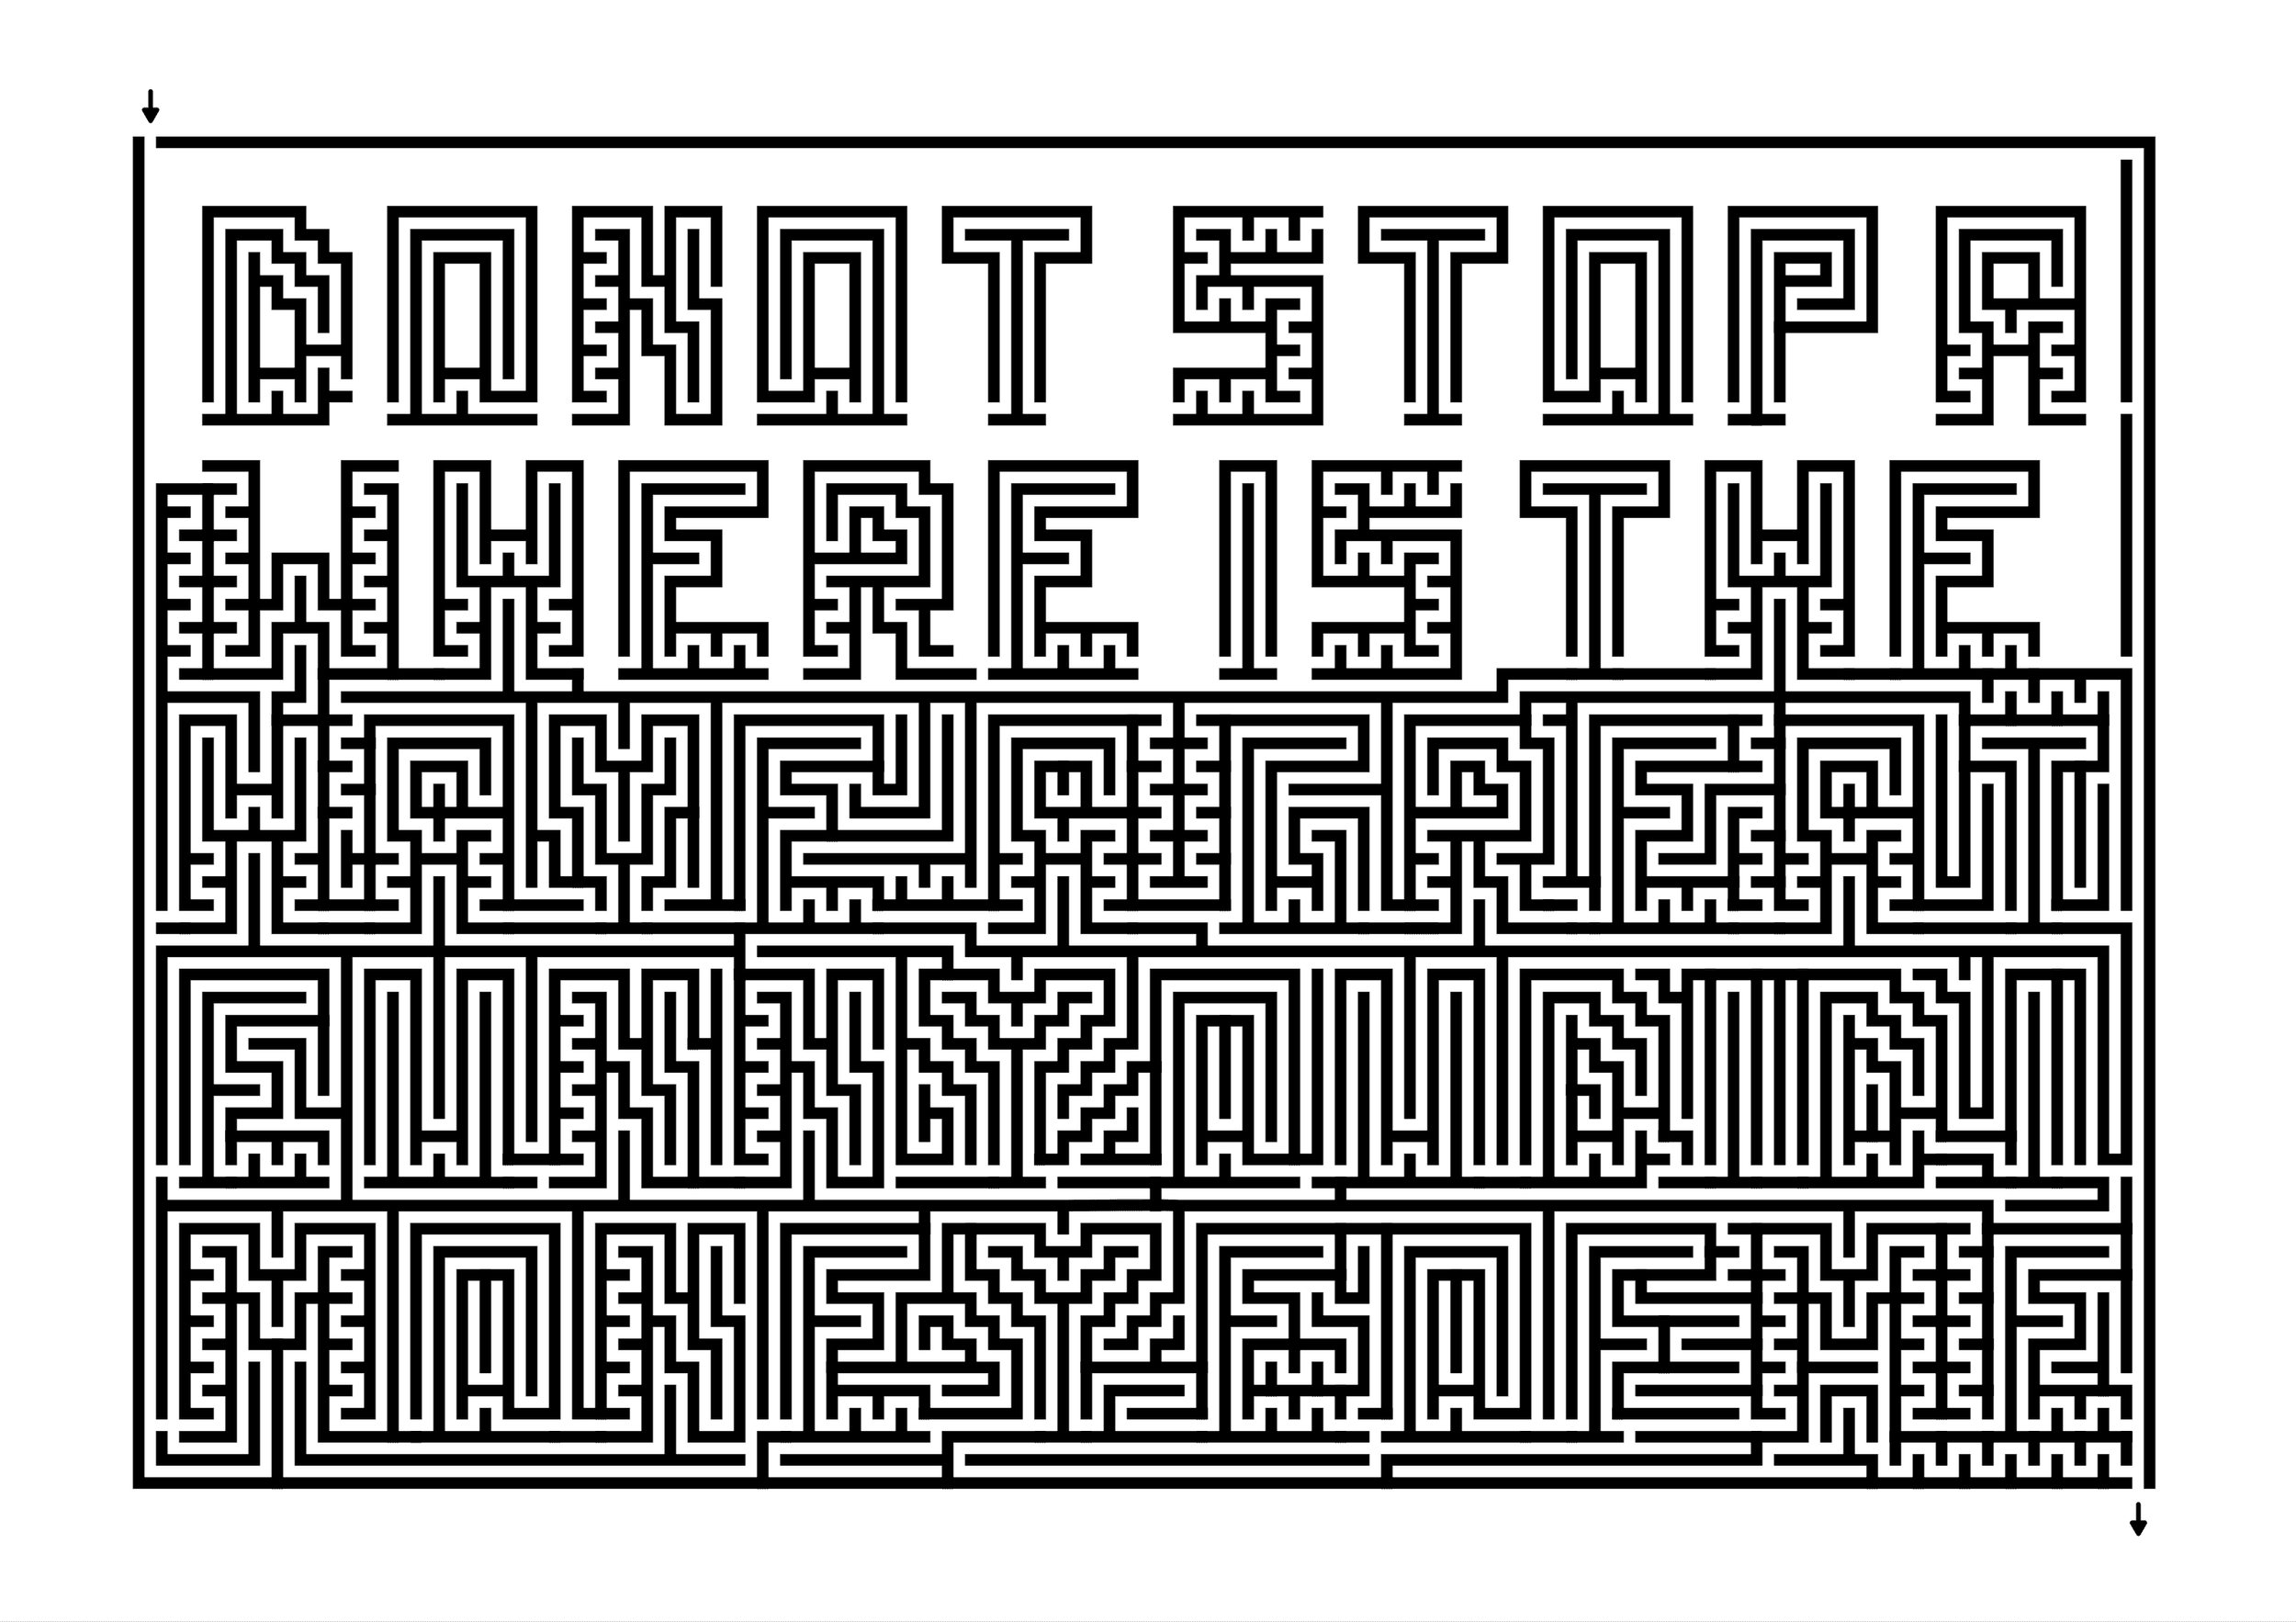
The first row uses DO before it dead ends. This completes the maze. Hopefully the use of all those letters and the false pathways filling in between make this a difficult maze to solve with your eyes. What do you think ?

Hidden Message Maze example

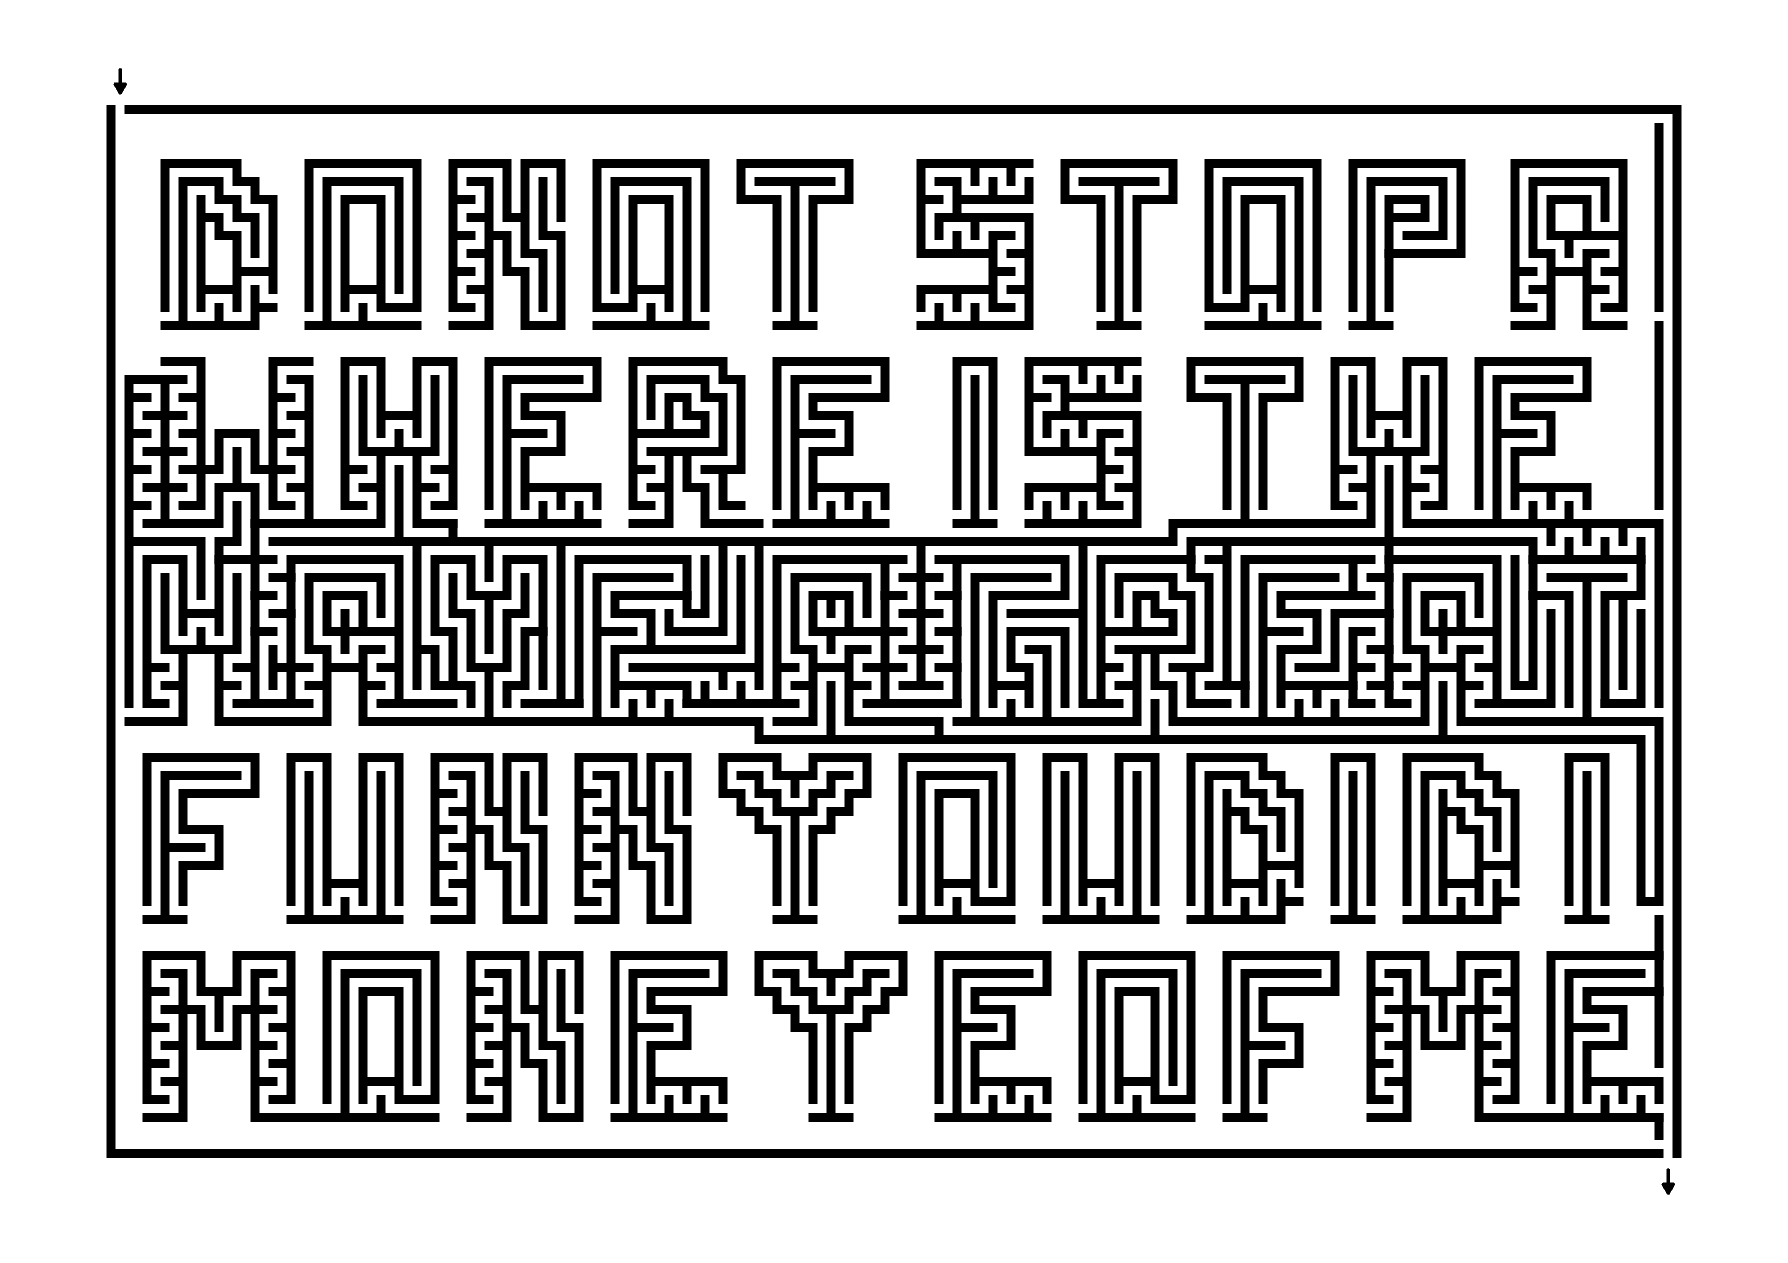
Step 6 - Make the Maze Solution

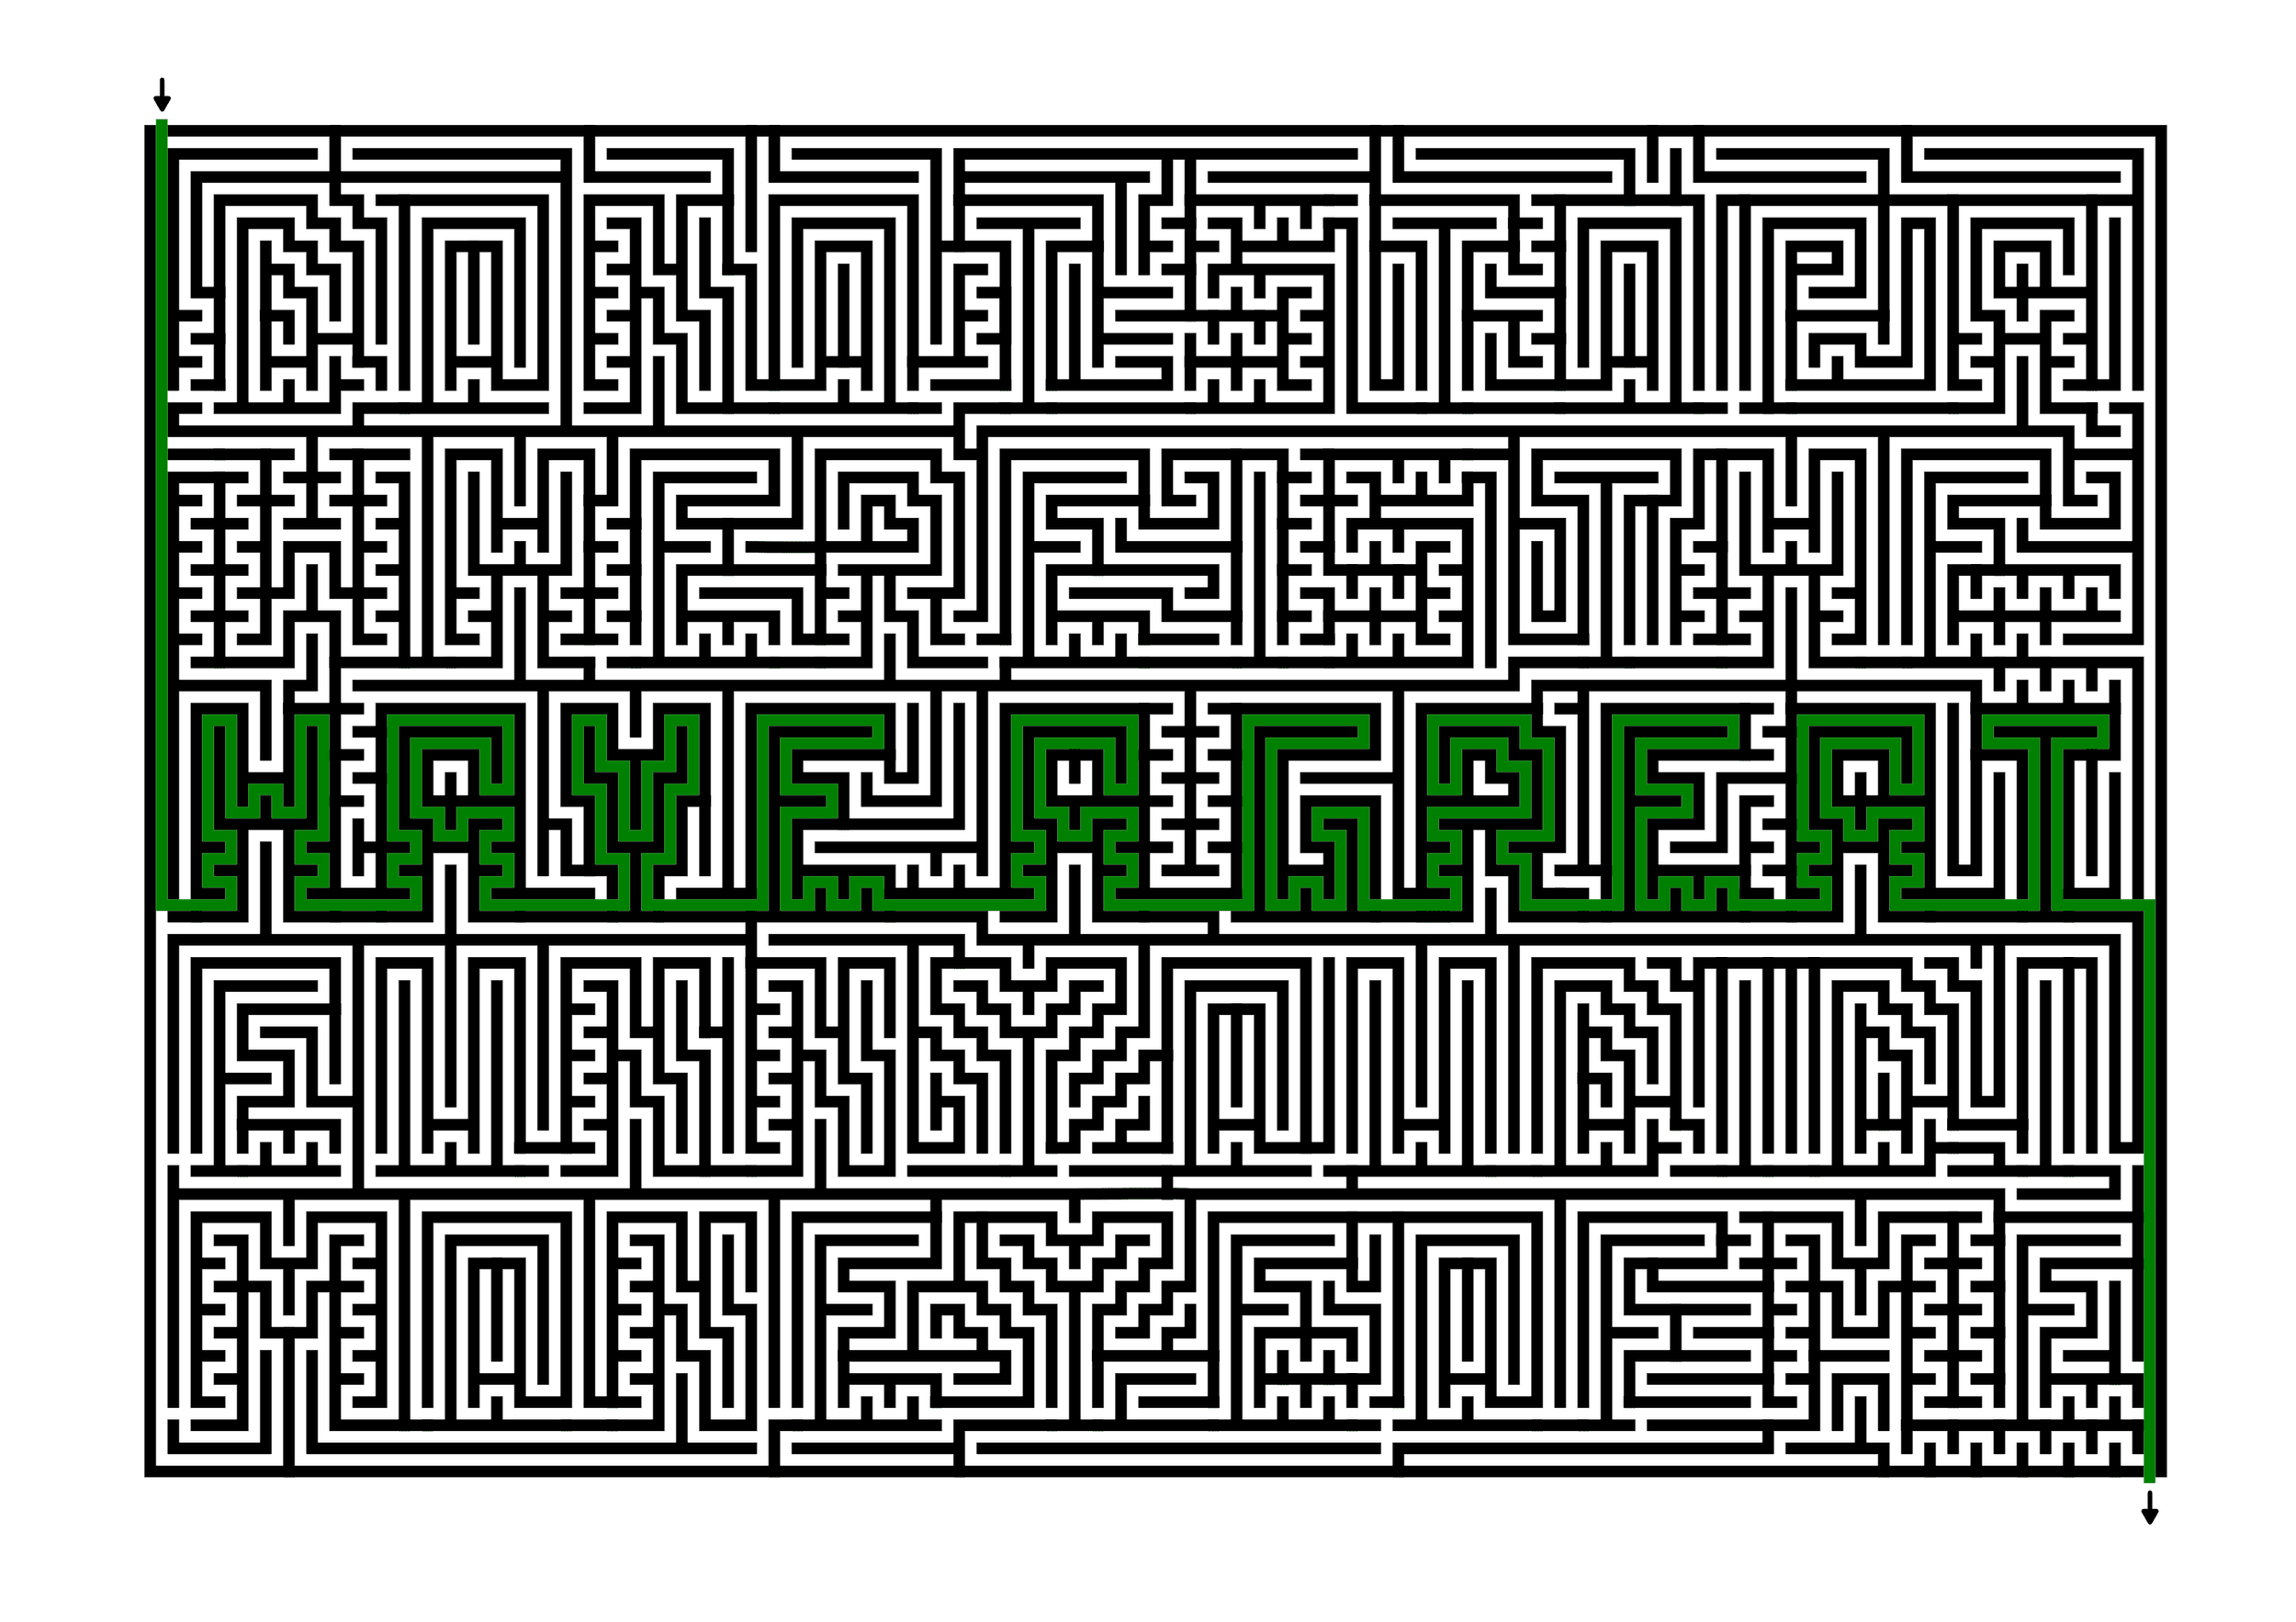
HIdden Message Maze solution - Have a Great

How to Make a Pod Maze

The 42nd type of maze construction is the Pod Maze. This construction came about from a collaboration with a friend, While the final product can look many different ways, the core ‘pod’ idea stays the same. Let’s define what a Pod maze is then get into the step by step instructions ! I have included a free downloadable book of 31 Pod Mazes at the end of the post.

Pod Maze - A Maze with separated sections, called pods, that must be traveled between to solve the maze. The ability to jump between pods is denoted by small arrows in the pathways.

How to Make a Pod Maze

Step 1 - Draw the Background and Pods

The background will determine the shape of the maze. I typically use a black background to match the color of the pathways I will be drawing. Matching these will save you headaches during construction ! The pod placement and shapes are your choice. Make sure you have enough places where it will become possible to move between pods. The spacing is up to you. In a simple maze closer together will be easier.

Design Option - make the background a light color and change it to the final color during the final step ! This allows the pathways to be more easily seen during drawing !

Black square with 4 large dots inside

Step 2 - Choose the Start and Goal (optional)

Choose the start, and optionally the goal and place them in the pods. The goal can always be moved later as the maze is constructed !

40.2 Pod Maze START GOAL.png

Step 3 - Start Mazing

I use a standard construction in the actual pods, but many other options would also work. As you move to the edges of a pod, add a small arrow to indicate where a pathway can cross into the next pod. The adjacent pod should have an arrow aligned in the same plane across to indicate the proper movement allowed as in the example below.

Design Option - When drawing the pathways you could stop them at the pod edges OR continue them across the background (these will be invisible when the background matches the pathway color). If you use a light color background during design this will help with the design !!

40.3 Pod Maze keep mazing.png

Step 4 - Keep mazing and finish the maze

Continue to draw pathways until you have finished completing the entire maze.

40.4 Pod Maze keep mazing.png
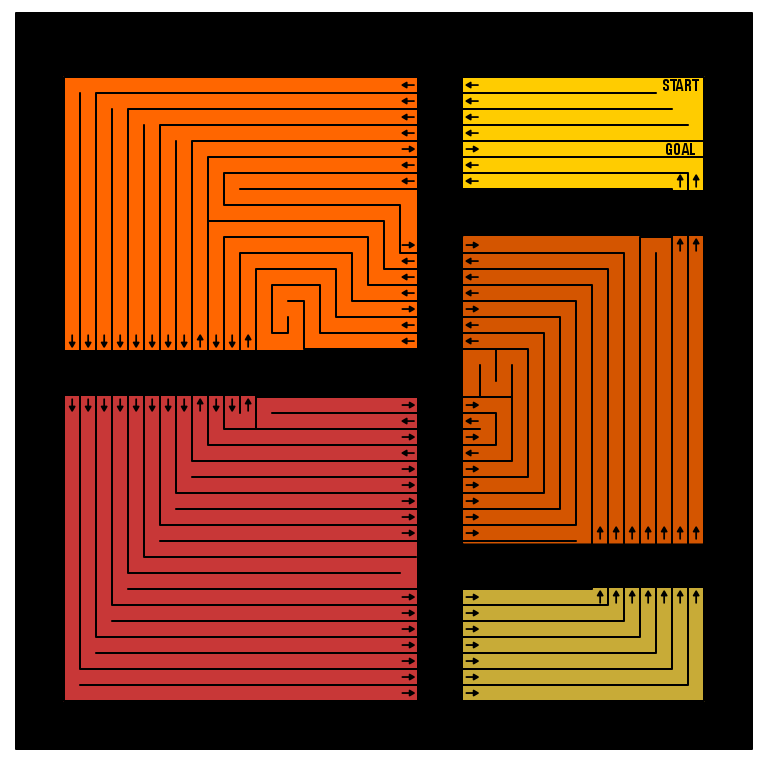
Pod Maze example

Step 5 - Create the Solution (optional)

Make a solution to the maze !

Pod Maze example Solution

Additional Pod Maze Examples

This additional example uses a spiral construction extensively within the maze.

Square Pod Maze 3 sections

And this second example adds some color to make the maze more interesting. Nice autumnal colors.

Pods Maze in autumnal colors

In this third example I mix a few different shapes, using triangles and a center circle as pods.

Pods Maze with purple shapes

Free Downloadable Pod Maze Book

Pod Maze Book Cover

The Pod Maze Book

A free downloadable book featuring 31 different pod mazes. Mazes come in a variety of shapes and colors. El libro esta disponible en Español tambien !

File Size: 329 KB

Step by step instructions on how to make over 40 different maze types.

Step by step instructions on how to make digital labyrinths.

Using color for Maze pathways - A Case Study

Today I will explore the use of colored pathways as a choice when creating a maze and show how that decision will impact the look of the maze. Previously I looked at 12 different pathway options with #11 being using colored pathways. As an example I used the red wine maze. As you can see the burgundy pathways define the wine resting in the wine glass. Easy to understand for the viewer/solver.

Red Wine Maze

But that maze is the end product, a result of a construction decision that I think was the correct one. Let’s look at a different maze that could be created with or without colored pathways and see what happens as we make different selections.

For our example we will be doing the famous Route 1 road sign from California, also known as the Pacific Coast Highway or simply the Coast Highway.

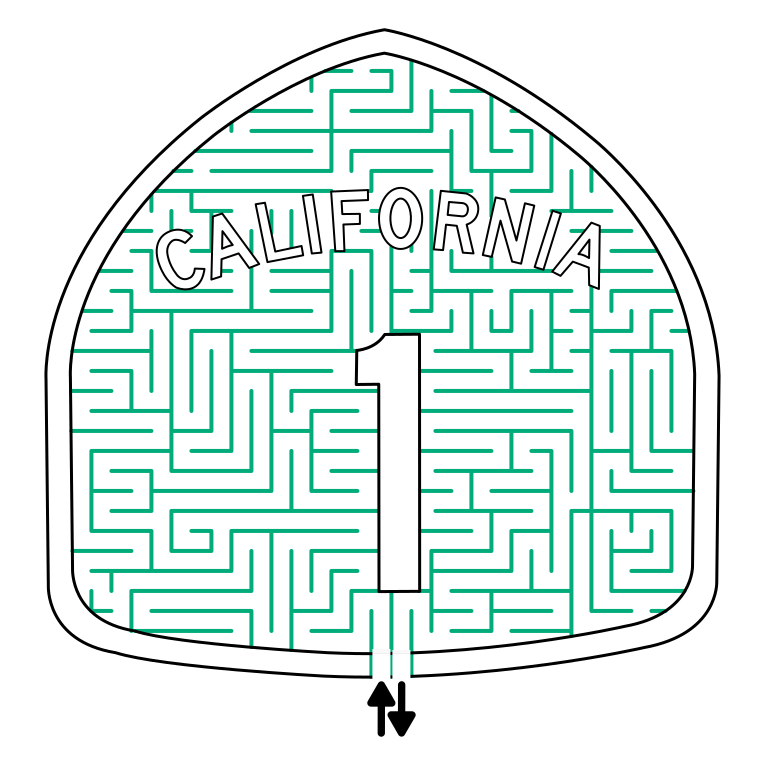
Maze Design 1 - Colored background used

Looks like the sign you might see on the side of the road (mazed!)

California Highway 1 Maze

Route 1 Sign Maze
Maze Design 2 - Pathways colored as is

For our second example we simply lose the background color and change the pathway color to the former background color. The maze sign is recognizable, but the color is very subtle but visible. For some designers this would be an acceptable solution. In this instance I would want this maze to have a bit more color….so
California Highway 1 Maze skinny walls

Maze Design 3 - Pathways colored, but twice as thick

So I took the maze above and doubled the thickness of the lines to increase the appearance of the color in the background. It definitely works to achieve more color. And, depending on how you feel about the maze you have designed this might be a great solution. But there are 2 more options, best these options should be decided on before you have started mazing.

California Highway 1 Maze - medium thickness walls

Maze Design 4 - Twice the pathways, original thickness

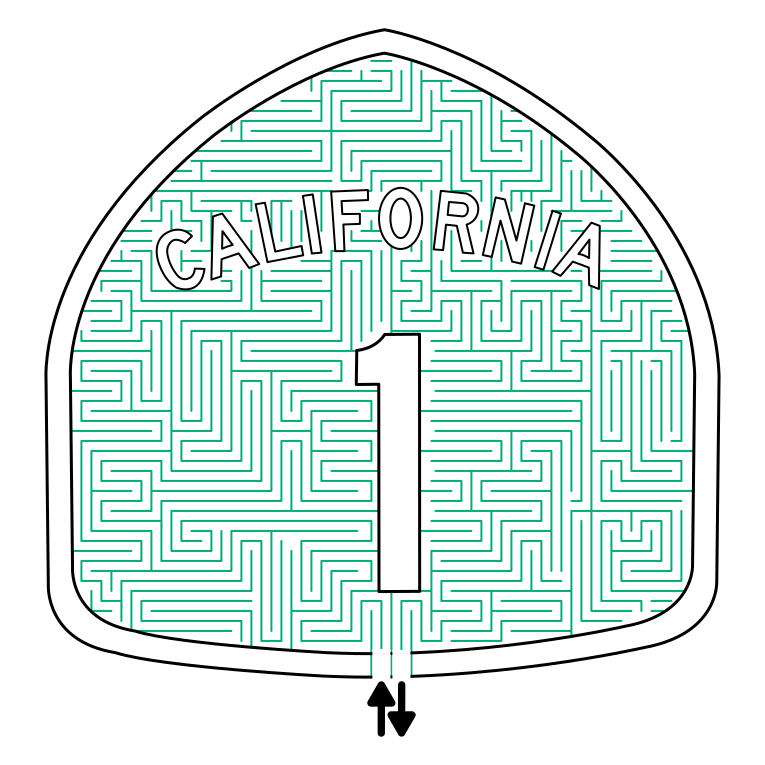
This option will make for a maze that is twice as long (or at least has twice as many pathways). For the example I cut the original maze in half (not recommended) to quickly construct it. The result is a darker background, a more difficult maze, and a longer design and drawing process. This is a nice option if you want to increase difficulty. There is certainly enough space to make this complicated ! We do have 1 more option to look at…

California Highway 1 Maze - many  pathways

Maze Design 5 - Twice the pathways, double thickness

To bring the options full circle I took Maze design 4 and doubled the thickness of the pathways as I had before in Maze Design 3. The width almost switches this maze from a standard maze construction to a standard equal maze construction. Lots of color in this one.

California Highway 1 Maze - many thick pathways

So those are 4 possible designs for the same maze, with 4 different colored pathway options. I wanted to illustrate that the use of color is about more than color you assign the path, but also about their spacing and their thickness. Any could be used depending on how you want the final maze to look and the difficulty you want to give the solver. Here is a comparison of all 4 colored pathway examples together so you can more easily compare them. Which do you prefer ?

Example of how wall thickness changes how a maze looks

Maze options - Conditional Path options

Welcome to Part 3 of my 3 part series on maze construction options. Previously, I gave you step by step instructions to make over 40 different maze constructions. But making a maze also means making a series of different decisions, each that will change the look and difficulty of the maze. Here are the Parts we will cover in the series:

Part 1 - Starting and Ending a Maze

Part 2 - Maze Path options

Part 3 - Conditional Path options

Let’s get started with Part 3: Conditional Path Options

In Part 1 we looked at starting and ending your maze. In Part 2 we looked at all the different options for making your pathways. Today we look at a specific subset of maze construction that I call Conditional Path Mazes. This group of mazes is a choice you make as a maze maker to give your solver a bit of an extra challenge. Call them what you want, but can they follow a set of guidelines, conditions, or rules to solve the maze ? Let’s look at types:

1 - Find Items Maze

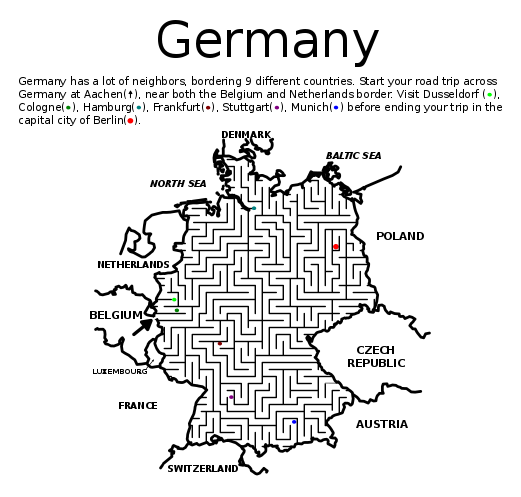
This is a simple condition mostly. You move through the maze from start to finish, but along the way there are places you need to visit to essentially find items, thus the name. It also works well for Map mazes, where finding the item, or visiting the city is the goal of the maze. Here’s a Germany maze for example:

Note: A subset of this version would be the find items in order maze, where you stipulate the order things must be found/visited.

Germany Map Maze

2 - Avoid Items Maze

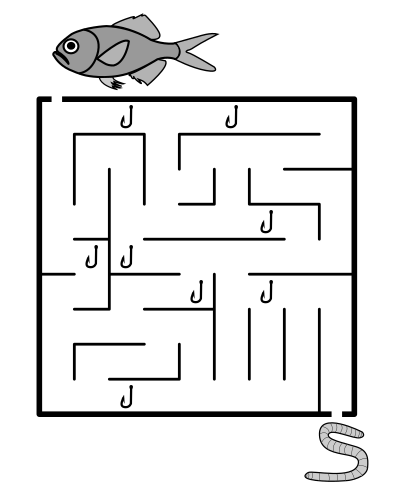
The opposite of finding is avoiding, at least for maze construction. This is a natural option for mazes, after all you are already avoiding dead ends !! Really these Avoid Items just create artificial dead ends within the maze, and hopefully help tell a story. Like this example of a Fish avoiding hooks. I could have made more walls but what fun is that ?

Kids Maze - Fish finds a worm

3 - Directional Mazes

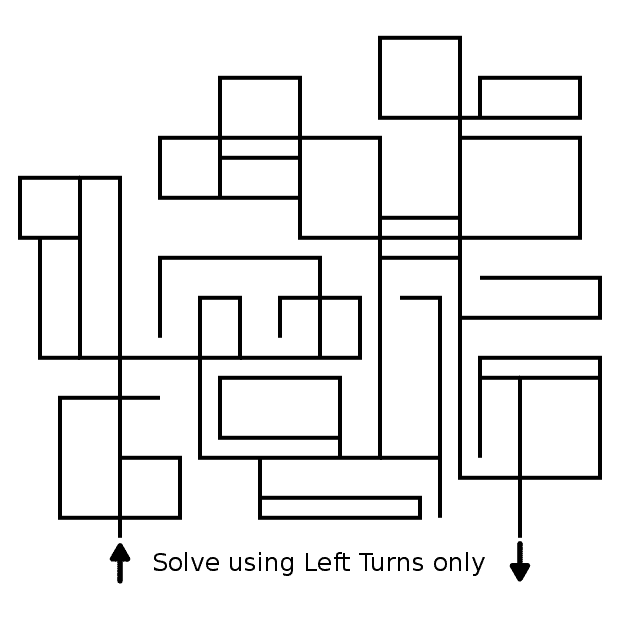
A maze that states the directions you may move in is a directional maze. To reference Part 2 in the series on pathways, this could be a regular pathway or online. Below is an On Line Maze with the condition that you can only turn left to solve it.

Left Turn Only Maze

4 - Puzzle Maze

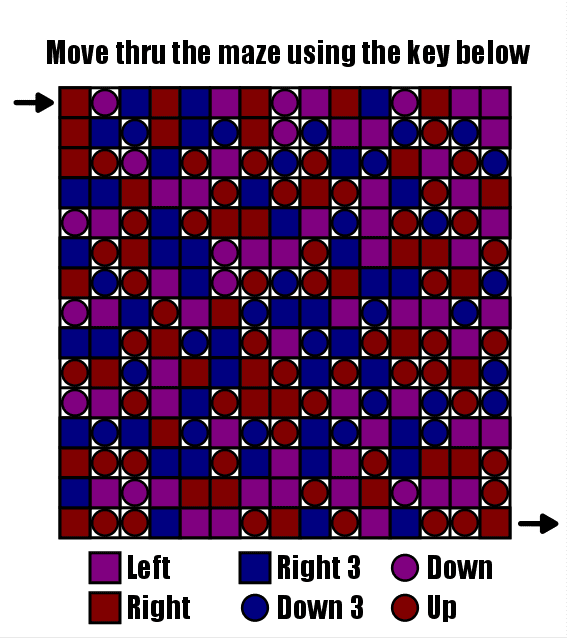
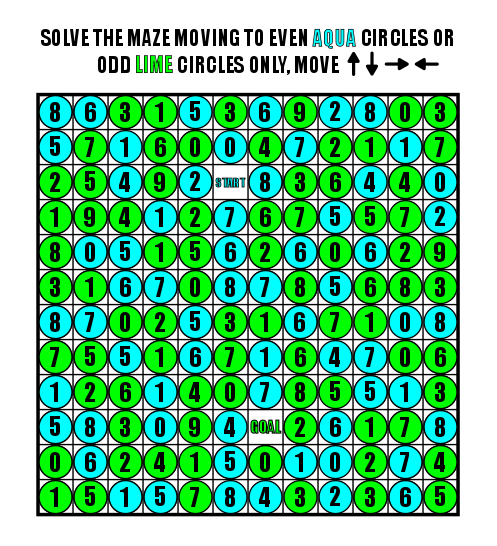
The condition of this maze type determines your movement. This means solving a puzzle to determine your movement thru the maze. In the first example below the movement is determined with a key - you must follow the directions to solve the maze and there are no choices, but with the 2nd puzzle movement is determined by rules - and there are multiple possible ways to move between grids.

Puzzle Maze
Puzzle Maze #2

5 - Letter Maze

Simply the rules involve letters…and in this version you have choices on where you move…i.e. this M or that M from START.

Letter Maze

6 - Number Mazes

Or similarly, numbers to determine movement. This particular variation is based on division and is a Counting maze.

Count by 3's Kids math maze

7 - Color Grid Maze

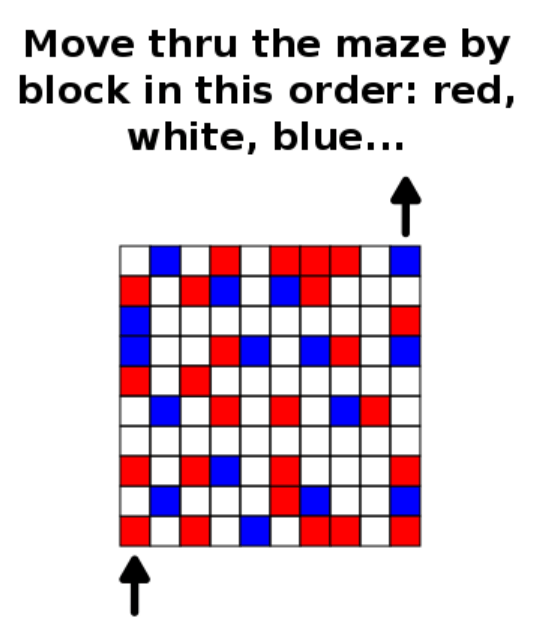
Movement thru the maze is determined by following a series of colors in order.

Color Grid Maze

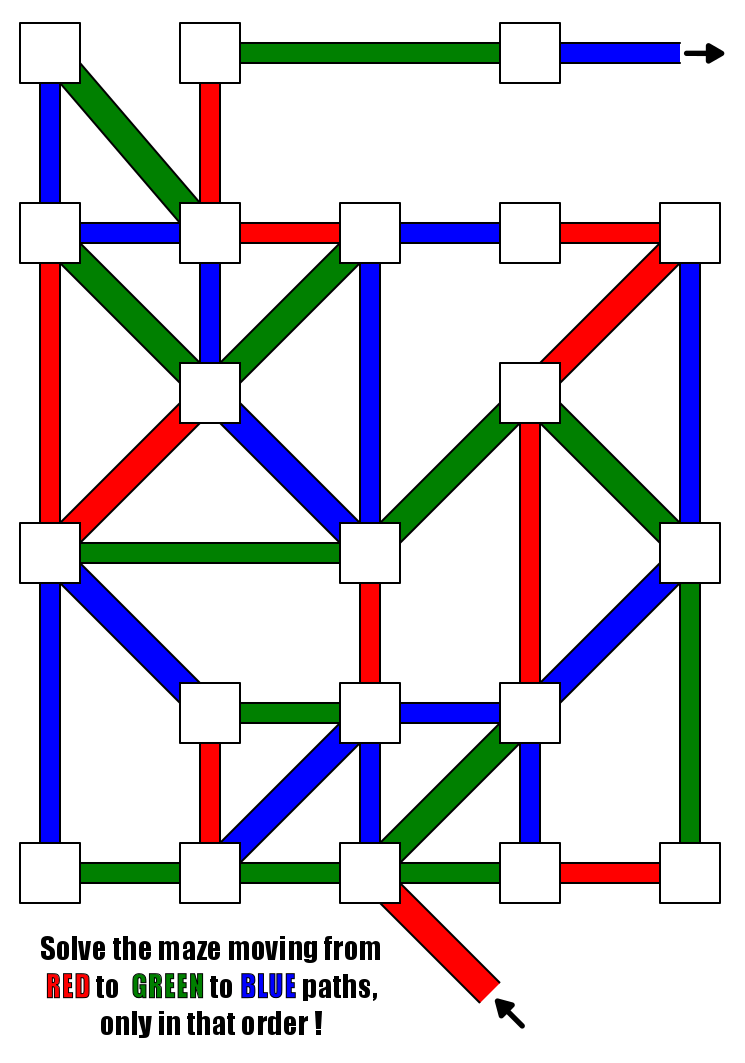
8 - Conditional Color Path Maze

Similar to #7 but the pathways change colors rather than being colored blocks. As someone who makes a lot of mazes these are both fun and challenging to create. The non grid format gives you options to get complicated and math-y !! If you are a maze maker I suggest you try to make one of these.

Conditional Pathway Maze

9 - Non Reusable Pathways

This is used in a Go & Return Maze and sometimes in Find Items Mazes. The solver is asked to move thru the maze and never visit the same place more than once while solving. These tend to have “open floor plans” when it comes to walls. You want freedom of movement and choice to complicate the solve.

Kids Find Items Maze -Ants find sugar

10 - Go & Return Maze

A Go & Return Maze is part #9 Non-reusable Pathway and part #1 Find Items Maze combined with a Start/Goal that is the same. So maybe this is a combination of things we have already covered, and maybe it isn’t. I thought it was unique enough to get it’s own option. In a Go & Return Maze you go from start to an internal part in the maze, then return back to start without using the same path. Those are the conditions to solve ! Here is an example:

Triangular Go and Return Maze

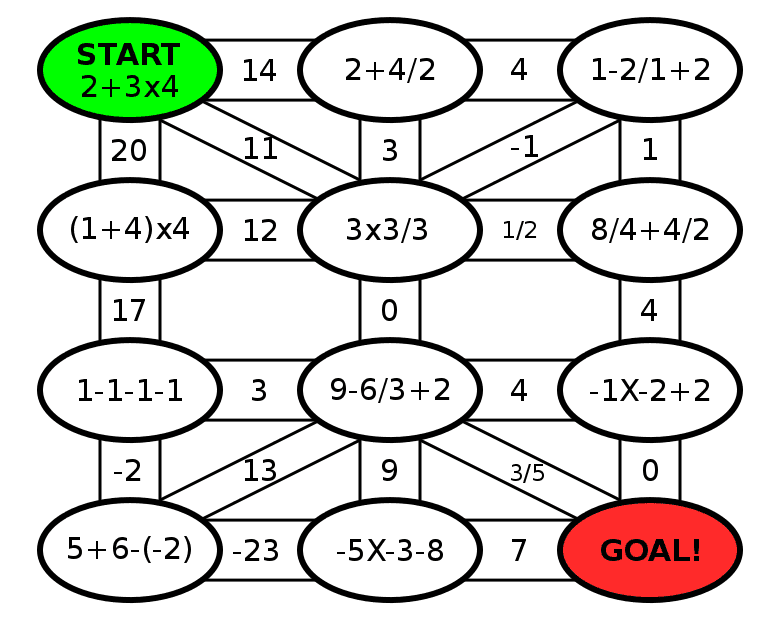
11 - Math Maze

A variation of the number maze where your movement is determined by needing to solve a math problem to correctly advance. If you are interested I have made 11 different Math Maze Templates that are free to download.

Order of Operations Math Maze