Maze of the Week 27 Redux - Lincoln Memorial (MOTW #163)

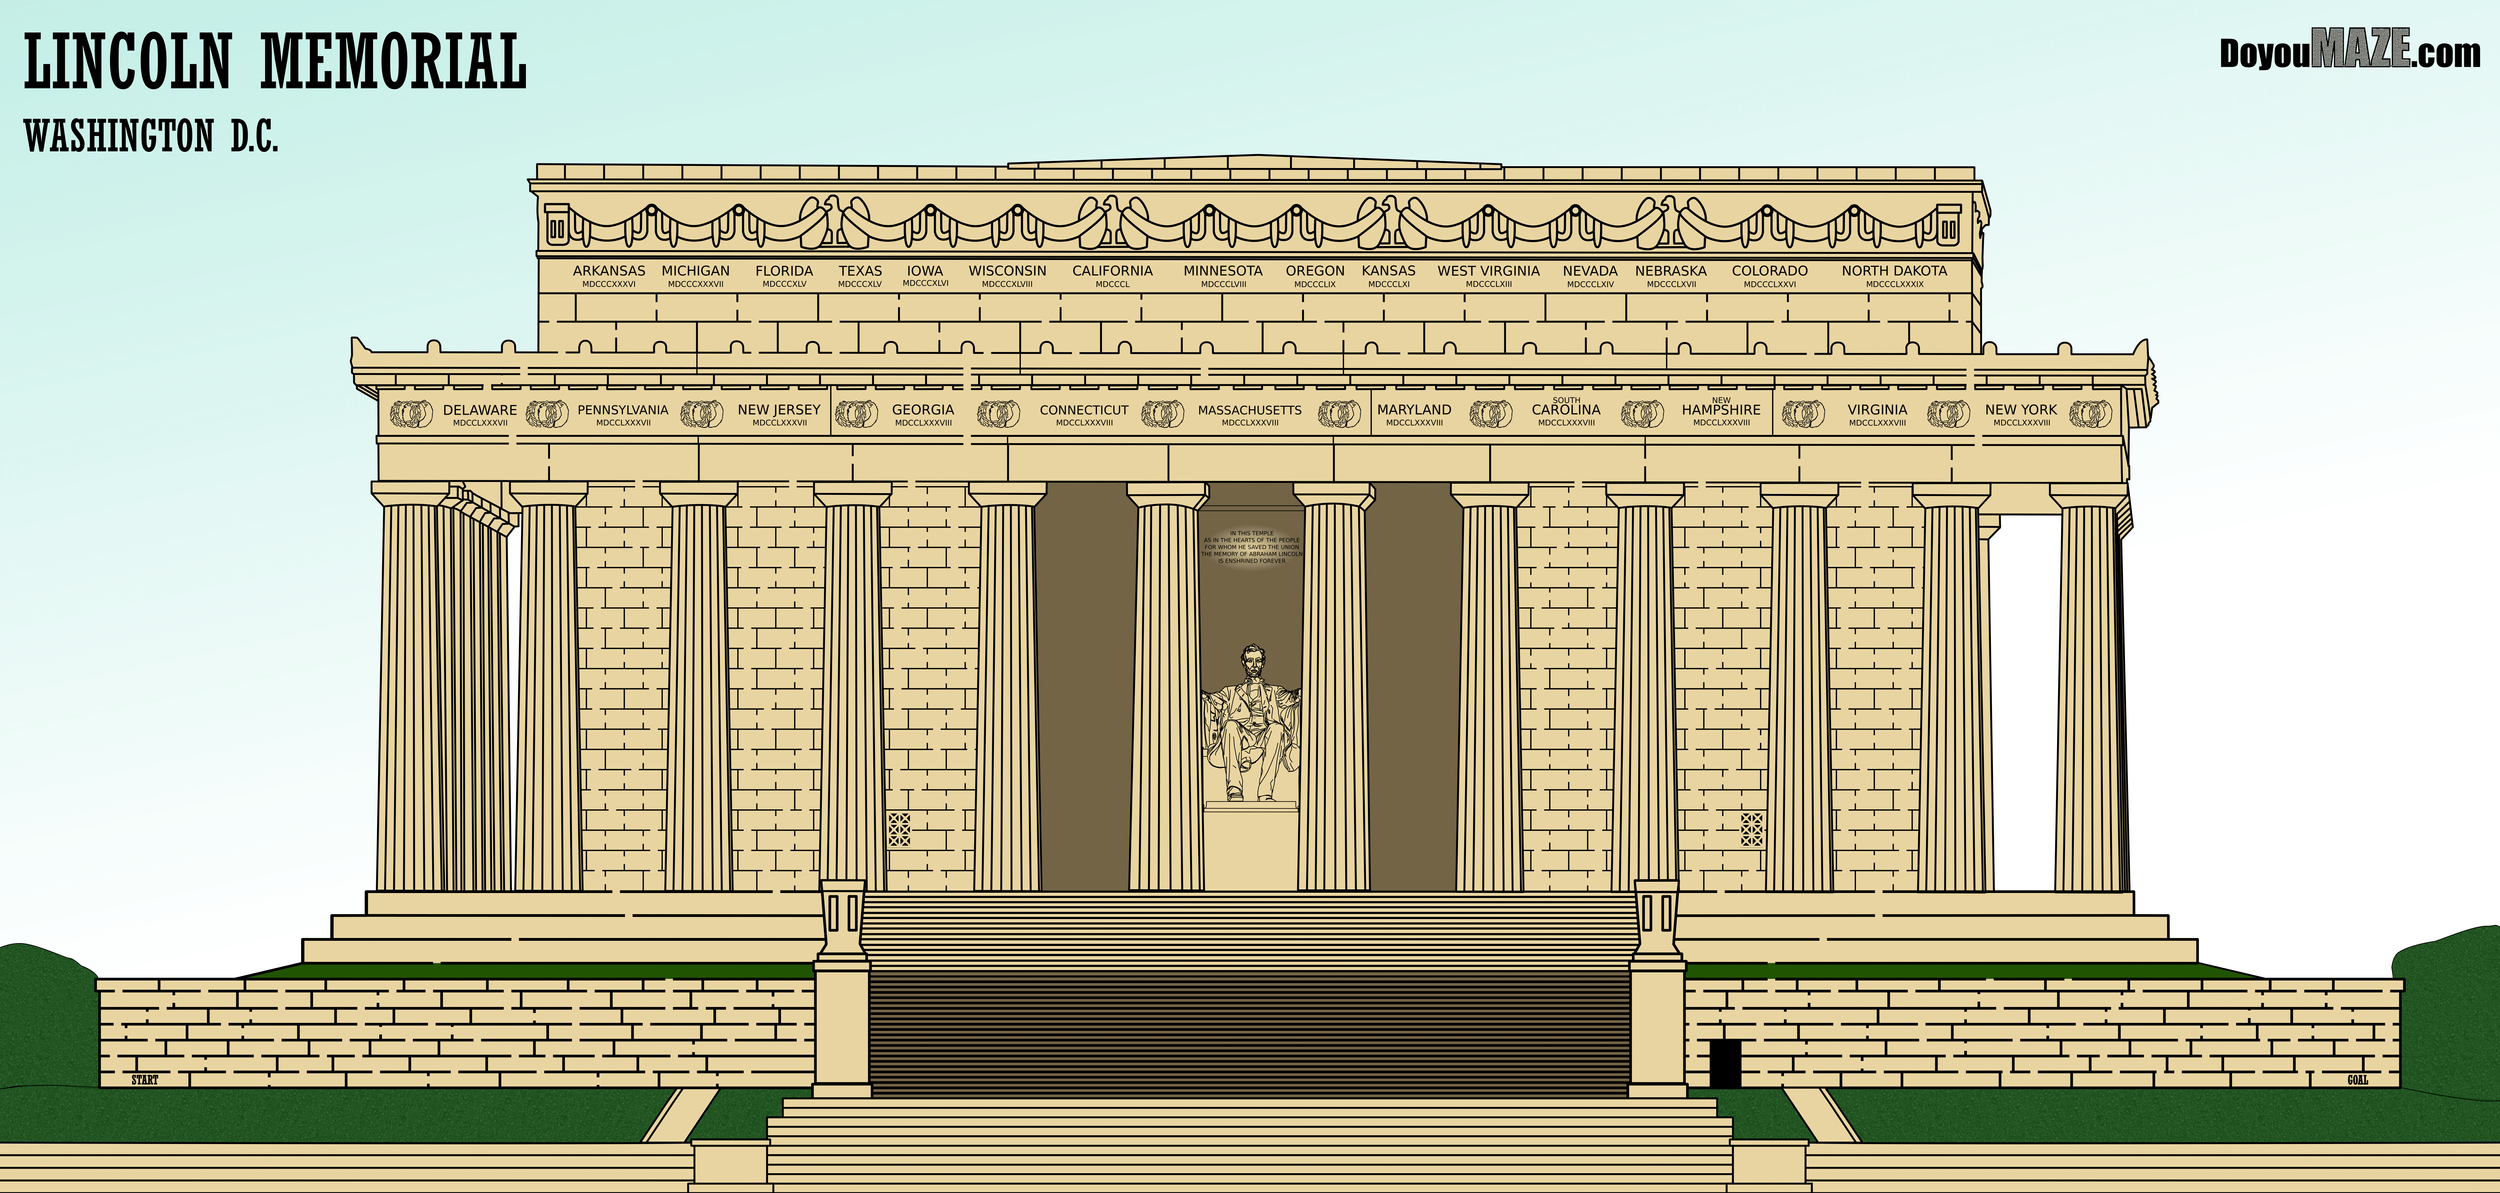
The Lincoln Memorial is a recognizable landmark for Americans and it has made it a popular maze on the website. I wondered how much I could improve it by applying some new techniques I have learned. Let’s see how I did. Here is my original post for the maze:

Maze of the Week #27 Lincoln Memorial Maze

Here are the enhancements I made to improve the maze:

1. New Start/Goal. Removed the arrows and replaced them with written out Start and Goal.

2. New Page Size. Reduced the height of the page from 34 inches to 21 inches.

3. Added a Sky. Light blue. With changes #6/7 below this took the maze from floating on a white page to anchored into the page.

4. Title Changes. Reduced the font size of the city. Moved the branding and titles from the bottom to the top corners.

5. Added Shrubbery and Lawn. With texture on sides of the Memorial and in front of the wall.

6. Reoriented the Maze. I moved the maze to the bottom of the page and…

7. Added more Foreground. I added more steps and walls in the foreground to fill the space on the bottom of the page (with no maze changes).

Let’s see the before and after:
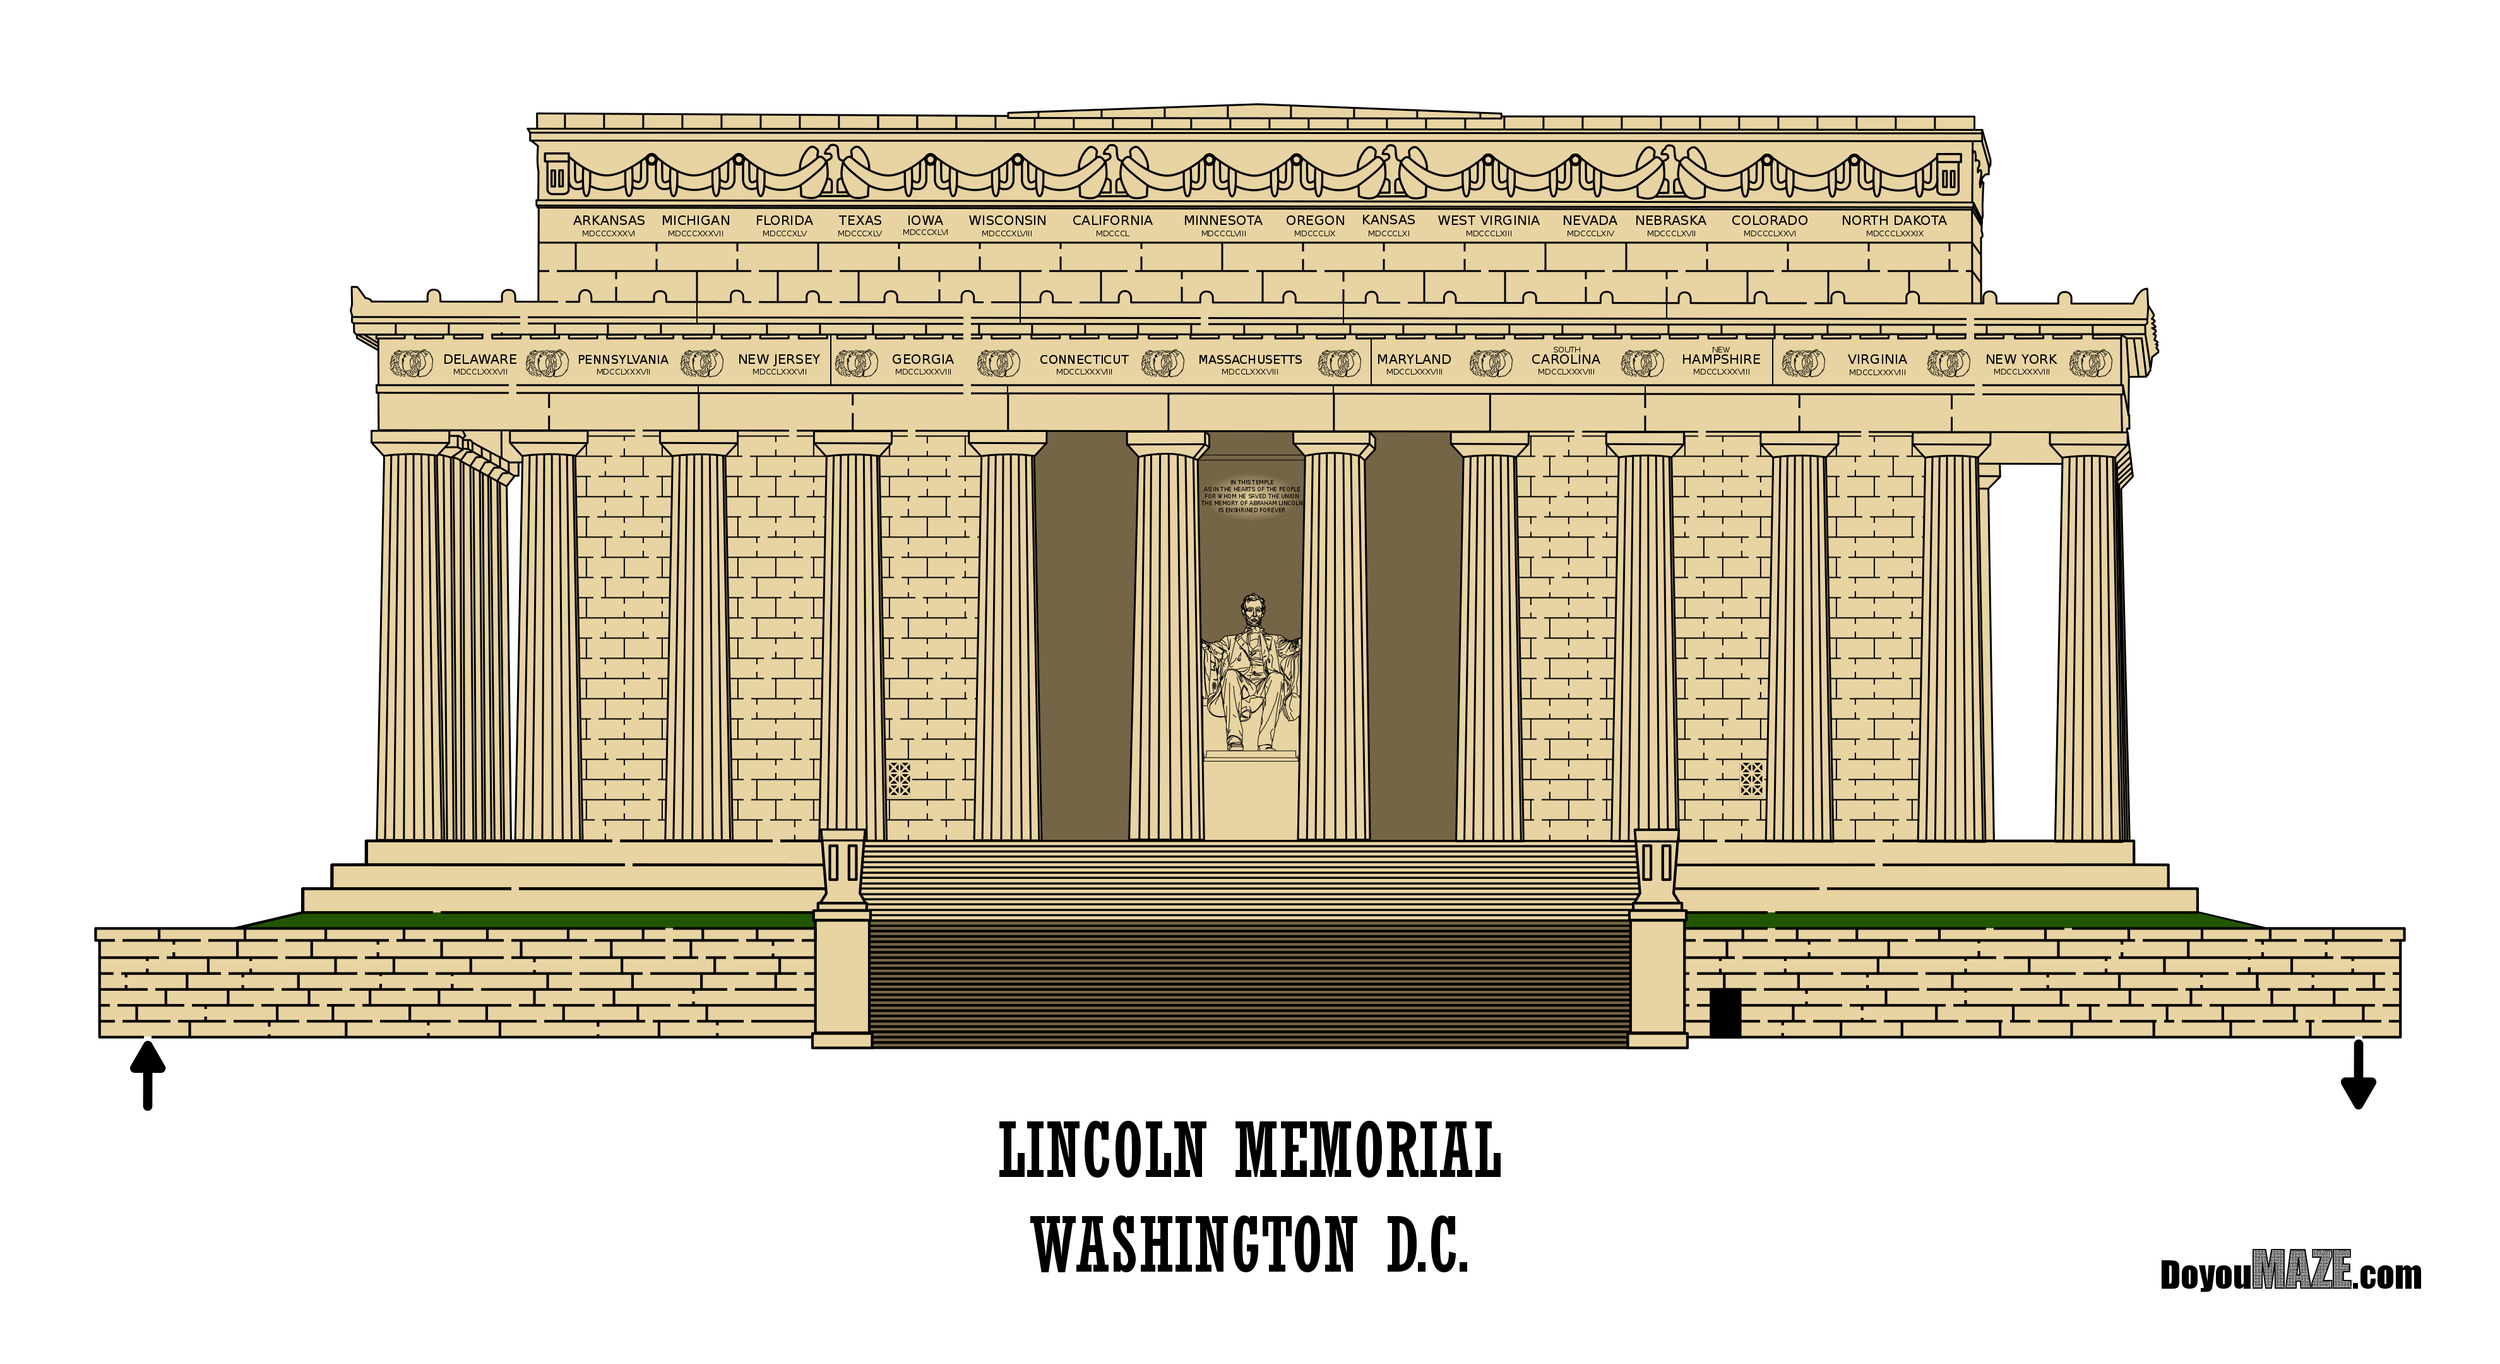
Nothing major, but an improvement. I considered adding shadows and still might in the future, but understand that it is a huge undertaking for this building ! So many nooks and crannies and shapes to consider !

Some data: The new file is 4490MB from 614MB.

I will be adding the new version of the maze as an option going forward. You can find the maze download in my past maze collection section of the site.

If you like this type of content check out all of my case studies:

A Collection of Maze Design Case Studies to Improve your Mazes

What I've Learned Making Mazes

Happy maze-ing !

What is Your Preferred Weaving Maze Style ?

I like making Weaving Mazes. It is a type of maze where the more you make it, the more you learn how to improve it. This is the only maze type where I had to make a “how to” update to show how to make the maze type. I also did a separate how-to for the pipe maze version of weaving mazes:

How to Make a Weaving Path Maze

How to Make a Weaving Path Maze - Improved Method

How to Make a Pipes Maze

But it is an interesting maze type because you have so many options. Let’s go through some of those options today. I will be using one maze and making with many different different options.

Option 1 - Standard Weaving Maze

Nothing special. This version is just a weaving maze.

Standard Weaving Maze

Standard Weaving Maze

Option 2 - Standard Weaving Maze - with background shadows

Same as above but I added a background shadow to make the maze easier to see on the white background.

Standard Weaving Maze - with background shadows

Standard Weaving Maze - with background shadows

Option 3 - Standard Weaving Maze - with maze shadows

I did this quickly, but I added shadows to the “under” weave pathways of the maze. This gives the maze more interest and makes it easier to see where the pathways travel.

Standard Weaving Maze - with maze shadows

Standard Weaving Maze - with maze shadows

Option 4 - Standard Weaving Maze - with internal arrows

The other way to help the solver along is to use arrows internally. You can also use these to make some pathways one way (I did not do that here), and add complexity to the maze !

Standard Weaving Maze - with internal arrows

Standard Weaving Maze - with internal arrows

Option 5 - Pipe Weaving Maze

I like the pipe style of weaving mazes. It means the dead ends get caps, the start and goal become a spigot and water. The corners all become more rounded to look like pipes.

Pipe Weaving Maze

Pipe Weaving Maze

Option 6 - Pipe Weaving Maze - with background shadows

Again, just makes it easier to see the maze.

Pipe Weaving Maze - with background shadows

Pipe Weaving Maze - with background shadows

Option 7 - Pipe Weaving Maze - with internal shadows

Same as Option 3 above but doneas a pipe maze.

Pipe Weaving Maze - with internal shadows

Pipe Weaving Maze - with internal shadows

Option 8 - Weaving Maze - Point to Point version

So this version of the maze uses circles at each change of direction with pathways between them. The pathways weave. Normally this maze would be more spread-out so I used a grey background to make it easier to see, and a shadow.

Weaving Maze -  Point to Point version

Weaving Maze - Point to Point version

Options 9/10 - Weaving Maze - Unique item options

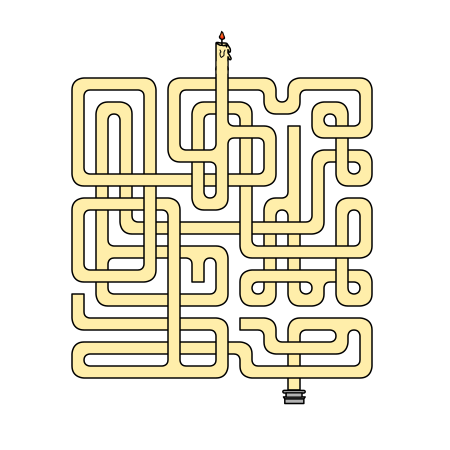
What things are also long and fit into this maze construction ? I tried 2, a candle in a candle holder and a broom. There are dozens of possibilities, much like the kids mazes that are “help the xxxx find the yyyy” where xxxx is an animal and yyyy is what that animal eats.

So those are 10 versions of the same maze with some different decisions made. Which do you prefer ?

This type of maze does have some unique issues when you make it - it is easy to make mistakes ! So much so that I made 2 blog posts about my many mistakes if you want to test your observation skills !

Can You Find the Maze Design Mistake ?

Can You Find the Maze Design Mistake ? Part 2

I sell a book of 100 Weaving Mazes on Amazon if they seem interesting to you. Buy it on Amazon

Other posts you may like:

What I've Learned Making Mazes

Maze Comic Book Cover #58 - Sow Much Fun

Issue #58 in my comic book cover series is called Sow Much Fun and features a new maze of a Pig. The background was made using staryyai.

My comic book cover mazes can be found in 2 places:

Comic Book Cover Mazes - Year 1 (Issues #1-53)

Comic Book Cover Mazes - Year 2

Pig Maze Comic Book

To receive a book of my first year of comic book book mazes (Volume 1 with mazes #1-53) you can sign up for my book alerts - any time I launch a free maze book, or paid book (on Amazon), I will send you a note about the new book launch.

Maze of the Week 38 Redux - Hoover Dam (MOTW #162)

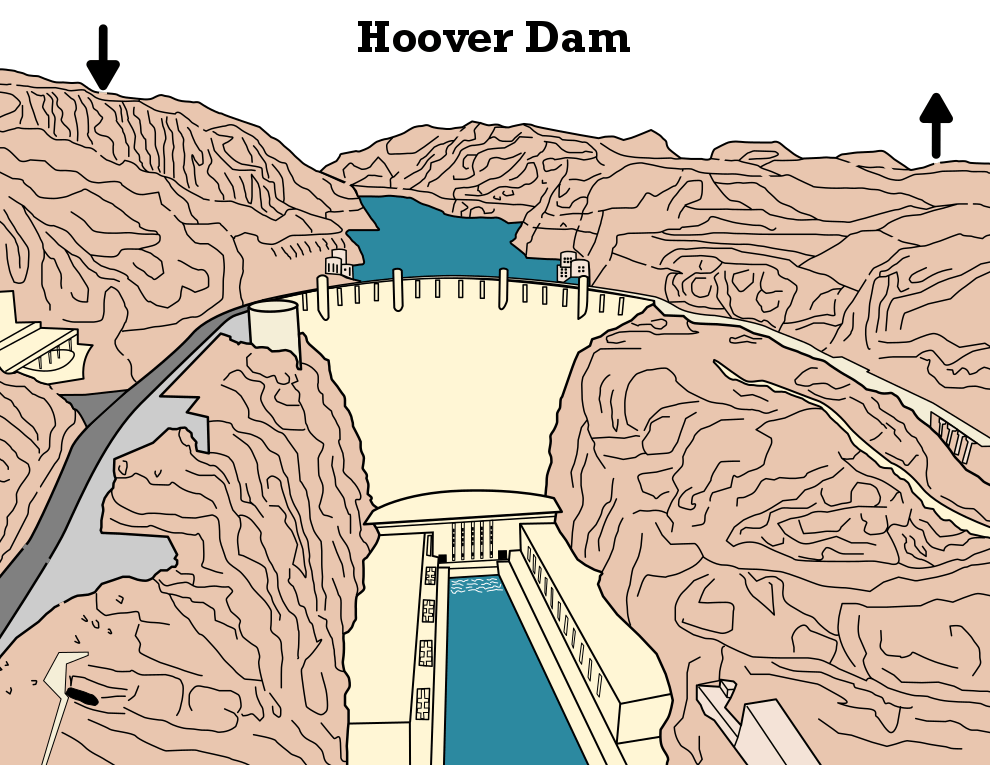
This maze was never one of my favorites. I was practicing making landscape mazes and this seemed like a cool location to maze. In reality the maze was a bit weak. It looks kind of flat. But once I put so much time in making it I was worth publishing. Now, I get a chance to improve it. How will it go ? Let’s find out ! Here is my original post which includes a link to a great video about the dam if you are interested.

Maze of the Week #38 - Hoover Dam Maze

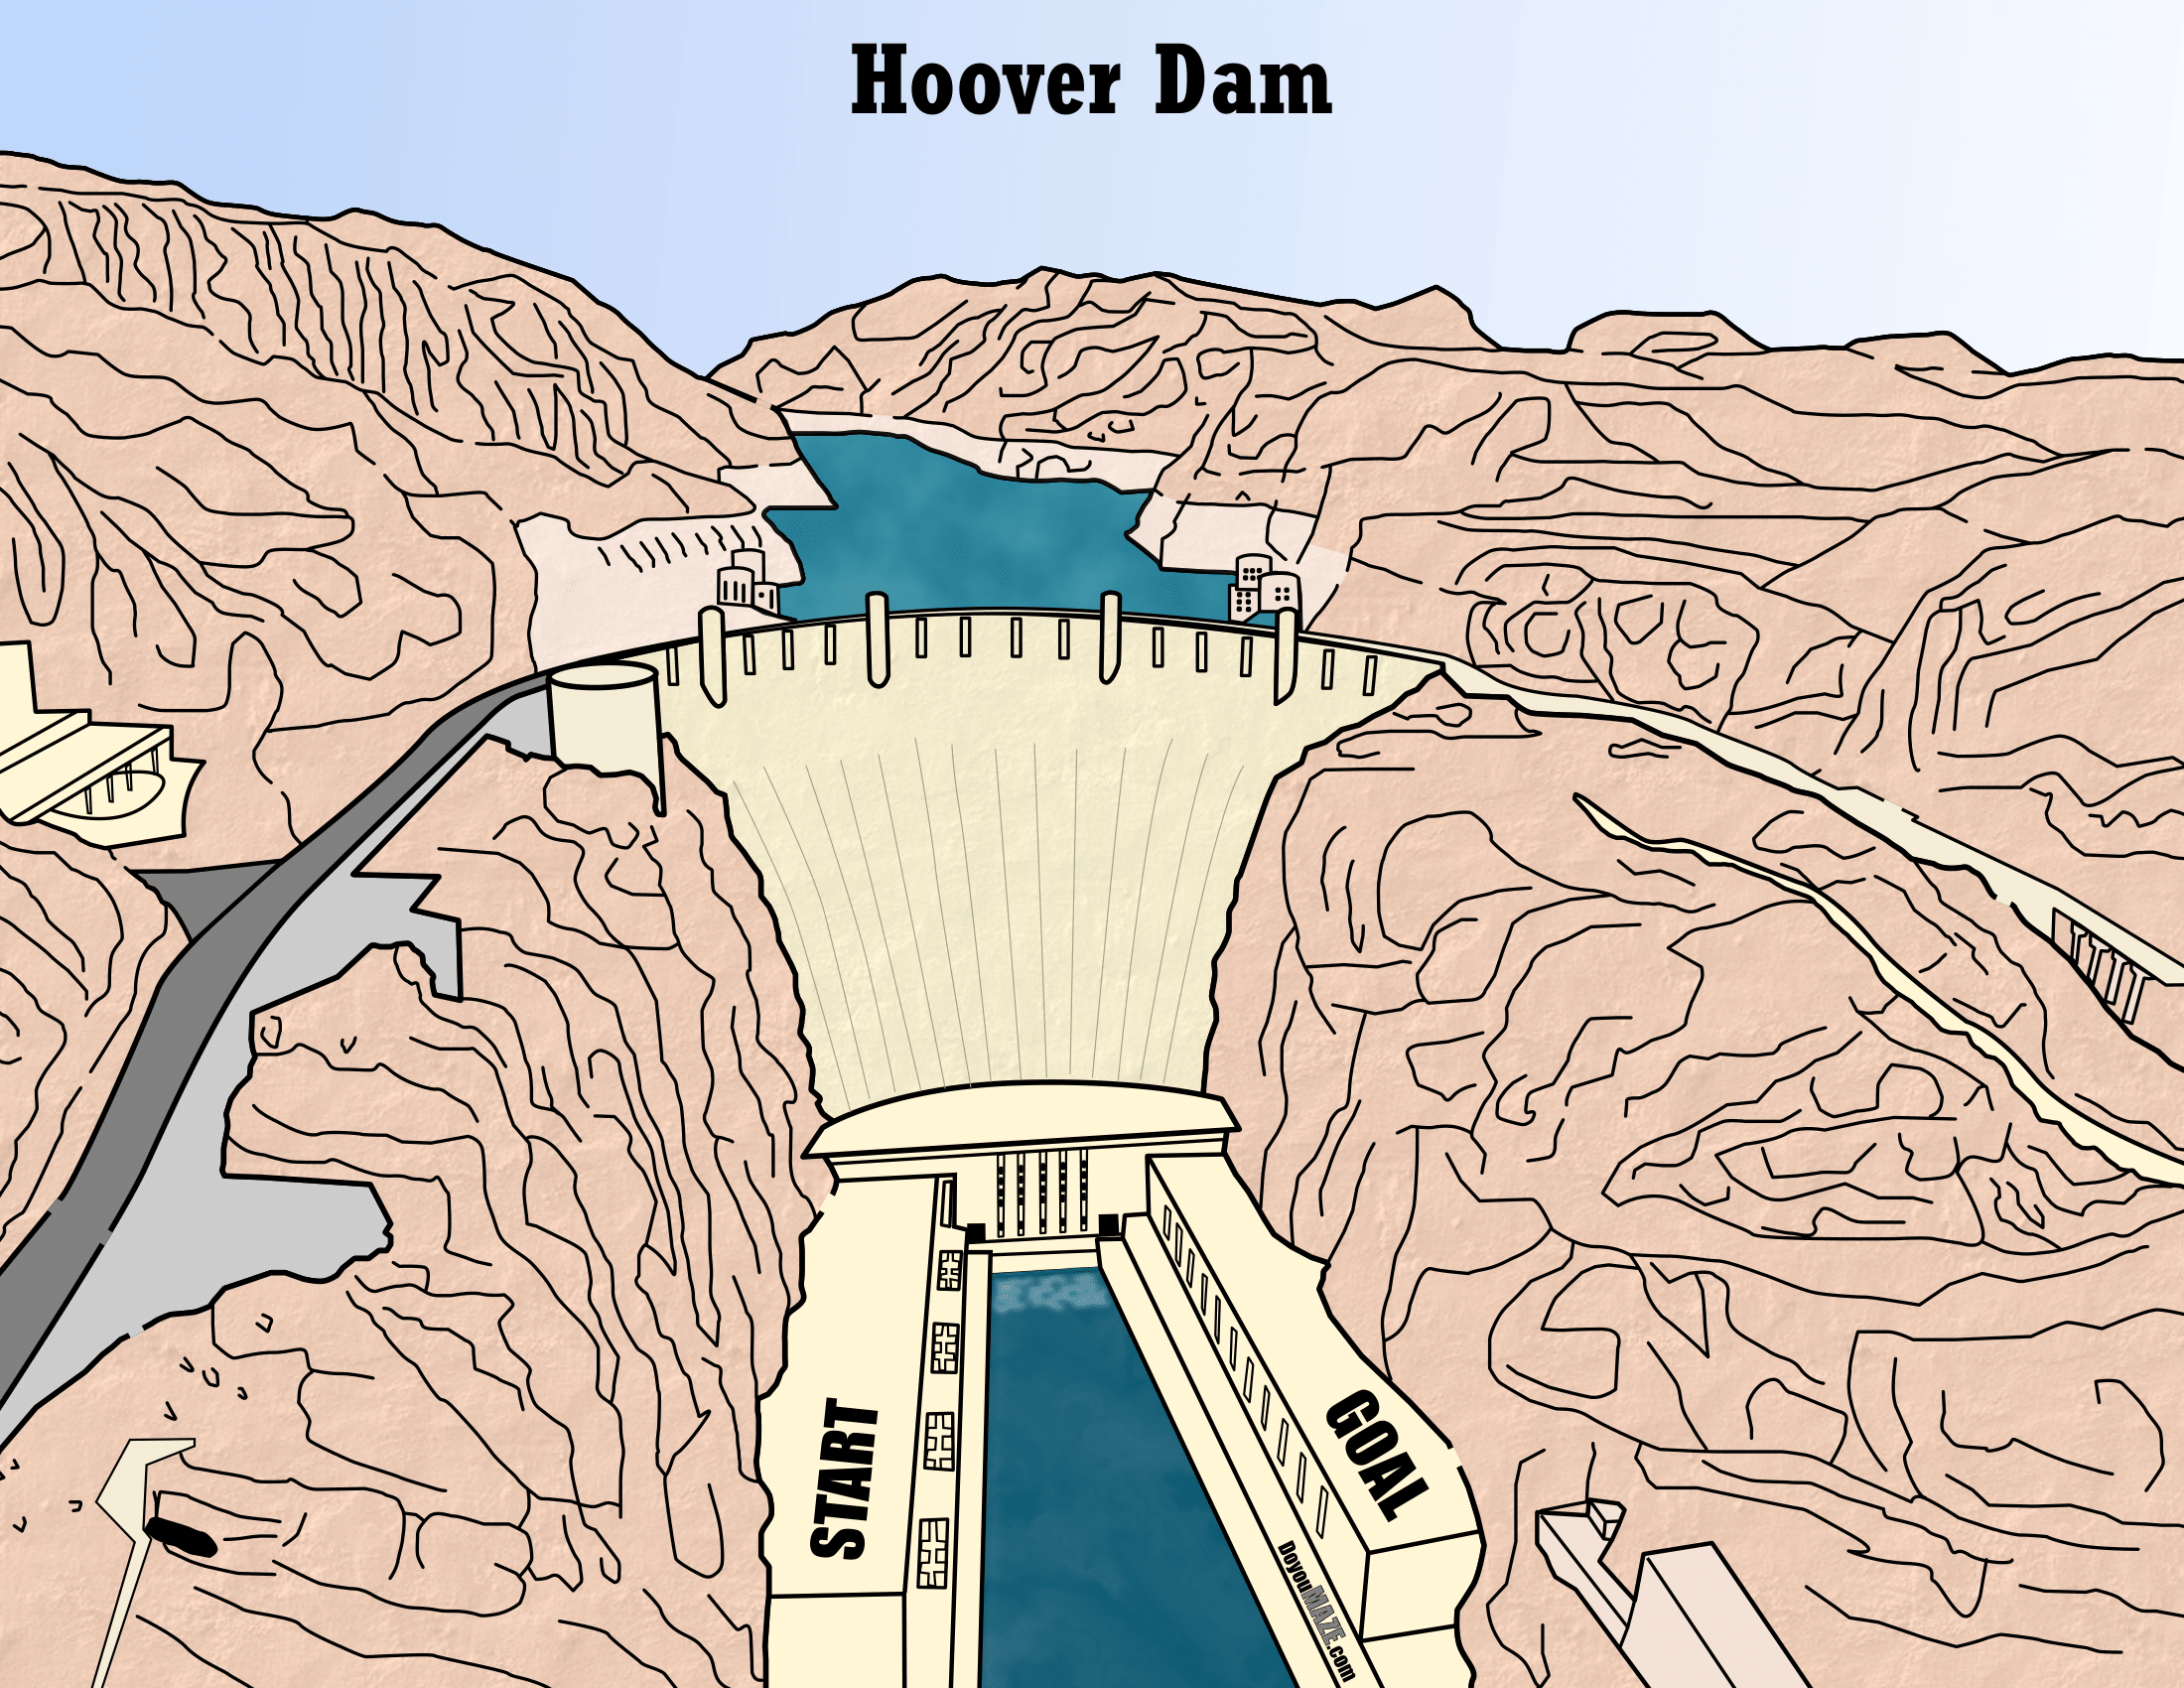
Here are the enhancements I made to improve the maze:

1. Dam changed. I added texture to the dam face and added light colored lines to show the shape and construction of the dam face better

2. Water changed. I added interest to the water in the reservoir and the water below the dam. I “marble-ized” it and think it is an improvement on the flat water before.

3. Added texture. I added texture to all of the rock areas. This changed the color of the earth some.

4. Added drought. I added an anti-shadow to highlight the low water in the reservoir by showing the previous water height. This is the same technique I use to make a shadow, but instead of using black I used white.

5. Added the sky.

6. New Start/Goal. The start and goal are now internal words vs. arrows. I also changed their location so I could improve the maze and use more of the page. Which means we have a

7. New Maze Pathway. I think this improves the enjoyment of the maze when solving.

8. New title font. I changed the title font to a more condensed look.

9. Added branding. I added my branding in the lower portion of the dam near the goal. It is at an angle near the water to fit into the picture.

Here is the before and after:

For all the changes it looks relatively similar. I think it still is improved.

Some data: The new file is 1,340MB from 123MB. 10X bigger.

I will be replacing the homepage with the new maze going forward. You can find the maze download there !

If you like this type of content check out all of my case studies:

A Collection of Maze Design Case Studies to Improve your Mazes

Happy maze-ing !