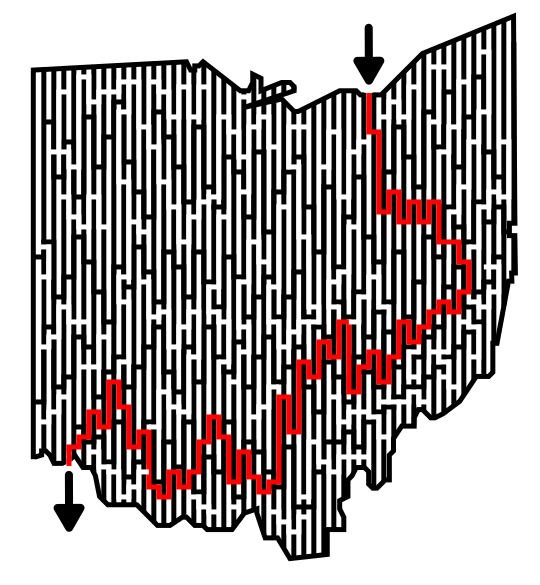
In a series of posts I will show you how to make a maze in a wide variety of design constructions. The 14th type of maze construction is the Vertical maze. Let’s define what I mean, then get into the example. Every example will use the sample basic outline (the state of Ohio) to better illustrate the differences between each maze type.
Vertical Maze - A maze whose main walls are constructed vertically. Depending on the Start/Goal placement, the solver will be moving back and forth while going from the left to the right or the right to the left.
How to Make a Vertical Maze
Step 1 - Draw the Outline
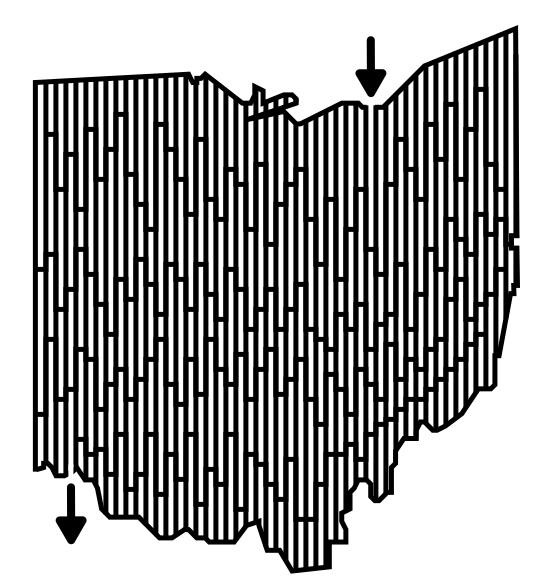
The outline of the maze makes the outer wall of the maze. It can be anything from a simple shape like a square, to a complex picture. The outline should be thicker than the internal lines to give the maze definition. In the example below I chose the state of Ohio.
Step 1.5 - Choose the Start and Goal
For the below example I chose the start of Cleveland and the goal of Cincinnati. This was probably not the most ideal start and goal since the solver can more easily move North and South in a vertical maze. Picking a start and goal on the left and right side of the Map would have been more ideal.
Step 2 - Draw the Vertical Walls
Inside the entire outline draw vertical walls at an equal distance apart. You will make paths through the walls in a later step. In this example the walls and pathways are of equal width, which I prefer for this type of maze, but they do not need to be. However, if the spacing gets too far apart between the lines, the maze will lose it’s vertical look (I have not determined when exactly this is but I’m sure there is a ratio).
Step 3 - Draw Horizontal Walls
Split the vertical lines into sections by drawing horizontal lines into the current pathways. Two horizontal lines between two vertical lines would create 3 possible sections for a solution to move through. The more horizontal lines, the more possible paths and the higher the difficulty. Additional option - Draw the lines as you go…I find this option to be a more difficult construction, but feel free to try it that way of you like.
Step 4 - Draw the Maze Solution
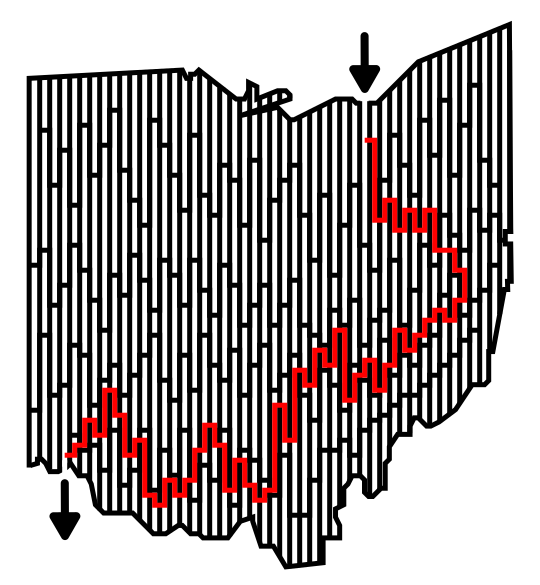
Draw the solution to the maze. Determine which pathway you would like to be the solution and draw it through the maze.
Step 5 - Draw the Dead Ends
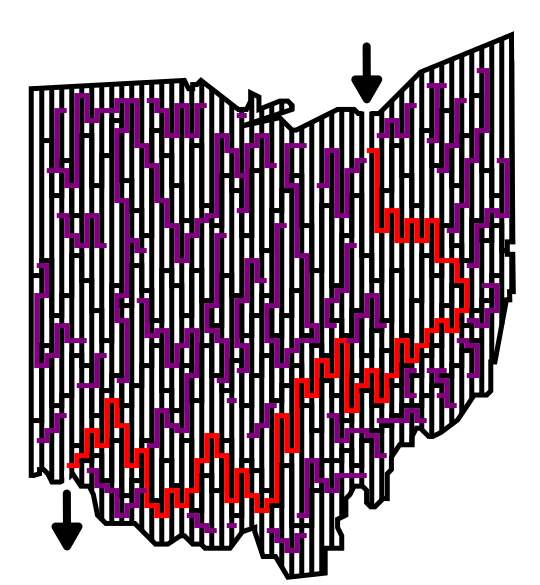
Make branches off the solution path to create dead end paths. The longer the paths, the more difficult the maze. In the example below the false paths are purple. I find that it is easier to use different colors to keep track of which pathways are solutions/dead ends.
Step 6 - Convert all Pathways to White
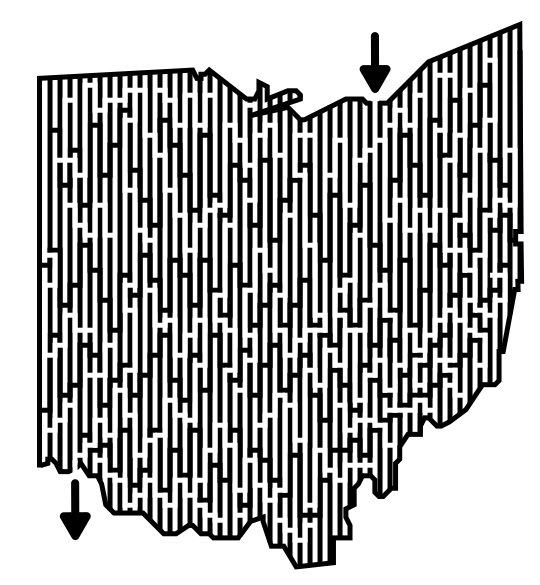
Completing the maze means converting all paths you made to white. At this point evaluate your maze. It should look vertical.
Step 7 (Optional) - Make the Maze Solution
Highlight the correct path in the final version of the maze to create the final Maze solution. Easy, since you made this pathway in red in step 4.
Additional Maze examples
Here is a side by side comparison of siblings, the horizontal maze and the vertical maze. As I mentioned above, a more ideal start and goal for the vertical maze would have been the left and right sides of the maze, going against the grain similarly to how the horizontal maze does.
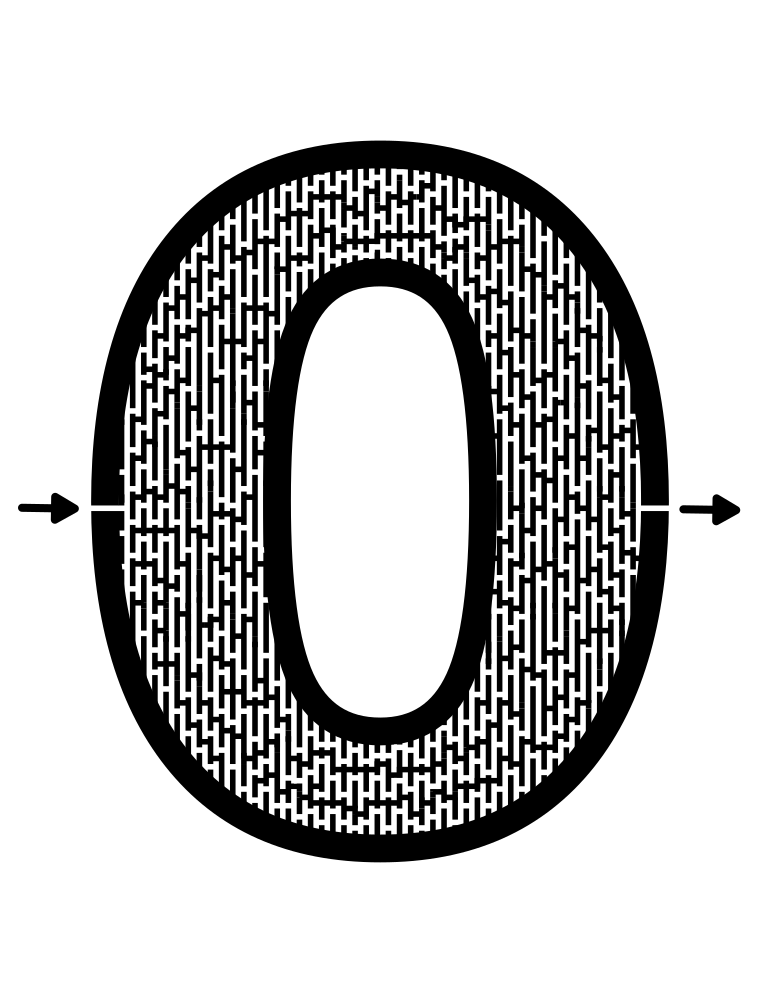
And here is another example of a good Vertical Maze of the number zero, or the letter O. The length of the character lends itself well to the vertical construction.
And for my final 2 examples I want to show you the 7 maze and the 5 maze. Each is a mixed maze construction combining the vertical and horizontal maze constructions based on the flow of the numbers (or letters, or pictures when you do this in practice). I really like how the 7 turned out with the top being horizontal and the stem being vertical.
Interested in learning how to make or draw other types of digital mazes ? I have step by step instructions on how to make over 40 different maze types.
If you prefer making labyrinths, you can find step by step labyrinth making instructions.


