In a series of posts I will show you how to make a maze in a wide variety of design constructions. The 17th type of maze construction is the Depth maze. Let’s define what I mean, then get into the example. Every example will use the sample basic outline (the state of Ohio) to better illustrate the differences between each maze type.
Depth Maze - A maze that uses multiple colors to create a layered effect and give the maze depth. Can be used with any wide path maze style to give the maze more visual interest.
How to Make a Depth Maze
Step 1 - Draw the Outline
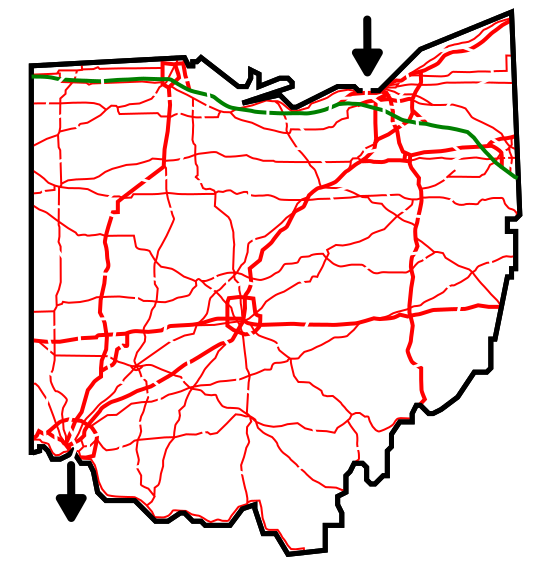
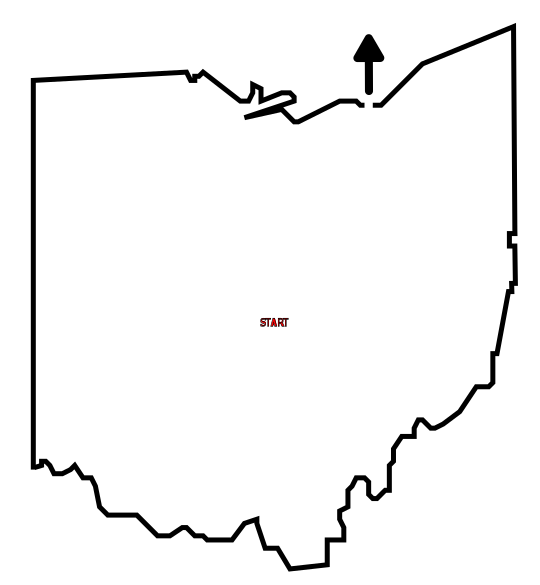
The outline of the maze makes the outer wall of the maze. It can be anything from a simple shape like a square, to a complex picture. The outline should be thicker than the internal lines to give the maze definition. In the example below I chose the state of Ohio.
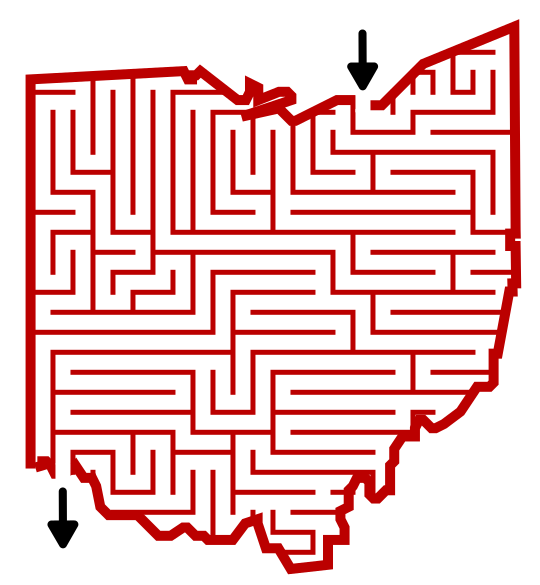
Step 1.5 - Choose the Start and Goal
For the below example I chose the start of Cleveland and the Goal of Cincinnati.

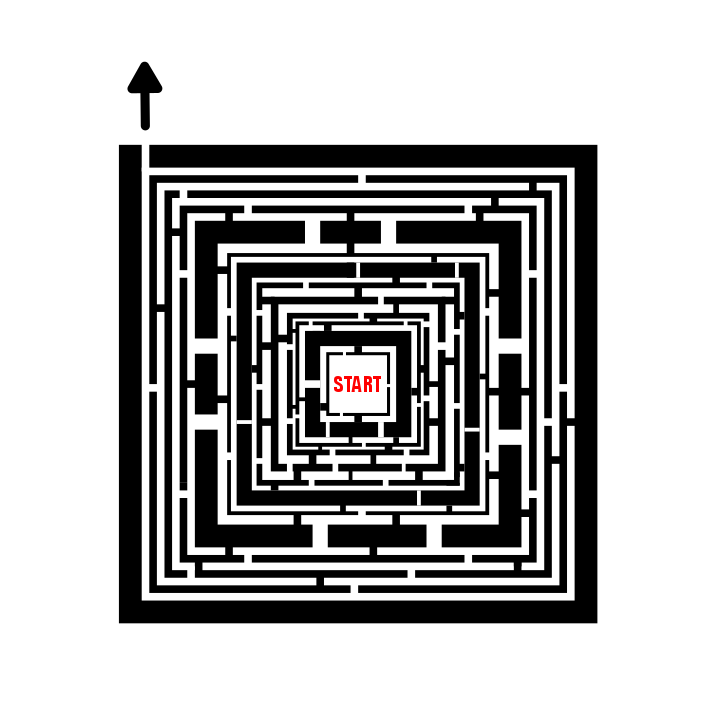
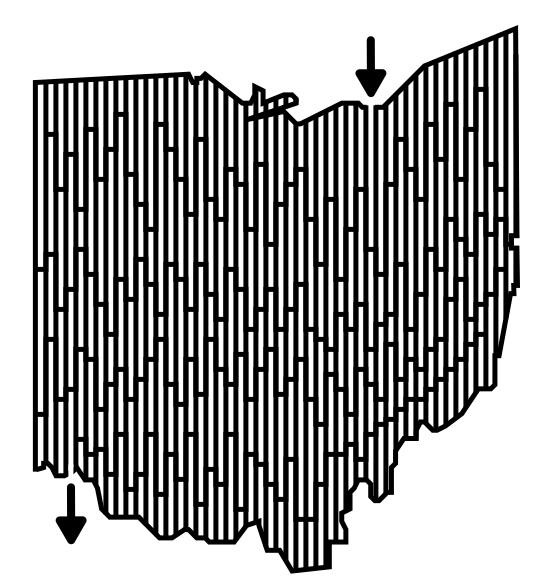
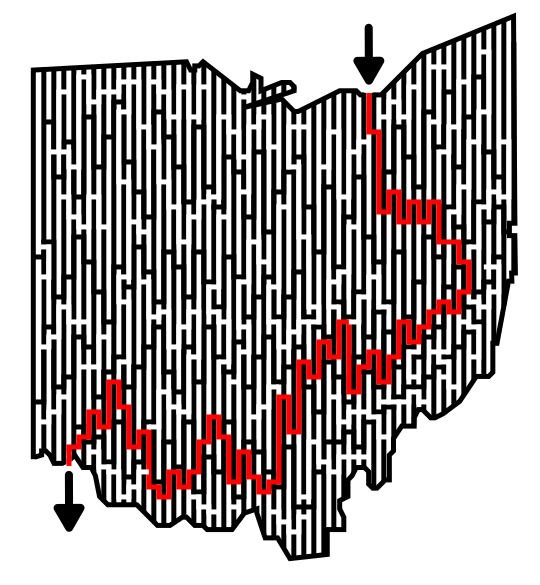
Step 2 - Draw a Maze
Unique for this type of maze is the huge step of “Draw a complete maze”. A depth maze works best with pathways that are wide so layers do not block progress. If you need help drawing a maze, you are on the correct site to find “How to Make a ______ Maze”!! I used a standard path maze for this example. I would say key to making this maze is using wide pathways. So any maze construction that does that will work.

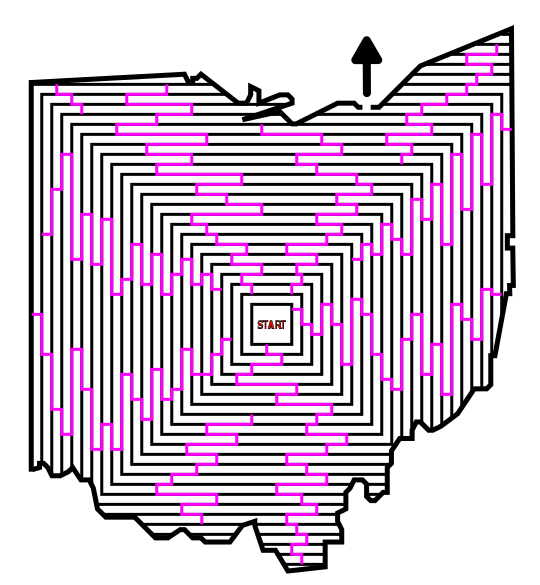
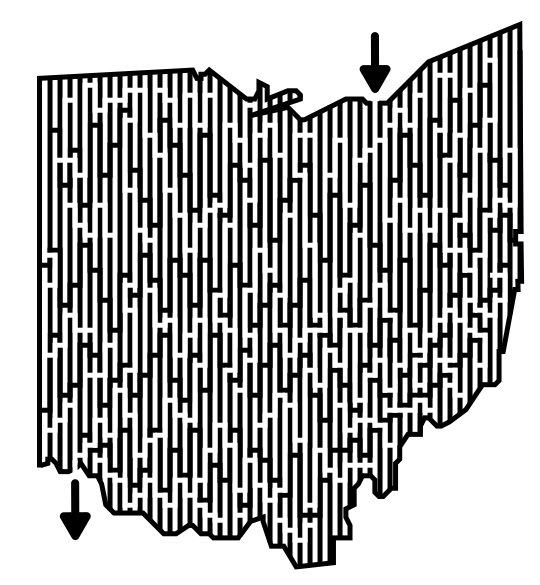
Step 3 - Choose a Background Color
This could be done as you design the initial maze. Choose a color that will become the background maze. It should be a contrasting color to the top layer.
Step 4 - Copy and Shift the Maze in a new Color
Take the background maze, copy it, and shift it in two directions while selecting a contrasting color to the background. Ensure that the shift you have made does not block any needed passageways that solve the maze. For this example I used black for the top layer and shifted the maze to the NE. Notice how the burgundy background color appears darker with a black layer above it (the burgundy has not actually changed). Adjust the shift until you have a look you want.

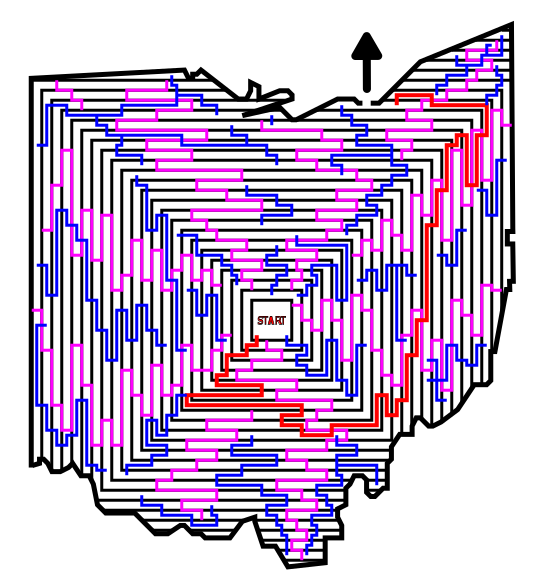
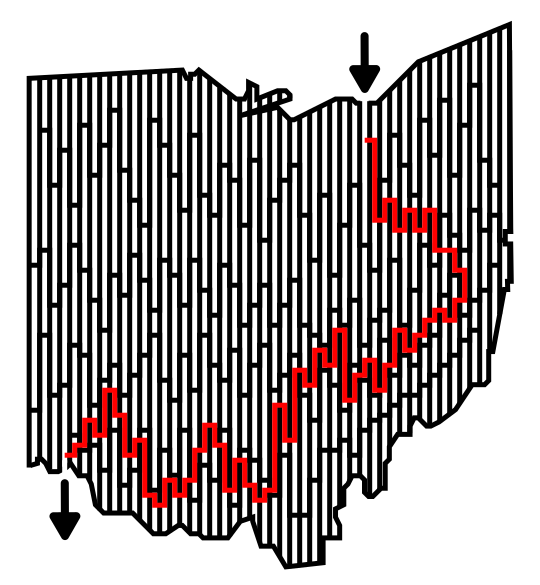
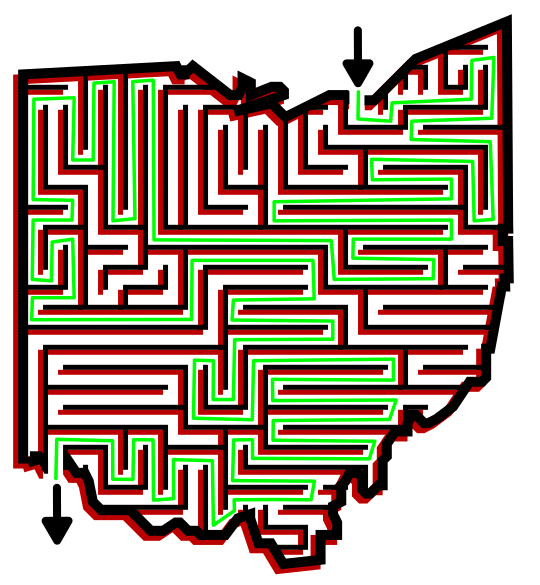
Step 5 (Optional) - Make the Maze Solution
Highlight the correct path in the final version of the maze to create the final Maze solution (shown here in lime).
Additional Depth Maze Examples
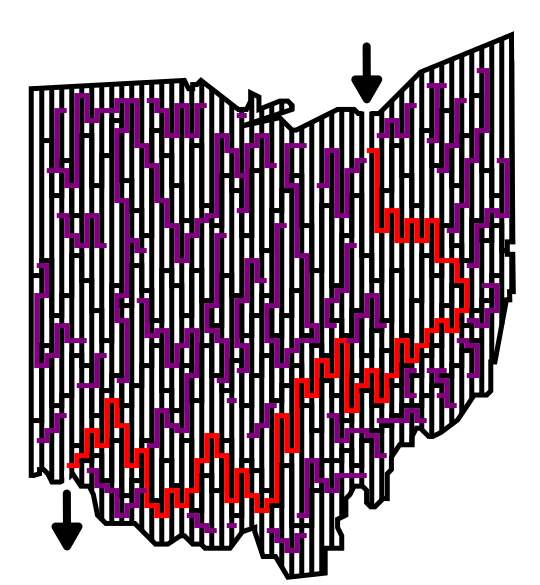
Here is another example of a Depth maze. I wanted to include it because the maze was made with multiple layers to create the depth. If you zoom in there are actually 5 layers under the top black layer, 3 small red layers are separated by 2 thicker lime layers.

And here is an example of a depth maze using a grid maze to start. I include this example to show a different type of maze and show that I did the steps in a different order. Notice how the pathways between the grids are NOT layered because I drew the pathways after layering the grids.

I think this maze type looks great when used for mazes made at an angle, Check out this maze done at a 45 degree angle. This coloration also is a reverse of other examples with a bright color layered on top of the color black, creating a shadow effect.

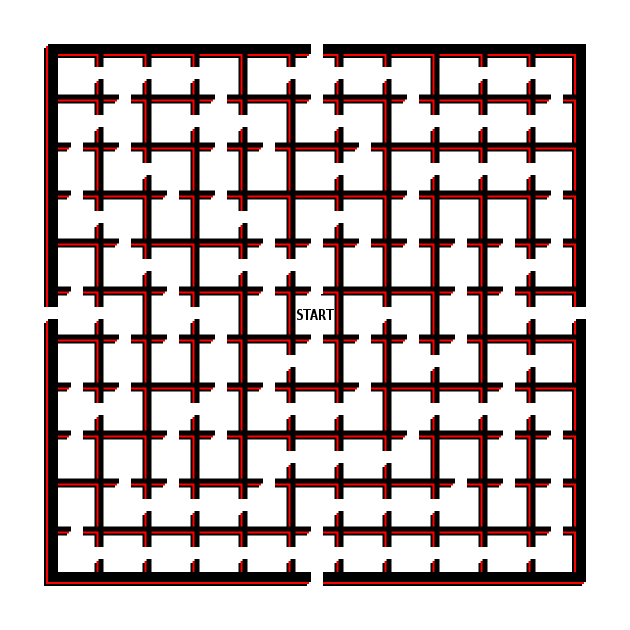
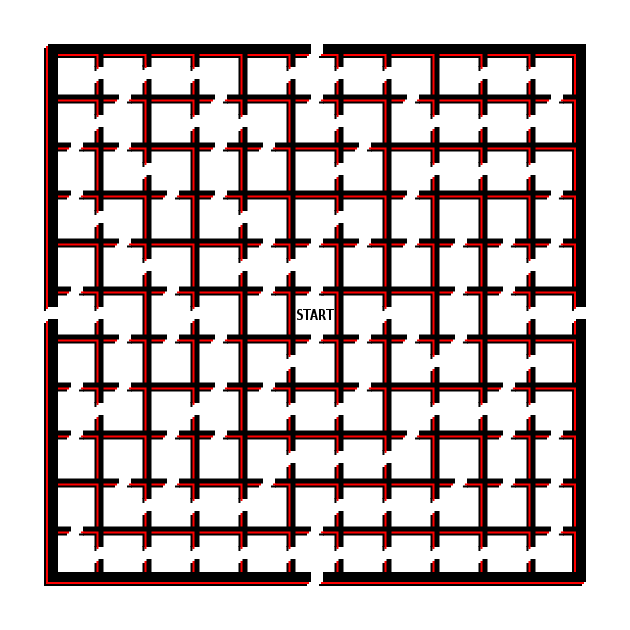
My last example of a Depth Maze is based off of a gridded Escape Maze. For this example I made the entire maze, then shifted the maze to create 3 layers (black, red, black). Notice how on one maze the shifting effects how the paths thru walls are shown. Because the solid line is shifting also it creates a straight edge on the top of any horizontal cut and the right of any vertical cut. With a quick drawing and some copy and pastes you could change these to also be layered, which I did on maze 2. Can you see the difference below and was it worth the work ?
Interested in learning how to make or draw other types of digital mazes ? I have step by step instructions on how to make over 40 different maze types.
If you prefer making labyrinths, you can find step by step labyrinth making instructions.