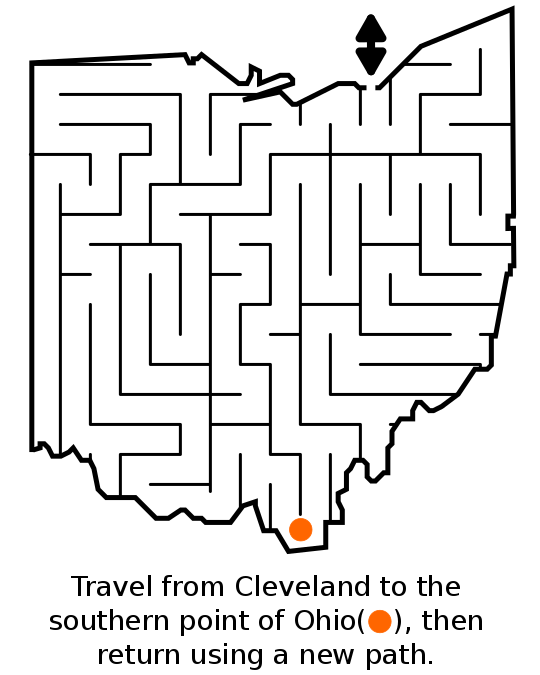
In a series of posts I will show you how to make a maze in a wide variety of design constructions. The 33rd type of maze construction is the Go & Return maze. Let’s define what I mean, then get into the example. Every example will use the sample basic outline (the state of Ohio) to better illustrate the differences between each maze type.
Go & Return Maze - A maze where the start and goal are the same and the solver must travel to a specified area in the maze (the internal goal) and then return back to the start to exit. Often this includes the condition that the solver use a new pathway back than the one taken while entering.
How to Make a Go & Return Maze
Step 1 - Draw the Outline
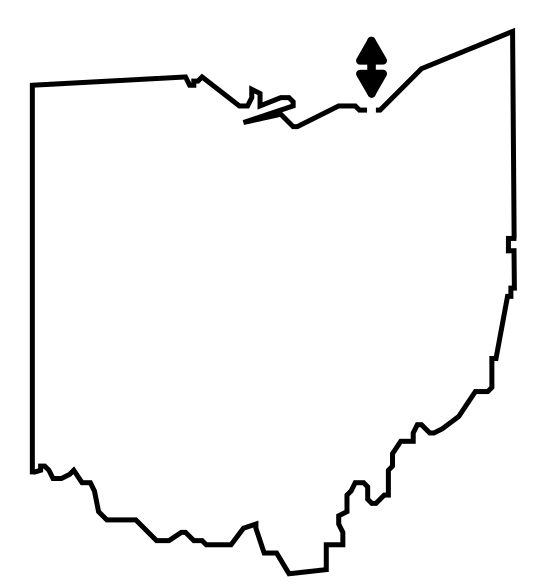
The outline of the maze makes the outer wall of the maze. It can be anything from a simple shape like a square, to a complex picture. The outline should be thicker than the internal lines to give the maze definition. In the example below I chose the state of Ohio.
Step 1.5 - Choose the Start / Goal
For the below example I chose the start and goal of Cleveland which are the same for this construction of maze.
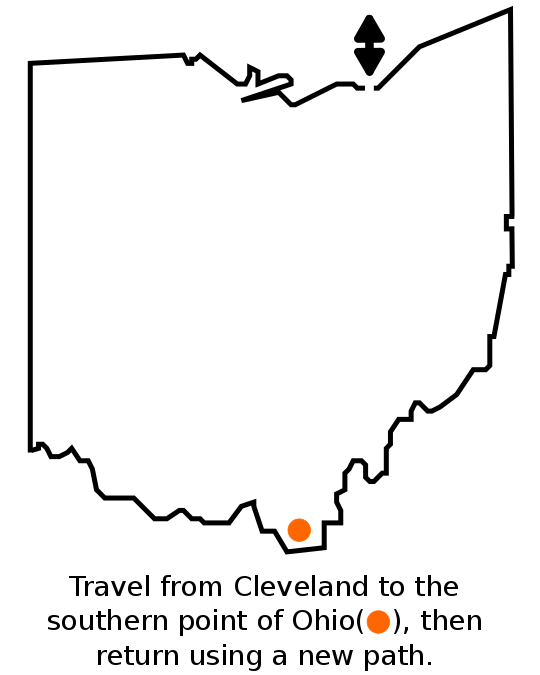
Step 2 - Add Directions and an Internal Goal
Add directions to the maze to tell the solver what they need to do in order to properly solve the maze. Because this includes visiting an internal goal before exiting, add that also.
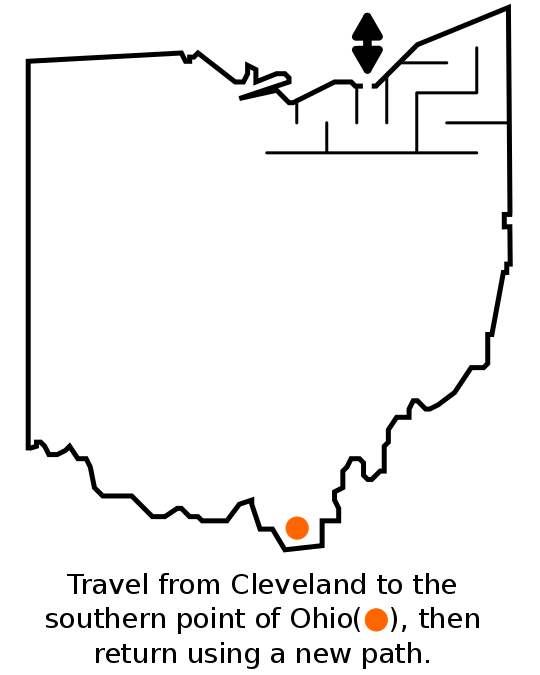
Step 3 - Begin Drawing Walls
Starting from the entrance/goal begin drawing walls that lead in multiple directions. One of these will become the pathway to the internal goal and one will become the pathway back. You can see in the example below two pathways that will become part of the solution.
Step 4 - Create a Path to the Internal Goal
Continue to draw pathways, including some false ones until you have completed a pathway to the internal goal.
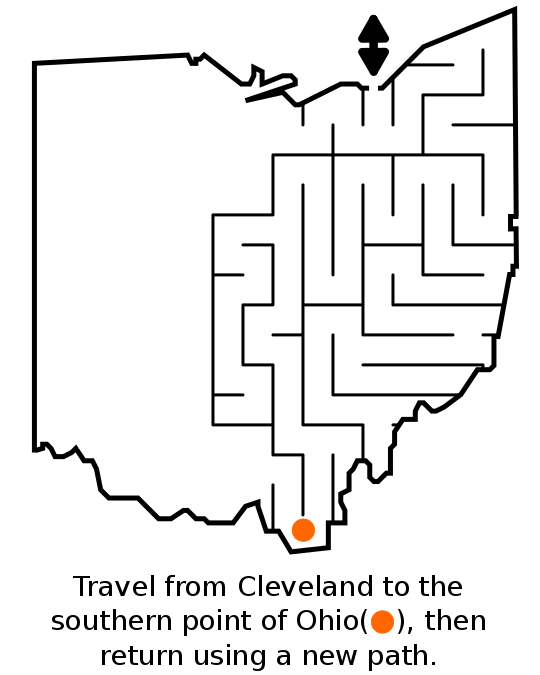
Step 5 - Complete the Maze
Draw a pathway to connect the internal goal back to the entrance. Include false paths. This will create 2 different paths from the start to the internal goal, that can be used interchangeably for travel in either direction by the solver.
Step 6 - Make the Maze Solution
Highlight the correct path in the final version of the maze to create the final maze solution (shown here in red). Notice how there is no specific direction to the solution.
Additional Go and Return Maze examples
In this second example of a Go & Return maze I used the shape of a triangle which gives a natural internal goal of the top point for the solver before returning to the start/goal of the maze.
This next example is very basic. It uses a normal square shape and a standard maze construction. Nothing fancy except the rule of how you must use different pathways to go and to return.
Interested in learning how to make or draw other types of digital mazes ? I have step by step instructions on how to make over 40 different maze types.
If you prefer making labyrinths, you can find step by step labyrinth making instructions.

