Math Maze Template

So you want to make your own Math Mazes but you want a bit of a help. Well, I will assume you have already read my blog post How to Make a Math Maze. I have made 6 different templates (11 total including variations) to get you started on making the math mazes you want. I do not include any math, just empty, ready to go templates. These templates can be used from anything from simple addition, to order of operations, fractions, counting, and much more !

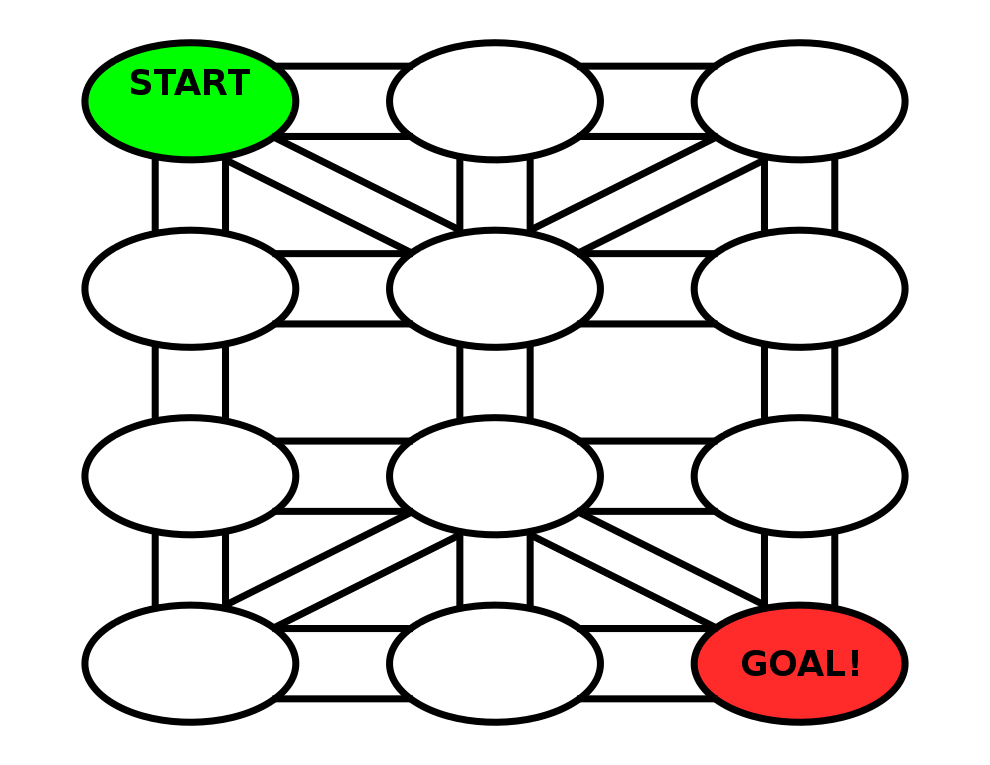
Math Maze Template #1

This template is a 3 x 4 in landscape with pre-stated Start and Goal in the corners. It also includes some extra diagonal pathways for additional possible answers. Questions go in the rectangles, and possible answers on the pathways leading from the rectangles. The template will print in landscape.

3x4 math maze template

Math Maze Template #2

A similar maze template in landscape in 3x4. This template uses ovals and has less options of movement between them. Again, the math equations go in the ovals while the answers go in the pathways !

3x4 math maze template circles

Math Maze Template #3 (2 versions)

This template is oriented in portrait and uses a 3 x 5 grid with a pre-selected Start and Goal. The version on the right includes extra branches for more possible answers.

3x5 math maze template
3x5 math maze template many options

Math Maze Template #4 (2 versions)

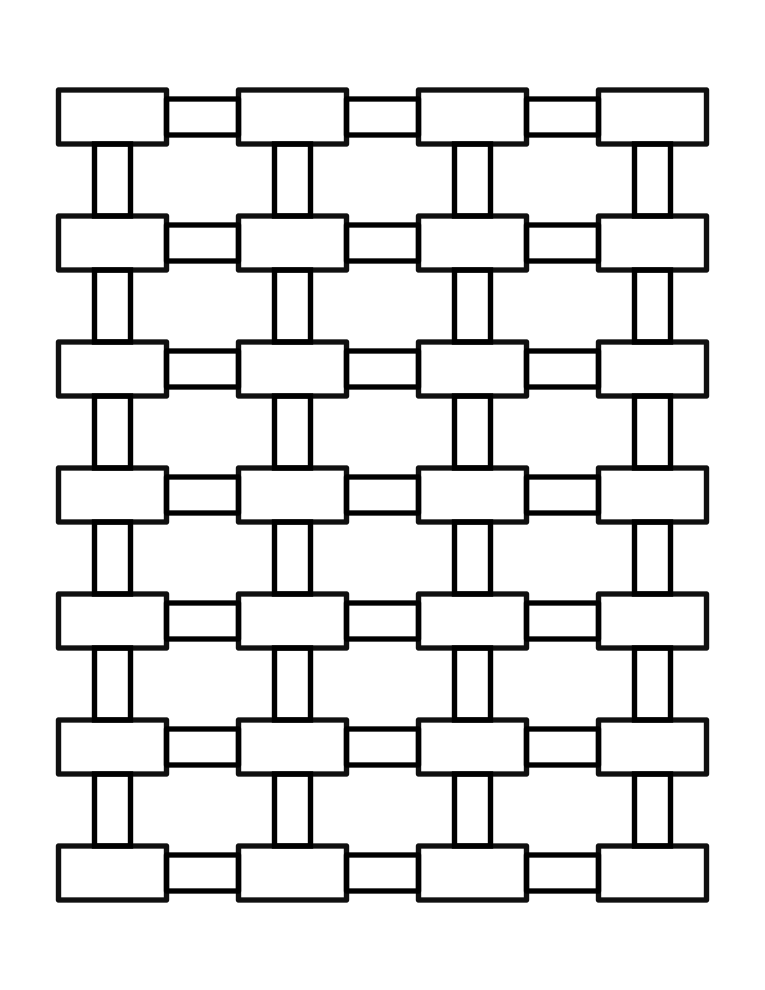
This is a large format maze template, in portrait, 4 x 7 with a flexible Start and Goal. If you want to make a large math maze, this is your template !

4x7 large math maze template
4x7 large math maze template options

Math Maze Template #5 (2 versions)

Landscape 5x4 templates. The first with simple branches, the the second with more possible pathways for possible answers.

4x5 large math maze template
4x5 large math maze template options

Math Maze Template #6 (3 versions)

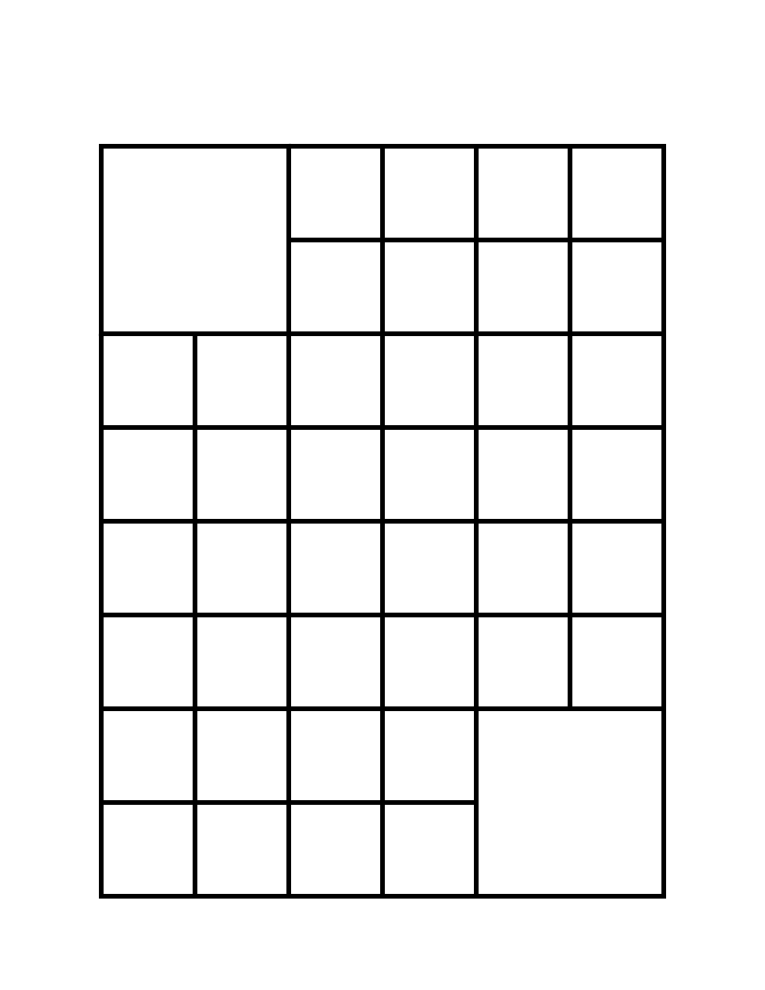
This format works best for children’s counting mazes. There is extra space at the top of the template to write the directions to solve the maze. An example would be, count and move by 2’s to solve the maze, or solve the maze moving only between numbers divisible by 3. This does not work for mathematical equations per say, but for counting, it works well. Comes in 2 sizes, plus an option to draw in your own Start and Goal items for kids. Some examples would be a rabbit to a carrot, a leprechaun to a pot of gold, or a dog to his doghouse. I’m sure you can think of many more !

Math maze counting template
Math maze counting template blank
Math maze counting template large

Maze Design Case Study - Designing a Grid Maze in Different Difficulty levels

I wanted to do a case study showing how to create a maze in a few different difficultly levels. I thought the best way to illustrate this was to design a create a maze with a variety of different branch types included then have you solve them and compare how enjoyable each was for you to solve. Let’s jump into the example and you’ll see what I mean. (Hopefully).

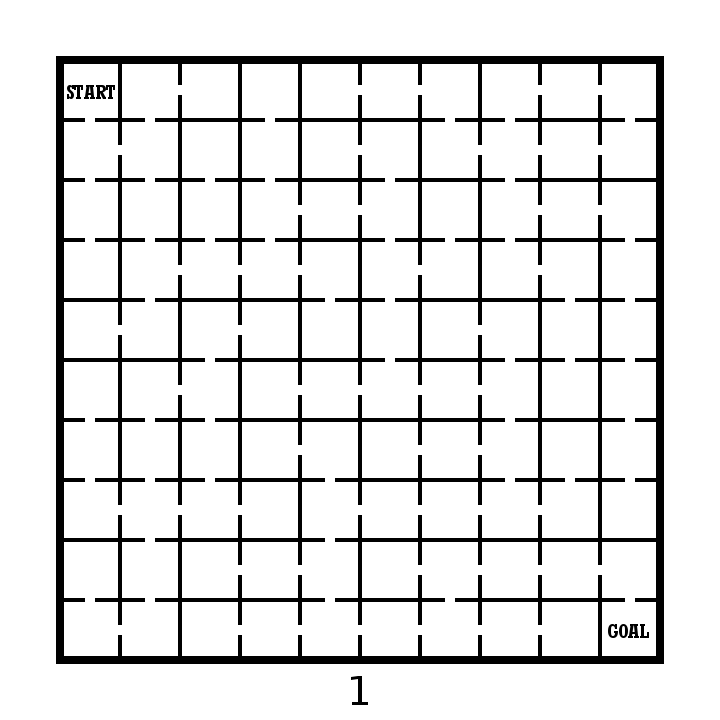
  • Example - Part 1. Please solve this small 10x10 grid maze. Yes this is an interactive example !

10x10 grid maze solving example

OK. Take note of how your experience was solving the maze. Did you enjoy it ? How quickly did you solve the maze ? Anything you did not like about the experience ? Did you find it to be enjoyable or frustrating ?

Now lets try this maze made on the same grid structure. We have 10x10 grid maze with the Start and Goal placed in the same locations.

  • Example - Part 2. Please solve this small 10x10 grid maze.

10x10 grid maze solving example 4

I have the same questions for you as before. How was your experience was solving the maze ? Did you enjoy it ? How quickly did you solve the maze ? Anything you did not like about the experience ? Did you find it to be enjoyable or frustrating ?

An finally in Part 3 we will group 2 additional mazes together for evaluation. Same questions will apply.

  • Example - Part 3. Please solve each of these small 10x10 grid mazes.

10x10 grid maze solving example 2
10x10 grid maze solving example 3

So what have we learned ? Before I go into some explanations on the design of each maze take a minute to hypothesize on what you think just happened. 4 similar mazes. Hopefully they gave you different experiences for you when you were solving them.

4 Maze Comparison - The Differences and Design Choices

  • First, did you notice each maze has the same exact solution ? Mazes 2 & 3 have the inverse (or flipped) solution of mazes 1 & 4. So the solutions are essentially all equal.

  • Each numbered maze should have gotten more difficult as the numbers increased (although with a small maze size this may have been somewhat less obvious)

  • Maze 1 - Short dead ends. Incorrect paths do not have branches. Pathways are wide. Some paths are “filler” and unusable.

  • Maze 2 - Longer dead ends. Incorrect paths do not have branches. Pathways normal width.

  • Maze 3 - Long dead ends with additional branches off of them. Pathways slightly smaller.

  • Maze 4 - Long dead ends with choices and branches off them. 4 way choices included. Small pathway widths.

So to summarize I used the following to change the difficulty of the 4 mazes:

  • The length of dead ends - How fast you know you have made an incorrect choice

  • Dead end branches - When you make a wrong turn are there multiple incorrect choices on that branch

  • Expanded pathway choices - Some intersections have multiple choices

  • Pathway widths - Smaller pathways are more difficult to see and navigate.

  • Unusable pathways - Filler sometimes used to fill a maze out while keeping it at the desired difficulty level.

Let’s look at the pathways coded to show what I mean. The red line is the solution. The blue line is the false pathway. The purple line is an unusable pathway (Did you know some mazes use this ?)

What you need to notice in the below deconstructed mazes:

  • Maze 1 - Thick pathways make this maze easier to solve. The purple lines to not connect to anything - essentially they are filler and unusable pathways. Most likely you did not notice them. They make the maze easier. The blue lines, the incorrect dead end paths - are short and only extend 2 levels before letting the solver know it was the wrong choice.

  • Maze 2 - Normal pathway width. No purple pathways from here on out. The blue lines are long but have no branches off of them. Longest length is 11 blocks.

  • Maze 3 - Pathways are a bit thinner. The blue dead end lines now have branches, so wrong turns have additional wrong turns. None of these, however has more than one additional dead end branch. There is also a dead end choice at the starting block.

  • Maze 4 - Pathways are very thin. There are now 3 intersections where 4 pathway choices are included (they look like a plus sign in this grid maze). Dead end branches also have multiple dead ends off of them.

four 10x10 grid maze solving example solutions

Hopefully this explanation and example shows you a small piece of how maze difficulty can be designed and changed with a few different choices. Most solvers would prefer Maze #1 because the wrong turns are not overly punishing. But a nice amount of people would prefer something a bit more challenging also, so remember the audience you are designing for when you create your mazes !

I will say that there is a balance between making a challenging maze and poor maze design. Do the pathways need to be ultra thin or are you just straining the eyes of the solver ? I think a re-design of Maze #3 with thick pathways would be both enjoyable AND challenging ! Happy maze-ing !

Additional popular posts you may like:

How To Make A Grid Maze

44 Different types of Mazes and Labyrinths

Comparison of the Top 10 Maze Generation Websites

What I Use to Make My Mazes

Today I want to give you some background on how I actually make the mazes you see on this site. I touched on this in Part 2 of my Maze conversion project, but wanted to expand upon it a bit here since it is something I am often asked about. This isn’t a How To Make Mazes post, which I have written about extensively, but rather the tools I use and my thoughts on them and mistakes I made in the past.

Some Background - What I used to use to make mazes

When I first started making mazes in high school I drew with pen or markers on paper in Mead art sketch pad books. I mixed the mazes in with other random artwork that I did, switching things up to stay interested. Eventually I decided I liked making mazes and would do many in a row. Then I got hooked and kept making mazes over the years, Eventually I wanted to make more complex and started using the computer to make them. I first used Microsoft Excel. Yes, Excel. Not ideal looking back, but it did give me a grid pattern to work from, but really NO flexibility in design. See the original Microsoft Excel maze below, “Lost in The City”.

a maze of a city skyline

“Lost in the City” Maze made in Microsoft Excel

I actually did a few more in Excel that are on this site. I wonder if you can you find them ? There is an Excel maze in the fan art section. See if you can find it ! I will say that as along as you only need right angles, Excel works better than you think, although the creating is painstakingly slow.

Eventually I got tired of making maze walls by selecting each individual cell and placing the appropriate grid outlines in them. Next I moved on to Microsoft Paint. This gave me the ability to use color and to create much more interesting mazes. I also didn’t need to fit everything into the same grid if I didn’t want to ! The mazes I made in Paint were much better than my Excel ones IMO, but because I was building these mazes a pixel at a time they took months. Yes, MONTHS to make. There is also not an ability to create any grid guidelines to help you draw a maze in Paint - and believe me this is important! Here is an example of one of my Paint mazes:

Empire State Building Maze

Empire State Building Maze Made In Microsoft Paint

So The Empire State Building Maze took months to complete as it was done to scale and created a pixel at a time. As you can see from how small the pathways are on your screen, this maze is shrunk down significantly from actual size. When printed it is 3 feet wide and 9.5 feet tall in full resolution. Yes, it is solvable. You start in the arrow below the A, reach the top point and return back to the start. Brutal. But, Paint is not a vector graphics program. And all of these mistakes I made are all to get to me saying this: To Make Digital Mazes use a Vector Graphics Program. Now, what I use today.

Why Vector Graphics ?

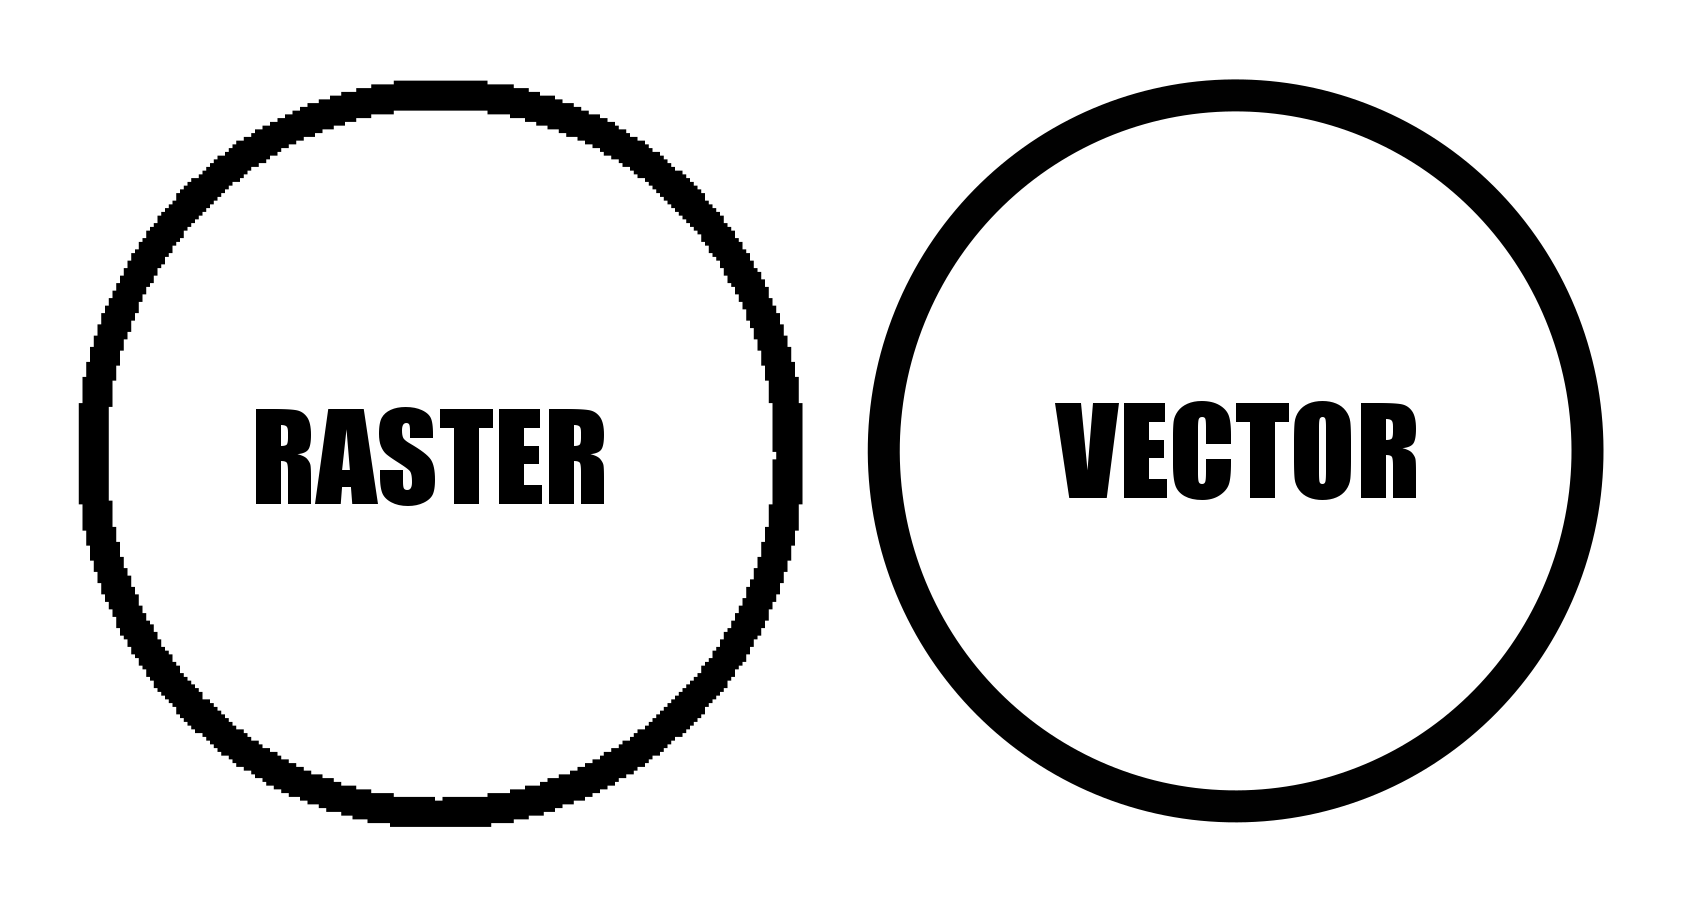
Vector graphics are made up of pathways that can be resized without losing resolution. Non-vector programs use Raster graphics (like png, jpeg, gifs) where the picture is made from individual pixels. That means if you resize the picture you will lose resolution. Making a Vector Maze means you can size it larger or smaller and it will still look good. That isn’t the case for Raster Mazes. The first circle below is raster (PNG) and it looks ok. Check out what happens when you increase the size by 400%. See the pixilation ? (those of you reading this on phones are saying not really)

PNG Circle Paint
PNG Circle Paint 400%

And now the direct comparison between the two types of files which clearly shows why vector is the way you want to design ! The larger I made this the more the Raster would pixelate.

Circle made in Raster vs Vector example

Raster vs Vector Example at 400%

What I Use to Make My Mazes

Inkscape. I do all of my maze making in Inkscape. Inkscape is a free open source vector graphics editor, but you can use a similar product if you already have the needed skills in that program. I found, that like most programs, Inkscape basics can be learned quickly playing around in the program. You can learn a bit more from YouTube videos, and to finally master it so you aren’t frustrated all the time (While muttering why can’t I just do XXXXX) that will just take time and practice. The Inkscape website also has a forum and the majority of the questions are under Beginner’s Questions, so you are not alone!

Time to make some mazes (or labyrinths). If you want to see step by step instructions, I have over 70 different sets to choose from !

A Comparison of Possible 9 Circuit Circular Labyrinth Constructions

Previously we looked at how to digitally make a 9 Circuit Circular Labyrinth. Then I compared the 11 circuit labyrinths in circular, classic and square constructions. All of those findings also relate to 9 circuits. Today I will look at a few possible constructions of a 9 circuit circular labyrinth.

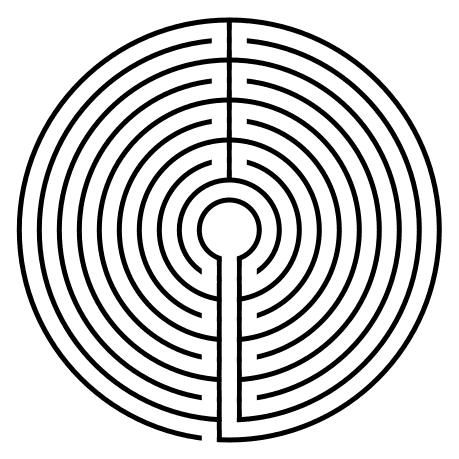
Let’s start with speaking about a classical labyrinth, which has a standard construction that is used. Learning how to draw that construction is standard across any source you might find. But, for a circular labyrinth there is no standard construction. If it is circular and the path moves from the outer edge to an internal goal in one continuous path, you have made a labyrinth. So when drawing one, you can get creative !! Let’s look at what some variations might look like.

Single Turn 9 Circuit Circular Labyrinth

  • Let’s start by looking at what a single turnback 9 circuit labyrinth would look like. Walking this would consist of long pathways, each getting shorter on your way to the center. Visually, not much going on.

Single turn 9 circuit labyrinth

2 Section 9 Circuit Circular Labyrinth

  • And now a version with 2 turnback’s, essentially breaking the labyrinth into sides. Walking this is more interesting with long walks getting shorter until you switch sides, then getting longer with a final long walk to the center.

2 section  9 Circuit Circular Labyrinth

2 sectioned 9 Circuit Circular Labyrinth

3 Section 9 Circuit Circular Labyrinth

  • A now a standard 9 circuit broken into 3 sections. This could also have the entrance and final stretch pathways centered at the goal. My example only shows the final stretch to the goal centered. A little bit of mathematics - this is the only version where the initial pathway enters all the way into the maze. This would be the case for any odd numbered section circular labyrinth (like a 5 or 7 section - neither example is shown - try it !)

3 section  9 Circuit Circular Labyrinth

3 sectioned 9 Circuit Circular Labyrinth

4 Section 9 Circuit Circular Labyrinth

  • And now the labyrinth broken into quadrants. Notice how the crossover point between the sides of the labyrinth is on the outside (a variation to my how-to). This is the more standard construction. But that side switch can take place in multiple layers if you want. This is the cleanest look IMO.

4 section  9 Circuit Circular Labyrinth

4 sectioned 9 Circuit Circular Labyrinth

8 Section 9 Circuit Circular Labyrinth

  • Here we have an 8 section labyrinth. Things are getting crowded but there is still nice symmetry. If you had to walk this I think you would find it difficult to be relaxed since you are making turns frequently.

8 section  9 Circuit Circular Labyrinth

8 sectioned 9 Circuit Circular Labyrinth

12 Section 9 Circuit Circular Labyrinth

  • And finally the final labyrinth construction I made, a 12 sectioned version. This version would make me dizzy if I tried to walk it. Luckily I only drew it.

12 section  9 Circuit Circular Labyrinth

12 sectioned 9 Circuit Circular Labyrinth

4 Section 9 Circuit Circular Labyrinth

  • Now let’s go back and look at the 4 quadrant variant I taught how to make previously. It is a variant because the outer paths turn only once while the inner paths turn 4 times. This variation or other layer switchbacks are possible on any circular labyrinth. Feel free to play around and make new designs as you create your own labyrinths.

9 Circuit Circular Labyrinth variant

9 Circuit Circular Labyrinth variant

Every single construction you saw today was a 9 circuit circular labyrinth. Here is a look at the 6 main versions together:

6 different 9 Circuit Circular Labyrinth Construction options

As you make your own circular labyrinth realize that you can make any of these or as I did, a mix a few of them together. Good luck and happy labyrinth making !!

If you prefer making a different labyrinth, I have a section of step by step labyrinth making instructions.

Interested in learning how to make or draw other types of digital mazes ? I have step by step instructions on how to make over 40 different maze types.